17 Hardscape Landscaping Ideas for Any Yard
A yard can still feel unfinished after you add grass, flowers, and shrubs. You may have nowhere to sit. Rainwater may leave muddy paths. A steep slope may waste valuable space.
The right hardscape landscaping ideas can fix these problems. Hardscape features include patios, walkways, walls, gravel areas, steps, and stone borders. These solid parts give your yard structure and make it easier to use.
You do not need to cover the whole yard with stone or concrete. In fact, too much hardscape can make an outdoor space feel hot and harsh. A better plan mixes solid surfaces with plants, shade, and open soil.
The 17 ideas below work for front yards, backyards, slopes, and narrow side areas. You will also learn how to choose materials, control water, and avoid costly mistakes.
How to Plan Your Hardscape Before You Start Building
A pretty patio will not help if water flows back to your house. A new path will also cause trouble if it blocks a gate or feels too narrow.
Start by asking what problem you need to solve.
Do you need a seating area? Do you want a dry path through the yard? Are you trying to stop soil from washing down a slope?
Measure the full area before you buy anything. Mark the edges with stakes, string, or marking paint. Place outdoor chairs inside the shape to see how the space will feel.
Watch your yard during heavy rain. Note where water collects and where it flows. Your hardscape should guide water away from the house, garage, and nearby properties.
Choose two or three main materials. For example, you could use gray pavers, dark gravel, and natural wood. Too many colors can make a small yard feel messy.
Your budget should include more than the top surface. You may also need gravel base, sand, edging, drainage pipes, delivery, and labor.
A simple plan now can save you from pulling up pavers later.
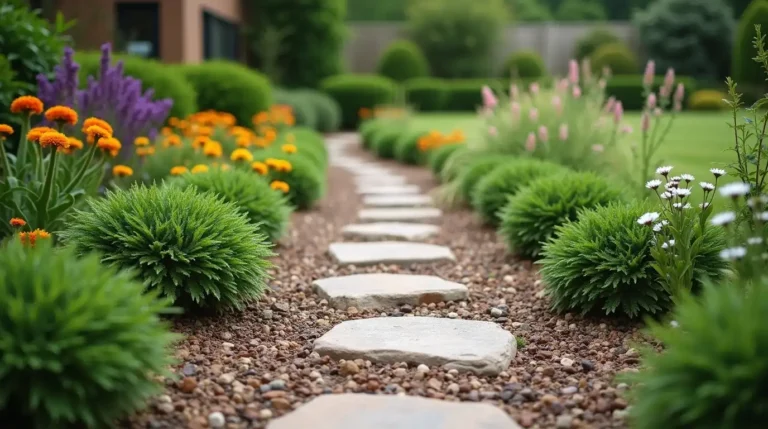
Build a Stepping-Stone Path With Gravel Joints
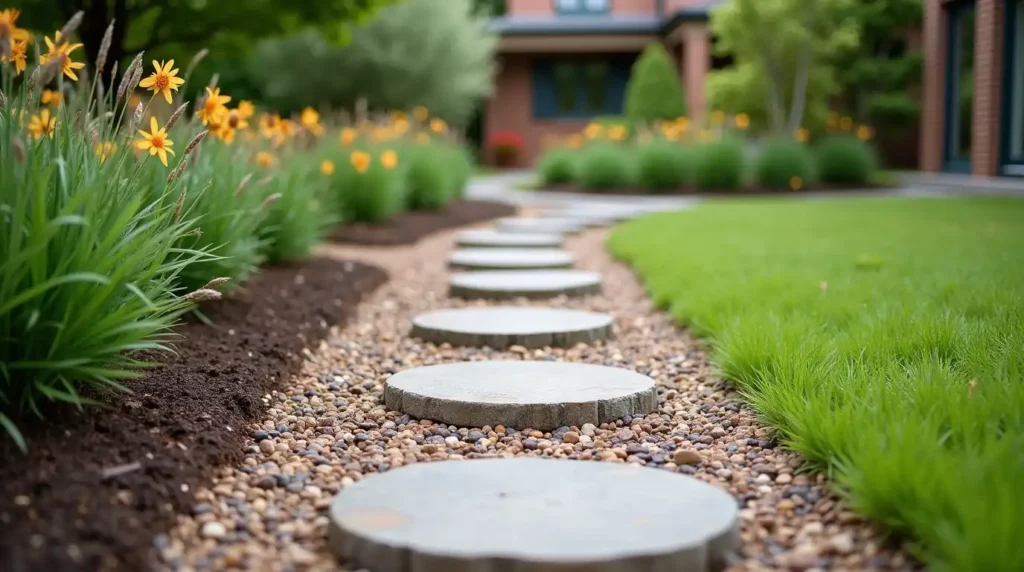
A stepping-stone path gives you a dry walking route without creating a wide strip of solid paving.
Use large, flat stones that give each foot enough room. Set every stone on a firm base so it does not move when you step on it.
Fill the gaps with small gravel for a clean look. You can also use low groundcover if the path gets enough sun and water.
This idea works well in cottage gardens, side yards, and relaxed backyards. The broken pattern feels softer than a straight concrete path.
Choose stone that repeats a color from your house, roof, or porch. This small detail helps the path feel connected to the home.
Best for: Informal gardens and narrow paths
Watch out for: Uneven stones that may cause trips
2. Add a Paver Walkway With a Dark Border
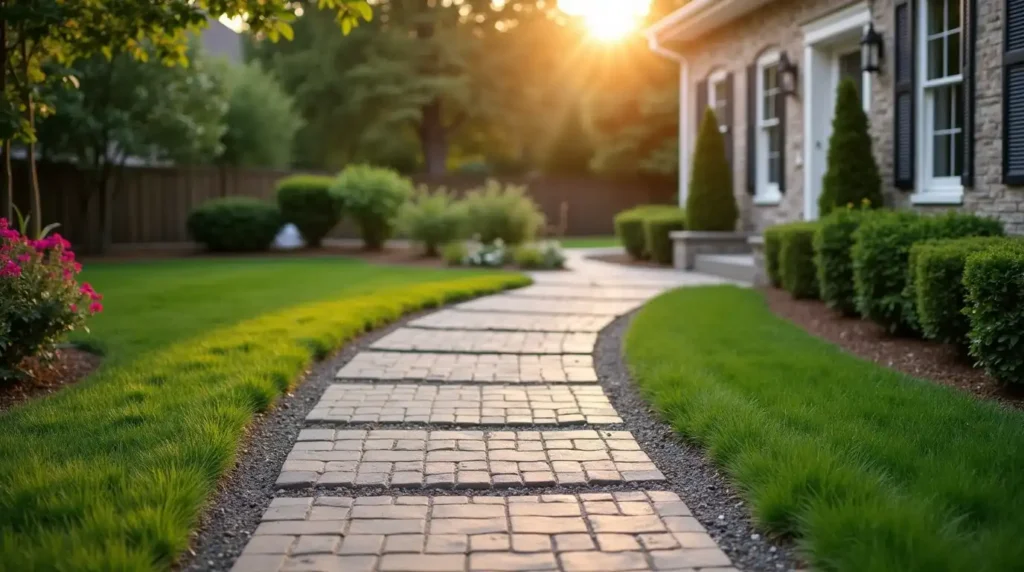
A paver walkway can make your front entrance look wider and more finished.
Use a light or medium color for the main path. Add a darker paver around the edges. This border gives the walkway a clear shape.
A border can also help guide the eye from the driveway to the front door.
Choose pavers with a textured surface. Smooth materials may become slippery after rain.
Make the walkway wide enough for two people when space allows. Check local access rules if the path will serve a main entrance.
Best for: Modern homes and formal front yards
Design tip: Match the border with your porch steps or driveway trim.
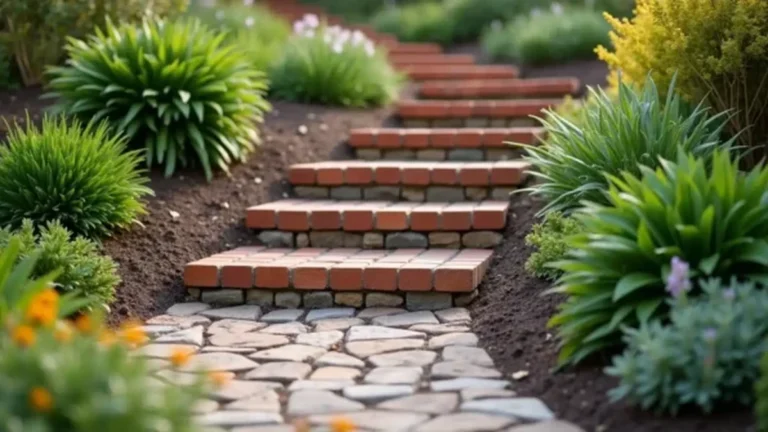
Use a Curved Brick Path to Soften a Boxy Yard
Straight houses, square lawns, and flat fences can make a yard feel stiff. A gentle brick path adds movement.
Keep the curves wide and natural. Tight turns can look forced and may be harder to walk on.
Brick works well with older homes, cottages, and traditional designs. New brick gives a neat finish. Reused brick can add age and character.
Install solid edging on both sides. Without edging, bricks may spread or sink over time.
Best for: Traditional and cottage-style homes
Maintenance tip: Remove weeds from the joints before they form deep roots.
Widen the Front Door Area With a Stone Landing
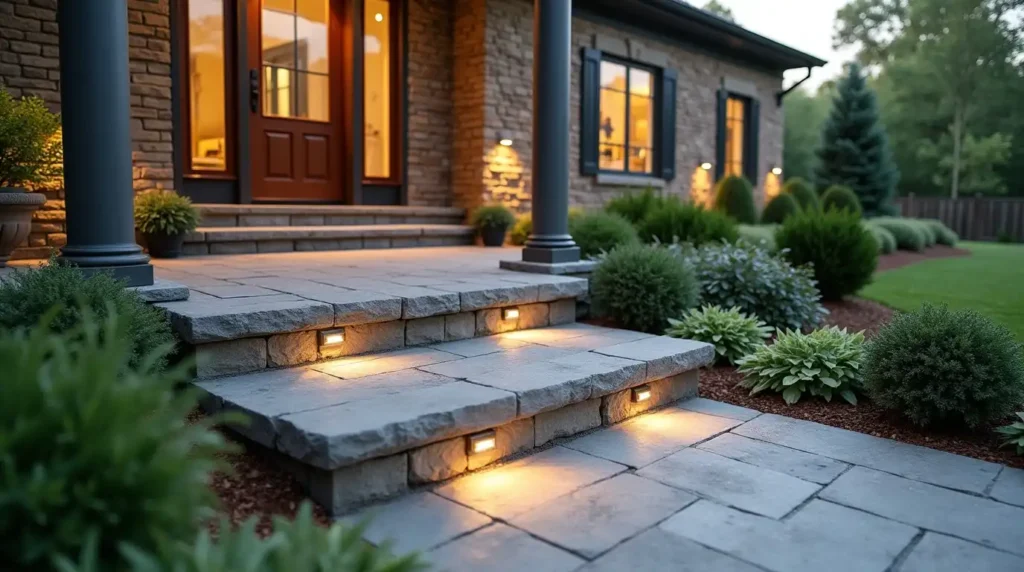
A narrow front step can feel crowded when guests arrive. A wider stone landing gives people space to stand, turn, and open the door.
Use the same material as the walkway when possible. This creates a smooth visual link.
Add one or two slim planters near the wall. Keep them clear of the door swing and walking area.
You can also place a small bench beside the entrance. Pick a narrow design that does not block the path.
Best for: Small porches and tight entrances
Safety tip: Keep the landing level and use a surface with good grip.
Create a Small Paver Patio for Daily Use
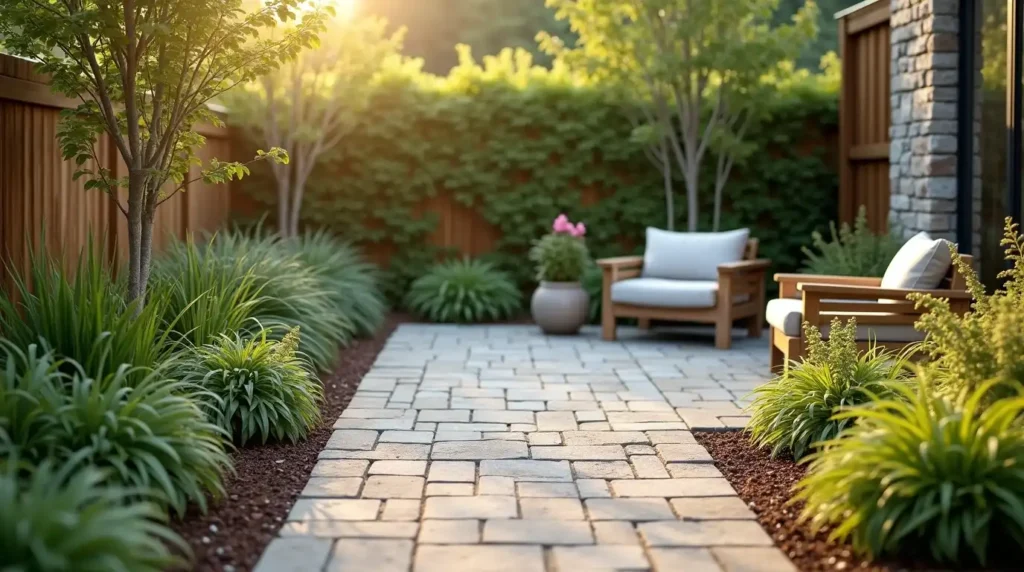
You do not need a huge backyard to enjoy an outdoor seating area.
A small paver patio can hold two chairs, a table, or a compact dining set. Place it close to the back door if you plan to carry food and drinks outside.
Use large pavers in a small space. Fewer joint lines can make the patio feel less busy.
Mark the planned patio first. Set your furniture inside the marked area. Make sure you can pull out chairs and walk around them.
Leave planting pockets around the patio edges. Soft plants help balance the hard surface.
Best for: Small backyards and starter homes
Quick win: A 10-by-12-foot area may hold a simple seating or dining setup.
Build a Separate Outdoor Dining Terrace
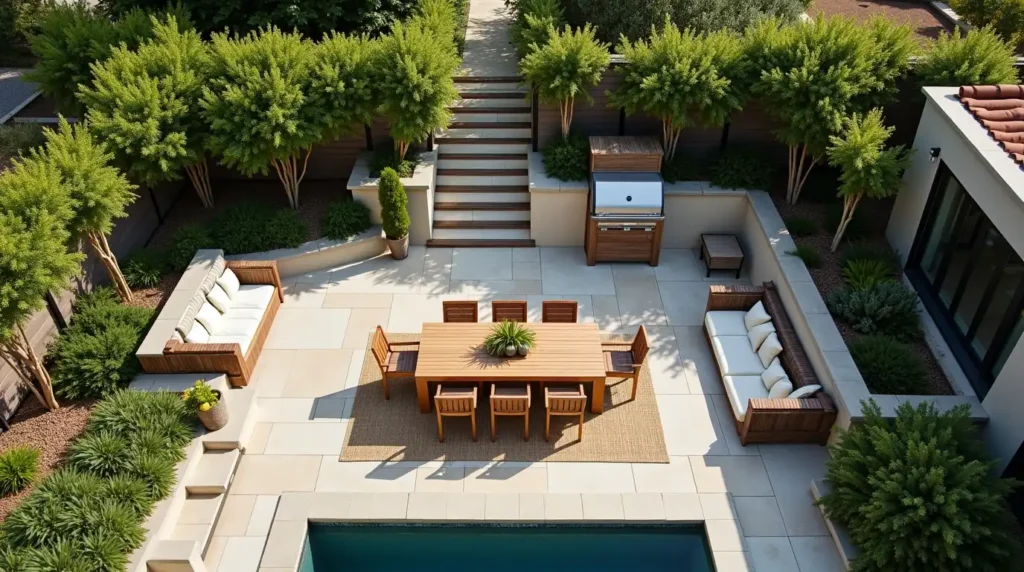
A dining terrace gives meals their own space away from play areas, grills, and garden tools.
Choose a level place that is easy to reach from the kitchen. Make sure smoke from the grill will not blow into doors or windows.
Leave enough room behind every chair. People should be able to sit down without stepping into a flower bed.
Use low lights around the edge. Bright lights can make outdoor meals feel harsh.
A short hedge, raised planter, or low wall can help define the terrace.
Best for: Families that eat outside often
Design tip: Keep the path between the kitchen and dining table clear.
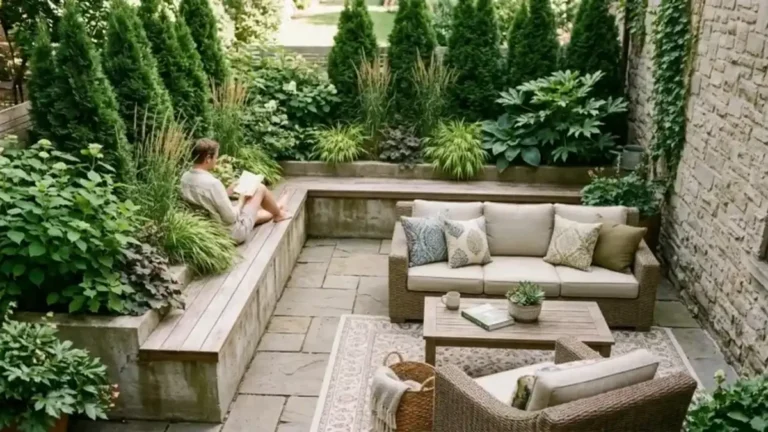
Add a Seat Wall Around Your Patio
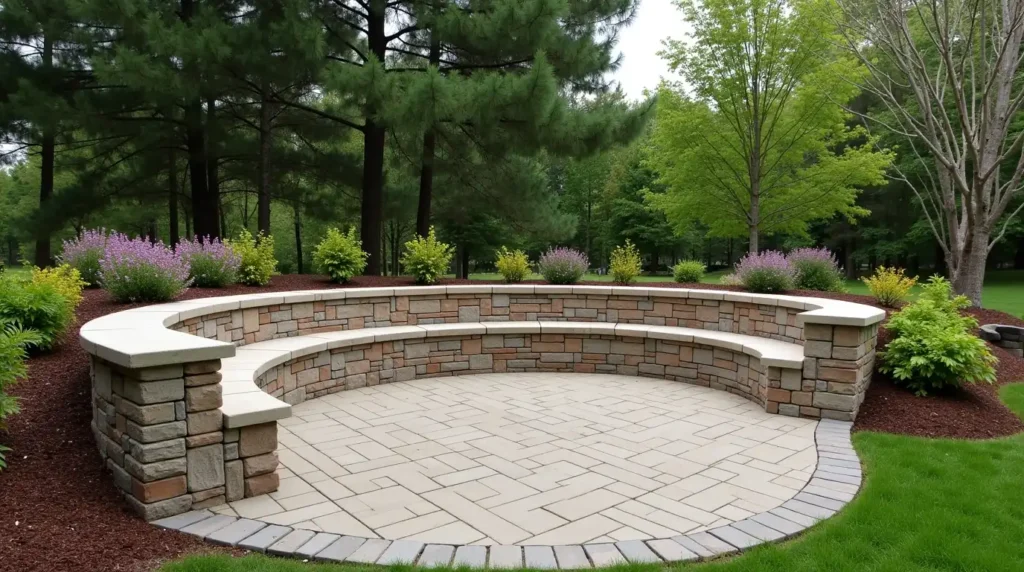
A seat wall adds extra seating without filling the patio with more chairs.
It can also mark the edge of the space and stop people from stepping into nearby beds.
Use a smooth wall cap that feels comfortable to sit on. Some homeowners use the cap as a place for drinks or plates.
A seat wall works well around fire pits and larger patios. It can also support small lights for evening use.
Keep the wall in scale with the patio. A heavy wall can make a small space feel closed in.
Best for: Entertaining areas and fire pit patios
Important: Ask a professional about footings, height, and local building rules.
Make a Circular Fire Pit Area
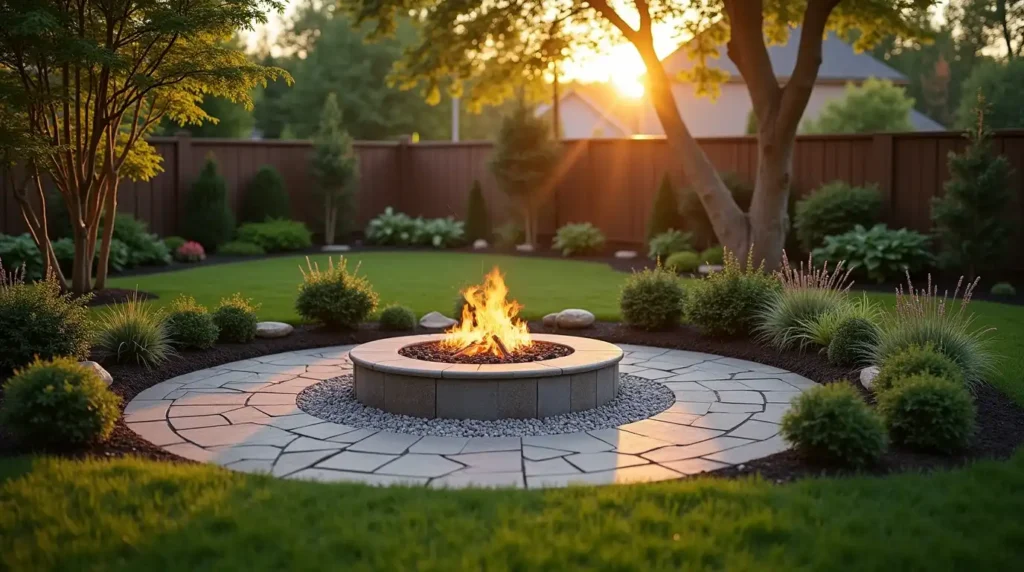
A round fire pit area creates a clear place for people to gather.
Use stone, pavers, or compacted gravel under the seating area. Avoid dry grass and loose mulch close to the fire.
Plan the chairs before you choose the final circle size. People need room to move without getting too close to the heat.
Keep the fire pit away from branches, fences, sheds, and roof edges. Local rules may control where you can place it.
Wood fires are not allowed in every area. Gas fire pits may still need permits or clear space.
Best for: Medium and large backyards
Safety tip: Check local fire rules before buying materials.
Turn a Steep Slope Into Useful Terraces
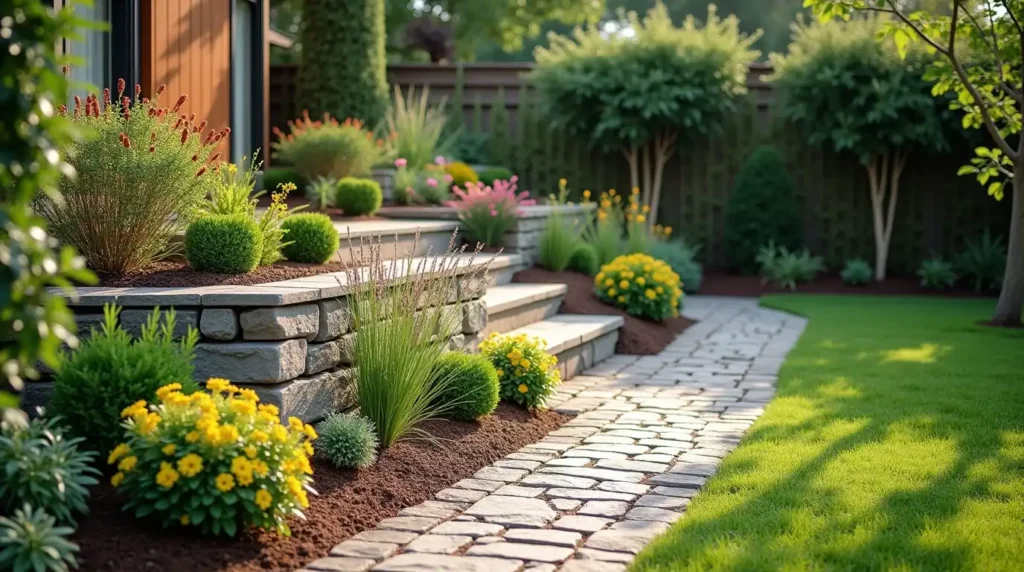
A steep slope can waste space and lose soil during heavy rain.
Retaining walls can split the slope into smaller, flatter levels. You can use these levels for planting, seating, or garden paths.
Build steps between the terraces so each level is easy to reach.
Every wall needs proper drainage behind it. Trapped water adds pressure and may push the wall forward.
Short garden walls may be simple projects. Tall walls often need permits, deep footings, or expert design.
Best for: Sloped yards and erosion-prone areas
Important: Hire a qualified professional for tall or load-bearing walls.
Create a Dry Creek Bed for Rainwater
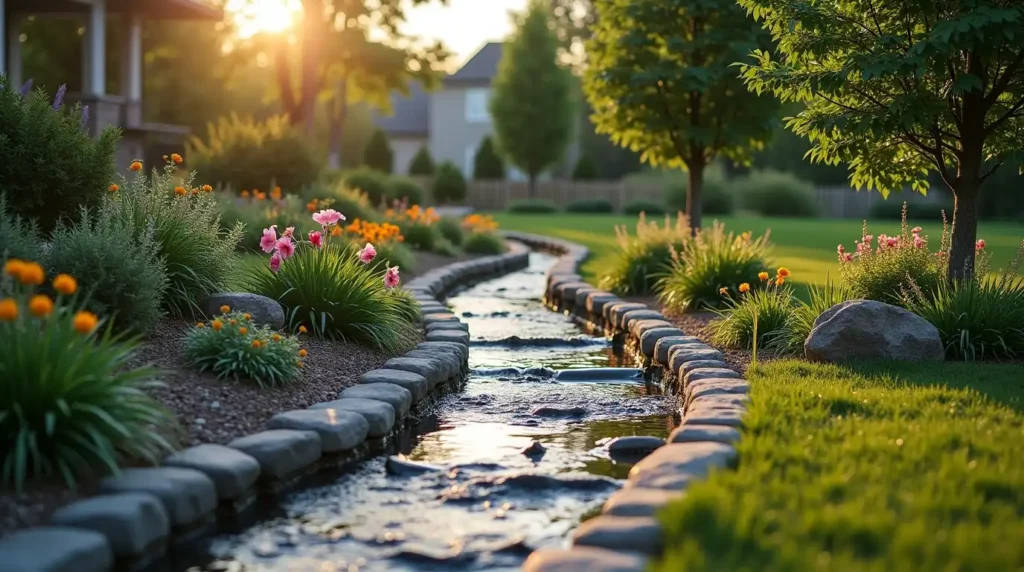
A dry creek bed can guide rainwater while adding a natural stone feature.
Start with a gentle curve. Straight channels often look like drainage ditches.
Mix small gravel with medium and large rocks. Place bigger stones along bends and at key points.
Add plants that can handle wet soil after rain and dry soil later. Sedges, grasses, and water-friendly shrubs may work in many areas.
The creek still needs a safe outlet. Do not send water into a neighbor’s yard or against a building.
Best for: Low areas and visible runoff paths
Design tip: Bury part of each large rock so it looks settled into the ground.
Install a Gravel Strip Beside a Wall or Patio
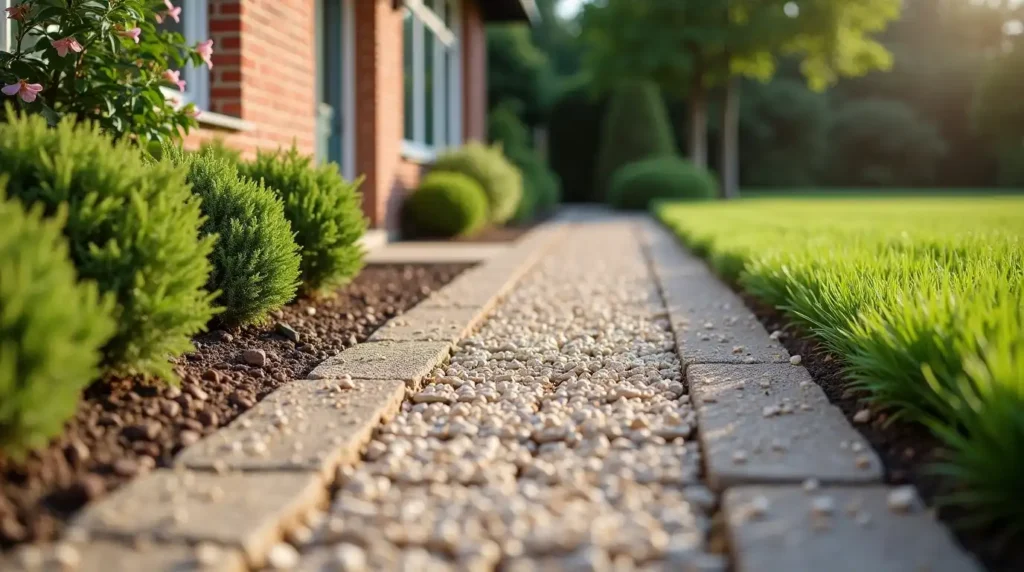
A narrow gravel strip can stop mud, weeds, and water splash beside a hard surface.
It works well along sheds, patios, fences, and house walls. The strip also gives you a clean edge for garden beds.
Use firm edging so the gravel stays in place. Loose stone can spread onto lawns and walkways.
Choose a gravel size that will not wash away during heavy rain.
Keep the finished level below doors, vents, and wall coverings.
Best for: Side yards and narrow gaps
Maintenance tip: Remove leaves before they break down into soil.
Use Permeable Pavers in Wet Areas
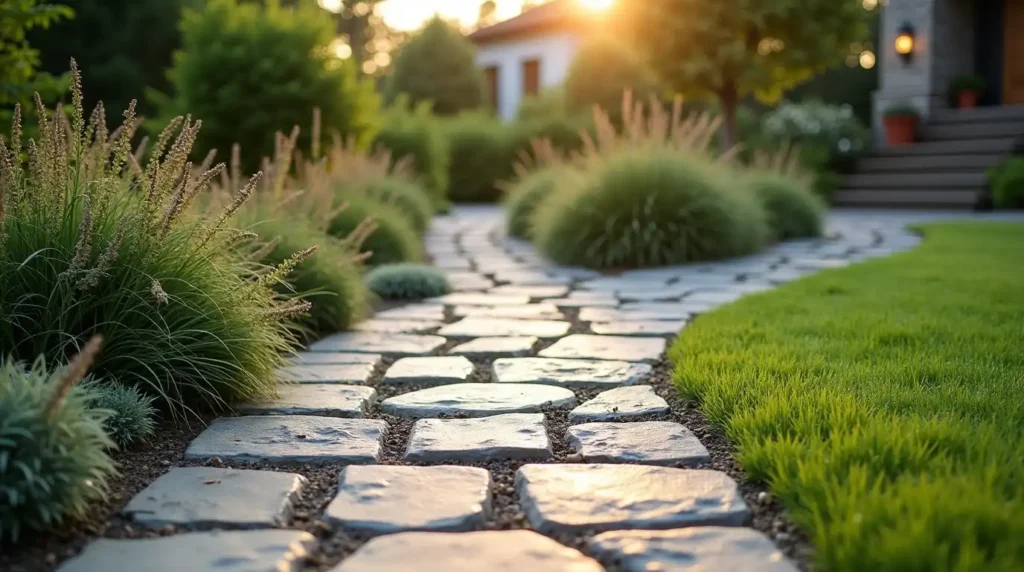
Permeable pavers have wider joints that let water move into a stone base below.
They may help reduce puddles and surface runoff. They can work for patios, paths, and some parking areas.
The base is the most important part. Normal sand and soil can block the system.
The joints also need care. Dirt, leaves, and fine mulch may reduce water flow.
Permeable pavers do not fix every drainage problem. Heavy clay soil or a high water table may require another solution.
Best for: Rainy areas and yards with limited runoff space
Planning tip: Ask an installer to test the soil before work starts.
Use One Large Boulder as a Focal Point
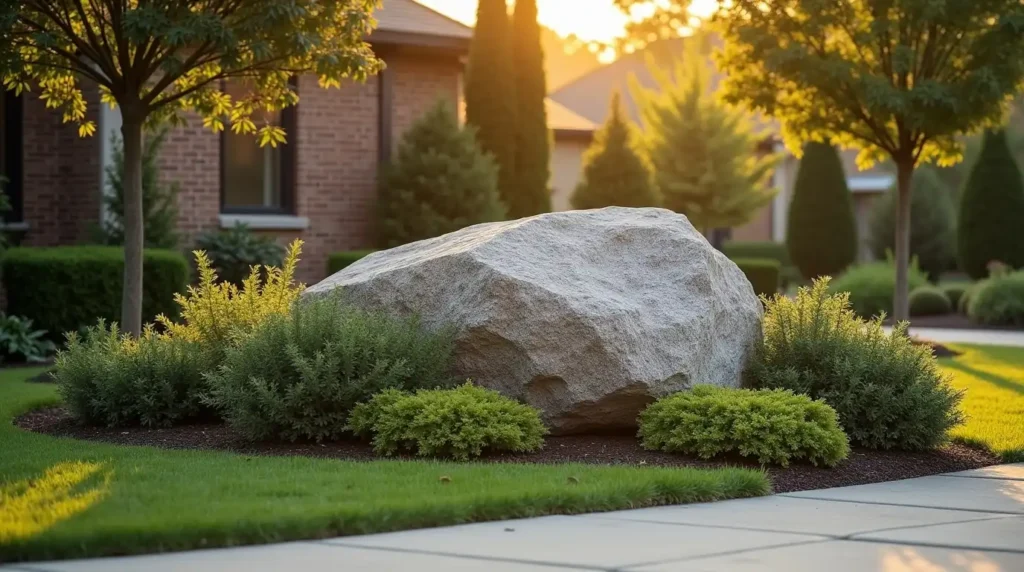
One well-placed boulder can make a stronger impact than a pile of small rocks.
Choose a stone that suits the colors in your yard. Local stone often looks more natural than bright imported rock.
Set part of the boulder below the soil line. A rock sitting flat on top of the ground may look out of place.
Plant grasses, creeping plants, or small shrubs around the base.
Place the boulder where it can guide the eye. Good spots include a garden bend, entrance bed, or patio corner.
Best for: Modern, woodland, and low-water gardens
Design tip: Turn the most attractive face toward the main viewing area.
14. Add a Gabion Wall for Modern Texture
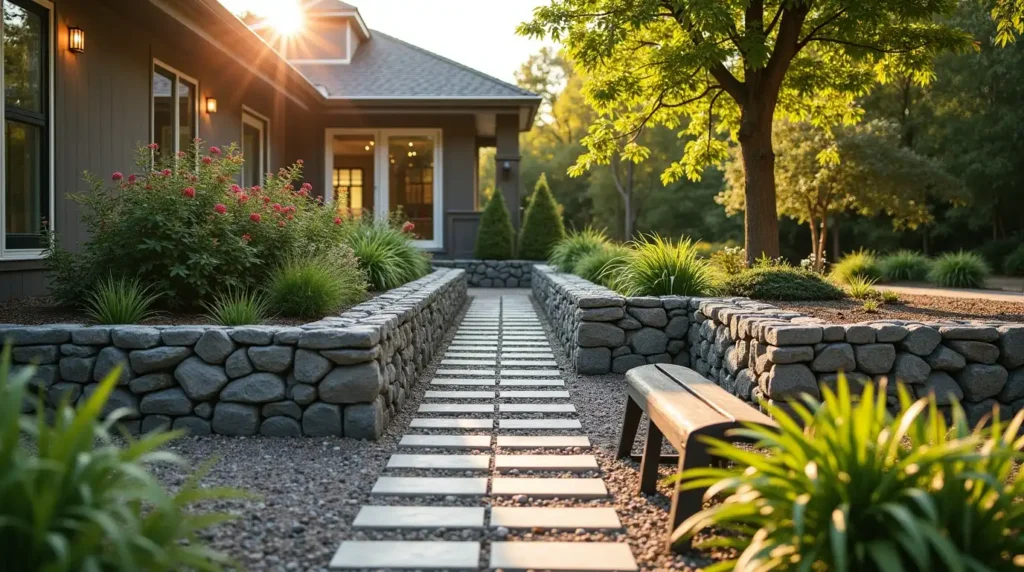
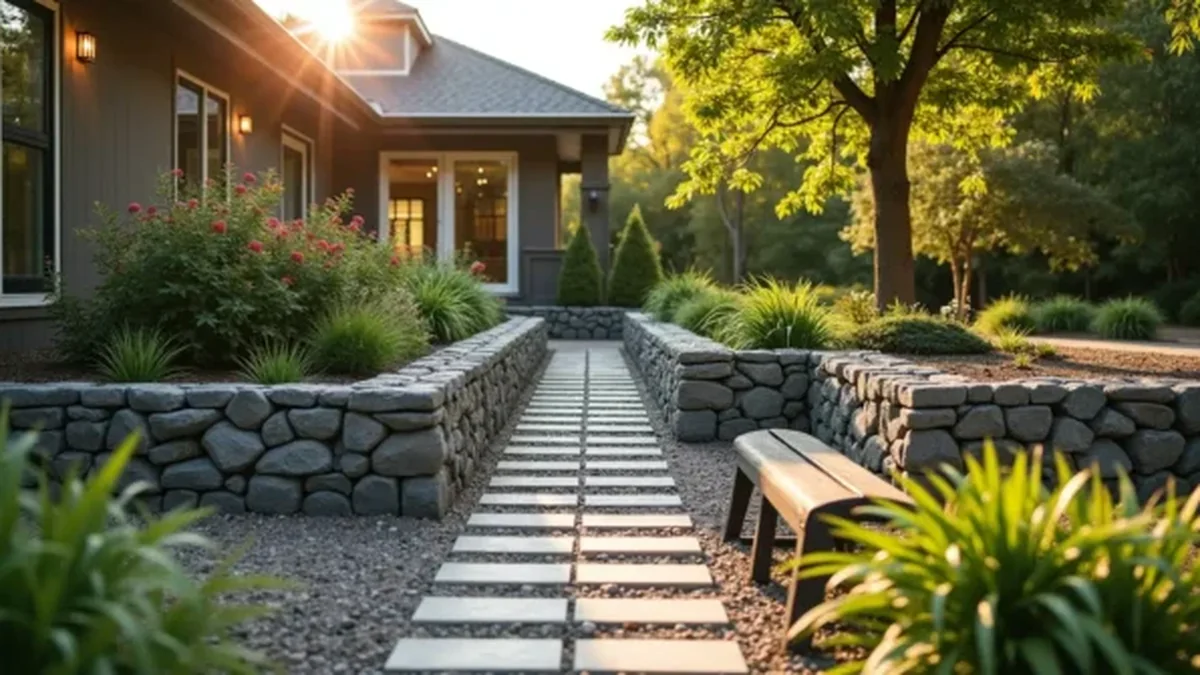
A gabion is a metal cage filled with rocks. It can form a short wall, bench base, or garden divider.
Gabions add strong texture and work well with modern homes.
You may fill them with local stone or clean recycled material. Keep the fill size larger than the cage openings.
Choose strong wire made for outdoor use. Weak metal may bend or rust.
Add grasses or climbing plants nearby to soften the hard look.
Best for: Modern landscapes and informal retaining features
Watch out for: Sharp wire edges and poor-quality cages
15. Create Geometric Gravel Beds With Steel Edging
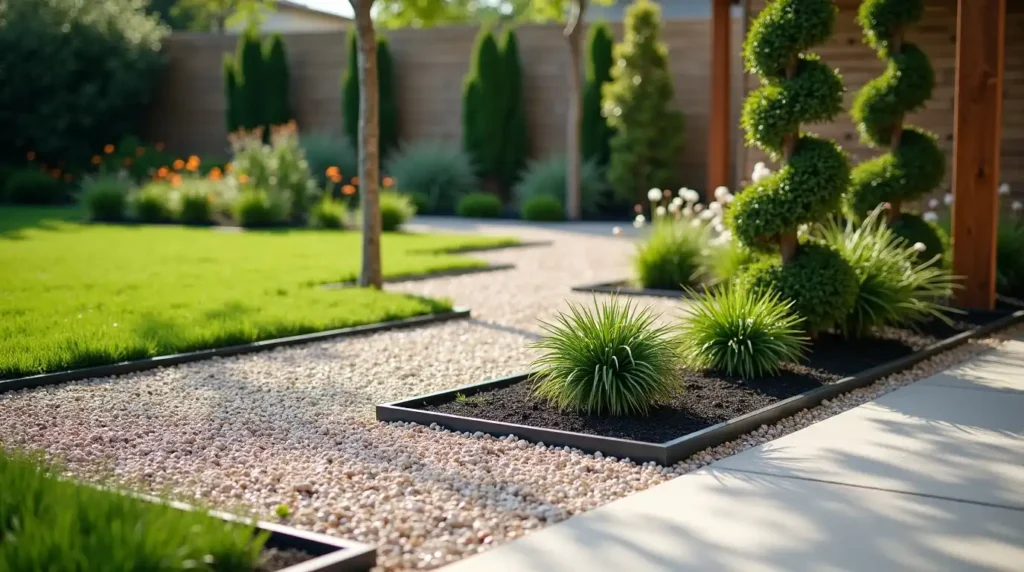
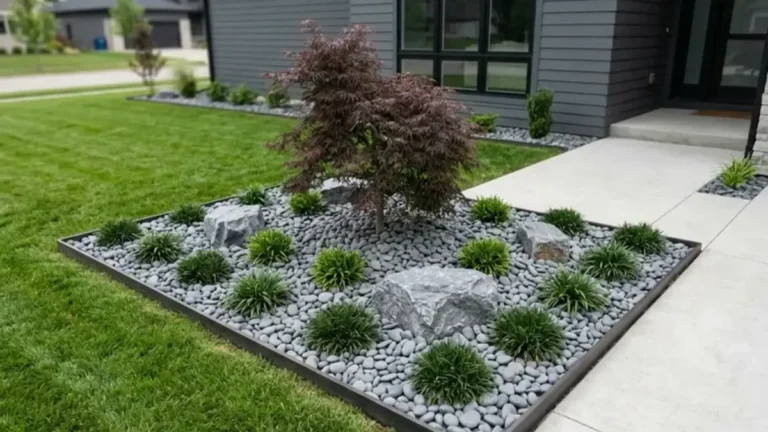
Steel edging can form clean shapes between gravel, paving, and plants.
Use straight lines for a modern yard. You can also make wide curves for a softer look.
Limit the design to one gravel color and a small plant group. Several stone colors can make the space look busy.
This idea works well around upright shrubs, small trees, and ornamental grasses.
Steel edging should sit low enough to avoid trips. It should still be high enough to hold the gravel.
Best for: Modern front yards and small urban gardens
Maintenance tip: Sweep loose gravel back into the bed each week.
Turn an Empty Corner Into a Gravel Courtyard
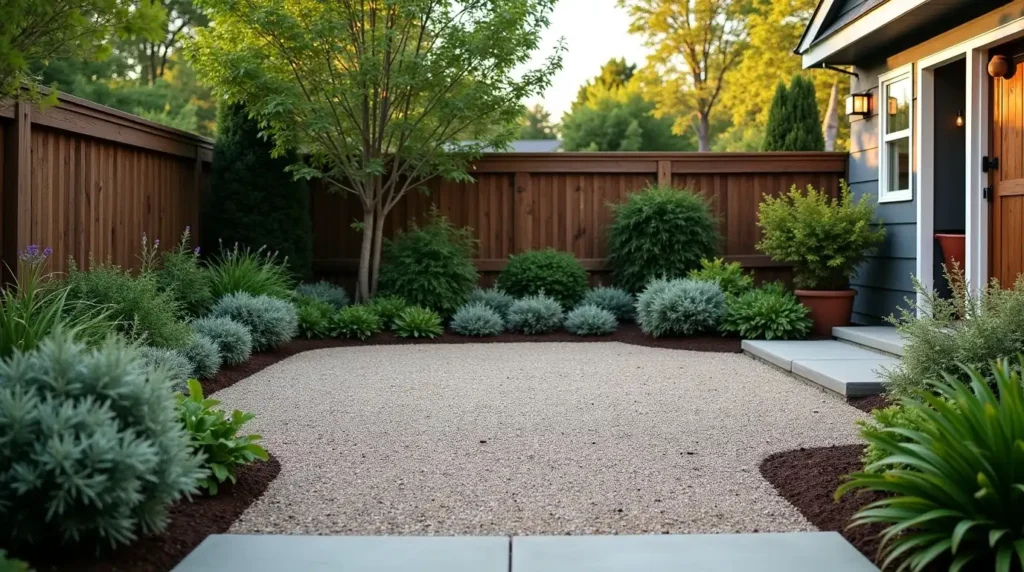
Some yard corners stay bare because they are too shady, dry, or small for lawn.
A gravel courtyard can turn that dead area into a simple sitting spot.
Install a firm base and strong edging. Place comfortable chairs on flat stepping pads if the gravel feels loose.
Add container plants instead of building deep beds. Pots give you more control over soil and water.
A wall light, lantern, or small shade sail can make the area more useful.
Best for: Townhomes and compact backyards
Quick win: Start with two chairs and one small table.
Build a Clean Side-Yard Utility Path
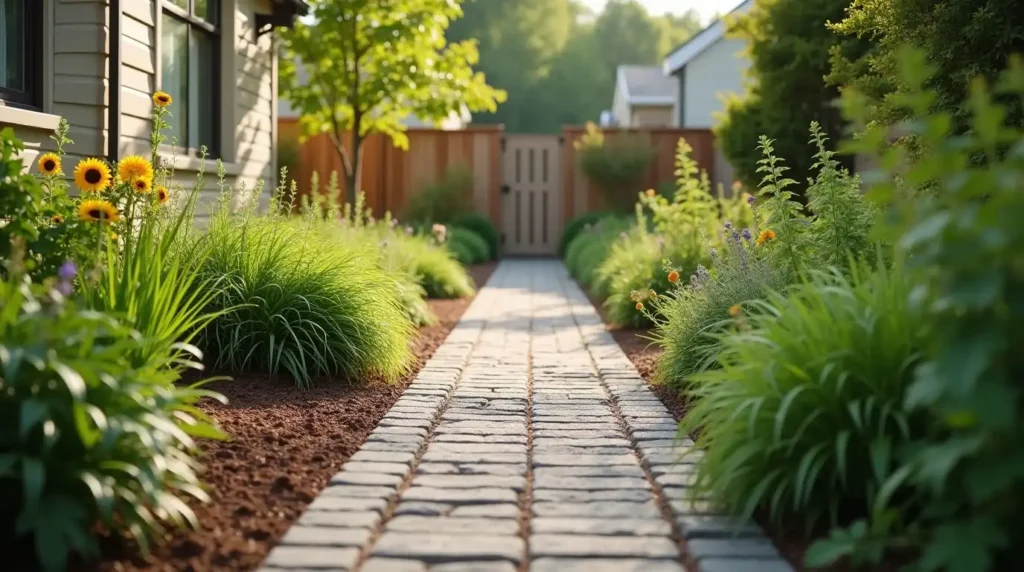
Side yards often become muddy routes for bins, tools, hoses, and repair work.
A simple utility path keeps your shoes clean and protects the soil.
Use concrete squares, pavers, or compacted gravel. Choose a surface that can handle regular use.
Make sure the path does not trap water beside the foundation.
Keep gates, meters, drains, and outdoor equipment easy to reach.
You can add a slim planting bed if space allows. Pick plants that stay narrow and handle shade.
Best for: Dark or busy side yards
Practical tip: Make the path wide enough for your largest bin or garden cart.
How to Choose the Right Hardscape Material
The best material depends on your budget, climate, style, and planned use.
Concrete Pavers
Pavers come in many colors and shapes. Damaged pieces can be replaced one at a time.
They need a strong base to prevent sinking.
Natural Stone
Natural stone has rich color and texture. Each piece looks different.
It can cost more and may take longer to install.
Brick
Brick suits traditional homes and garden paths.
Some brick becomes slippery or damaged in harsh weather. Choose a type made for outdoor paving.
Gravel
Gravel costs less than many solid surfaces. It also works well in narrow spaces.
It can move, collect leaves, and feel hard to walk on with some shoes.
Poured Concrete
Concrete gives you a clean, solid surface.
Cracks may be hard to hide or repair. Large areas can also increase runoff.
Porcelain Outdoor Tile
Outdoor porcelain can give patios a clean, modern look.
It requires the right base and installation method. Indoor tile should never replace outdoor-rated products.
8 Hardscape Mistakes That Can Cost You Money
1. Ignoring Water Flow
Water can damage walls, patios, plants, and foundations. Plan drainage before choosing decorative details.
2. Skipping the Base
Pavers and stones need a stable base. A weak base leads to sinking and uneven edges.
3. Using Too Many Materials
A small yard may look crowded when every area uses a different stone.
4. Covering Too Much Soil
Plants and open soil help cool the yard and absorb some rainwater.
5. Building Too Close to Trees
Roots may lift paving. Digging can also harm mature trees.
6. Blocking Access
Do not cover drains, meters, gates, or service routes.
7. Forgetting Maintenance
Gravel needs raking. Paver joints need care. Walls and drains need checks.
8. Starting Without Local Checks
Some patios, walls, fire pits, and drainage systems need approval.
Choose One Idea That Solves a Real Yard Problem
The best hardscape landscaping ideas do more than make your yard look better. They give you safer paths, useful seating, better drainage, and less mud.
Start with one clear problem. Measure the area and watch how water moves through it. Then choose a material that fits your budget, home, and climate.
Do not rush to fill every empty space. A good yard needs solid surfaces, plants, shade, and room to breathe.
Begin with one path, patio, wall, or gravel area. Build it well, then decide what the yard still needs.