18 Brick Landscaping Ideas for a Charming Yard
A plain yard can feel unfinished, even when the grass and plants look healthy. Flower beds may blend into the lawn. Paths can become muddy after rain. Empty corners may also make the space feel dull.
These brick landscaping ideas can help you fix those problems without changing your whole yard. Brick adds warm color and clear lines. You can use it to frame a garden, build a path, create a small patio, or make a useful seating area.
Some projects are simple enough for a weekend. Others need more planning, tools, and building skill. The right choice depends on your space, budget, soil, and local weather.
This guide covers 18 ways to use brick in a front yard or backyard. You will also learn how to choose the right bricks, prepare the base, manage rainwater, and avoid common mistakes.
What to Check Before Landscaping With Bricks
Brick can last for many years. But poor drainage or a weak base can cause problems much sooner.
Start by deciding what your project needs to do. A decorative garden border does not carry much weight. A walkway or patio must support people, furniture, and regular use.
Next, check the type of brick you plan to use. Clay paving bricks are made for paths and patios. Standard building bricks may work for light garden features, but some can crack when they stay wet or freeze.
Reclaimed bricks add character to a garden. They may also cost less if you already have them. Check each brick for deep cracks, loose surfaces, and large size changes before using it.
Fire-rated bricks are made to handle high heat. Regular house bricks should not form the inside wall of a fire pit unless the maker says they are safe for that use.
Think about color too. Red brick often looks good with white, cream, gray, or green homes. Dark bricks can suit modern yards. Pale gravel can also create a clean contrast with red or brown brick.
Study how water moves after rain. Do not build a patio that sends water back toward the house. Paths, walls, and raised beds should also allow water to drain.
Measure the area before buying materials. Add a small amount of extra brick for cuts, broken pieces, and future repairs.
18 Brick Landscaping Ideas for Borders, Paths, and Patios
The best brick landscaping ideas solve a clear problem. Some make mowing easier. Others create dry walking areas, add planting space, or turn an empty corner into a useful feature.
Create a Flat Brick Border Around Garden Beds
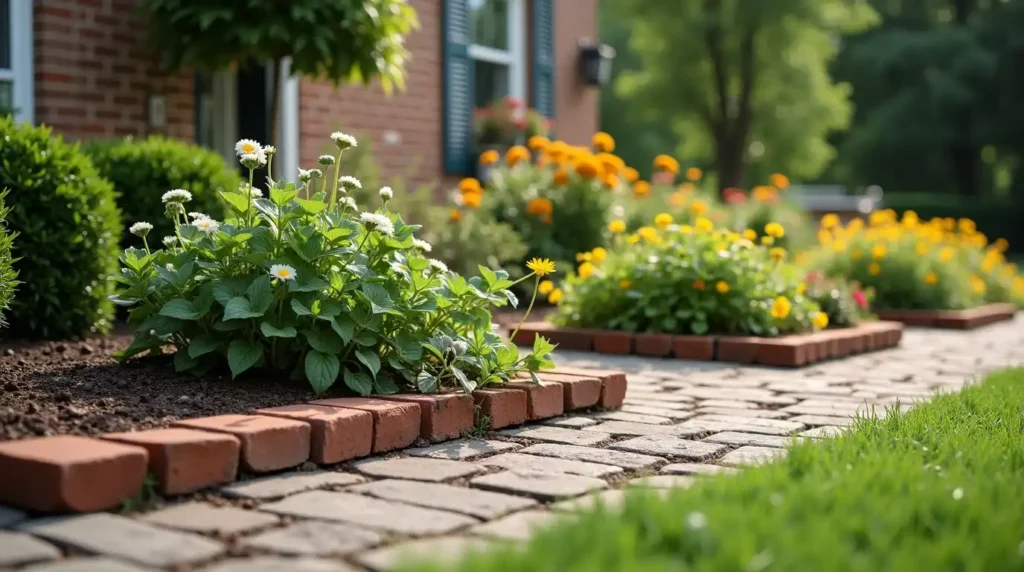
A flat brick border gives flower beds a clean edge. It also helps stop soil and mulch from washing onto the lawn.
Lay the bricks in one straight or curved row. Keep the top of each brick close to the grass level. This makes mowing easier because one mower wheel can pass over the bricks.
Remove loose soil before placing the border. Add a shallow layer of compacted base material if the ground is soft. This helps stop the bricks from moving after rain.
Choose bricks that match another feature near the home. You could match the front steps, chimney, path, or exterior wall.
Best for: Front yards and simple flower beds
Effort: Low
Upkeep: Low
Watch for: Loose bricks and grass growing through wide gaps
Add a Sawtooth Brick Edge for More Texture
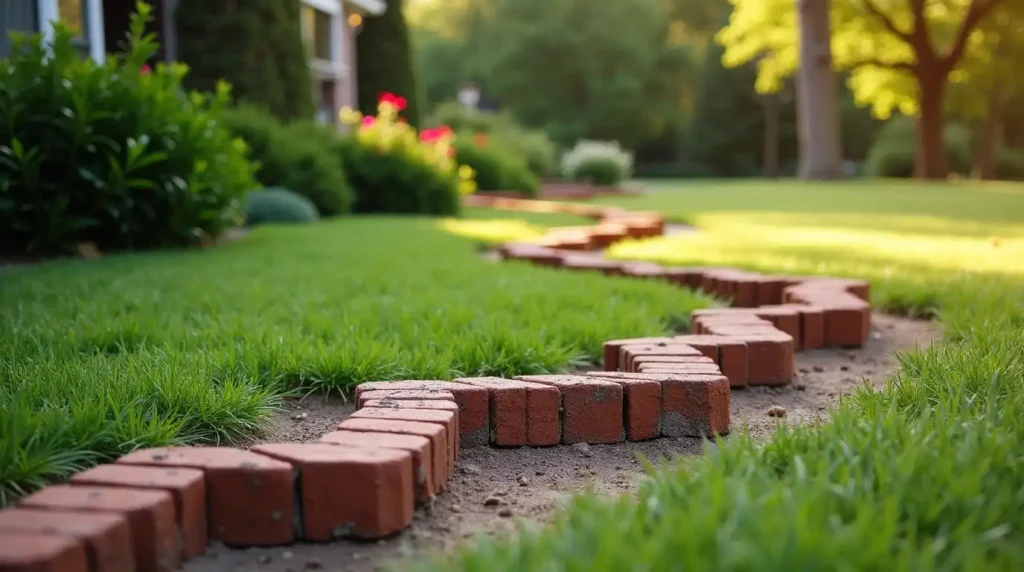
A sawtooth border uses bricks set at an angle. The raised corners create a pointed pattern along the flower bed.
This style works well in cottage gardens and older homes. It adds detail without needing a large amount of brick.
Mark the border first so the angle stays even. Uneven bricks can make the finished edge look messy. Use a string line for straight beds or a garden hose for curves.
A sawtooth edge sits higher than a flat border. Dirt and leaves may collect between the raised points. You may need to clean it more often.
Use this design around one key bed instead of every garden area. Too many pointed borders can make a small yard look busy.
Best for: Cottage and vintage-style gardens
Effort: Low to medium
Upkeep: Medium
Watch for: Uneven angles and dirt between bricks
Build a Brick Mowing Strip Beside the Lawn
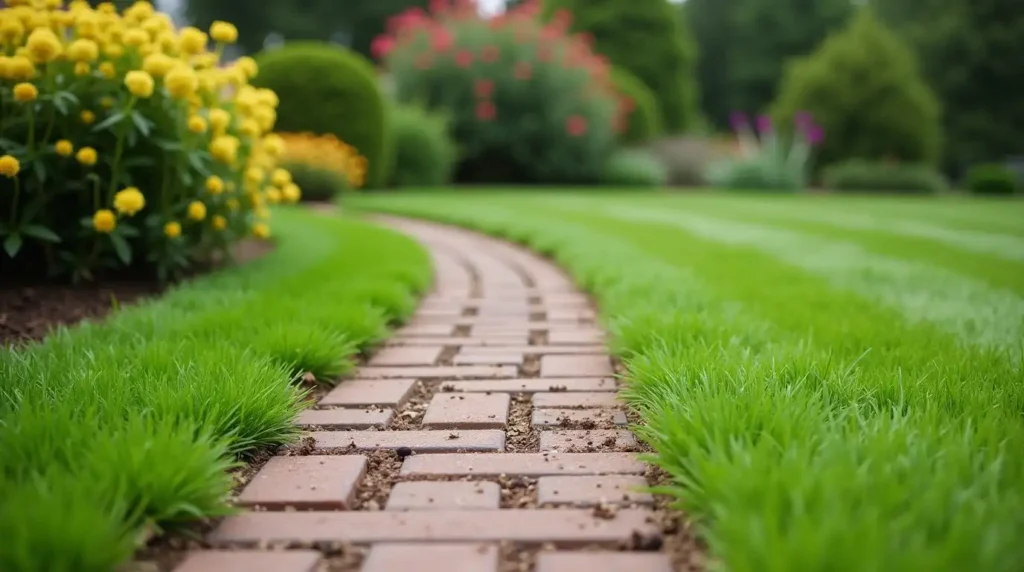
A brick mowing strip can reduce the time you spend trimming grass by hand.
Lay one or two flat rows between the lawn and the garden bed. The mower wheel can roll over the brick while the blade cuts the grass near the edge.
Set the bricks close to ground level. Raised bricks may block the mower or create a trip risk.
Use a solid base and edge support to keep the rows from spreading. Soil movement, tree roots, and heavy rain can shift loose bricks over time.
This is one of the most useful brick garden edging ideas for people who want a neat lawn without constant trimming.
Best for: Lawns beside mulch or flower beds
Effort: Medium
Upkeep: Low
Watch for: Sinking bricks and raised corners
Build a Raised Brick Flower Bed
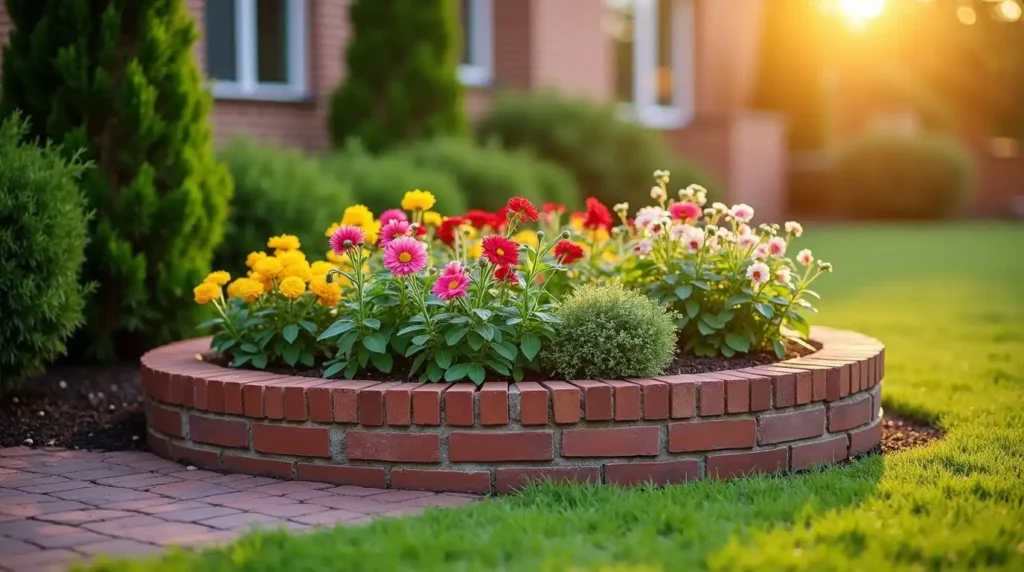
A raised brick bed adds planting space where the soil is poor, wet, or hard to work.
You can build a straight, square, round, or curved bed. A low wall often feels less heavy than a tall one. It is also easier to build and maintain.
Plan drainage before adding soil. Water should be able to leave the bed instead of collecting around plant roots.
Add soft plants near the brick edge. Trailing flowers, herbs, and low grasses can help balance the hard surface.
A dry-stacked low bed may work for a small decorative project. Taller beds often need mortar, footings, or help from a skilled builder.
Best for: Poor soil and formal garden layouts
Effort: Medium to high
Upkeep: Low
Watch for: Trapped water and weak walls
Make a Brick Herb Spiral
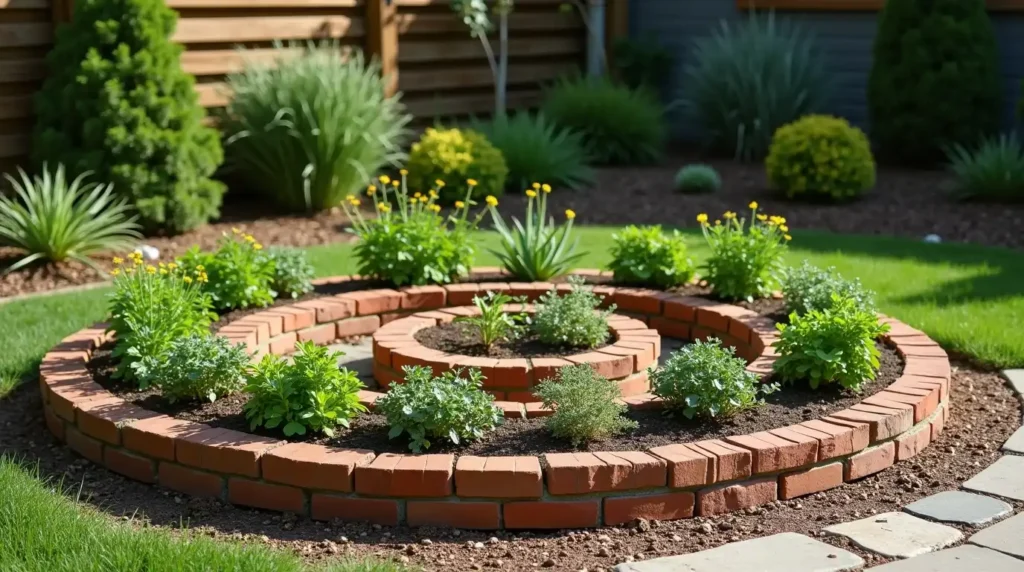
A brick herb spiral gives you several planting areas in one small space.
The bed rises as it curves inward. The top often stays warmer and drier. The bottom can hold more moisture.
Place herbs such as rosemary, thyme, or oregano near the upper section. Herbs that prefer more moisture can grow lower in the spiral.
Reclaimed brick works well for this project because small color and size changes can add charm. Test the full shape before filling it with soil.
Do not make the spiral too wide. You should be able to reach the middle without stepping into the bed.
Best for: Small yards and kitchen gardens
Effort: Medium
Upkeep: Medium
Watch for: A center that is hard to reach
Lay a Simple Straight Brick Walkway

A straight brick walkway creates a clear route between two points. It may connect a gate to the front door or the patio to a shed.
Straight lines often suit formal homes and narrow side yards. They can also make a small entrance look neat and ordered.
Mark both sides of the path with stakes and string. Keep the width even from start to finish.
The base matters more than the pattern. Loose soil can cause low spots, puddles, and moving bricks. Compact the ground and base in thin layers.
Add strong edge support along both sides. This keeps the bricks from spreading under regular foot traffic.
Best for: Front entrances and narrow side yards
Effort: Medium
Upkeep: Low
Watch for: Weak edges and low spots
Use a Curved Brick Path to Soften the Yard
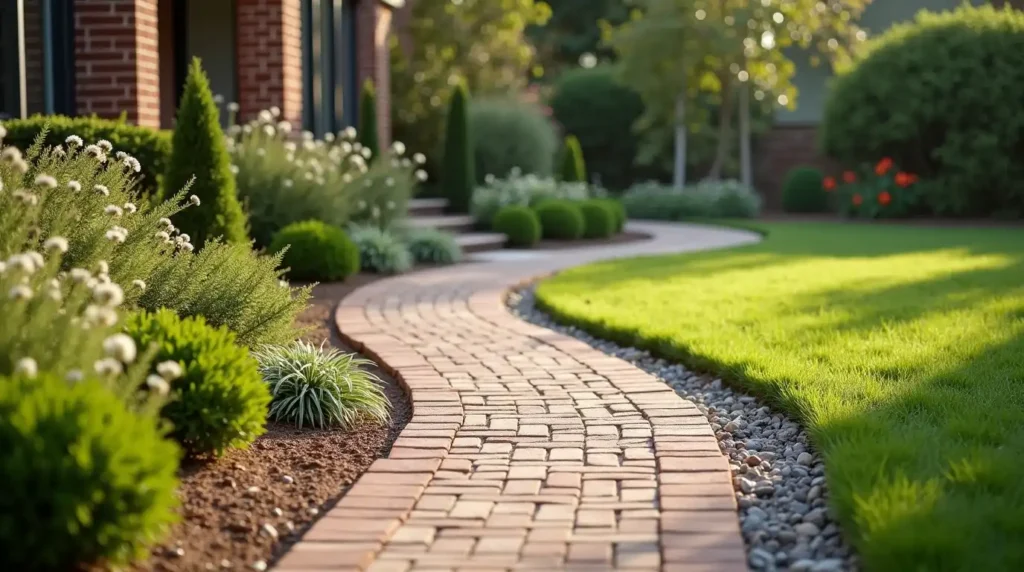
A curved path can make a stiff yard feel more relaxed. It can also lead the eye past flowers, shrubs, or a seating area.
Use a garden hose to test the curve before digging. Walk along the planned route to see if it feels natural.
Avoid sharp turns. Wide, gentle curves are easier to walk on and easier to build.
Place taller plants near the outside of a curve. Keep low plants near the inside so the path stays open and safe.
A curved path may also make a small garden feel longer because the full route is not seen at once.
Best for: Informal gardens and wide planting beds
Effort: Medium
Upkeep: Low
Watch for: Curves that feel forced or waste space
Choose a Herringbone Pattern for a Strong Walkway
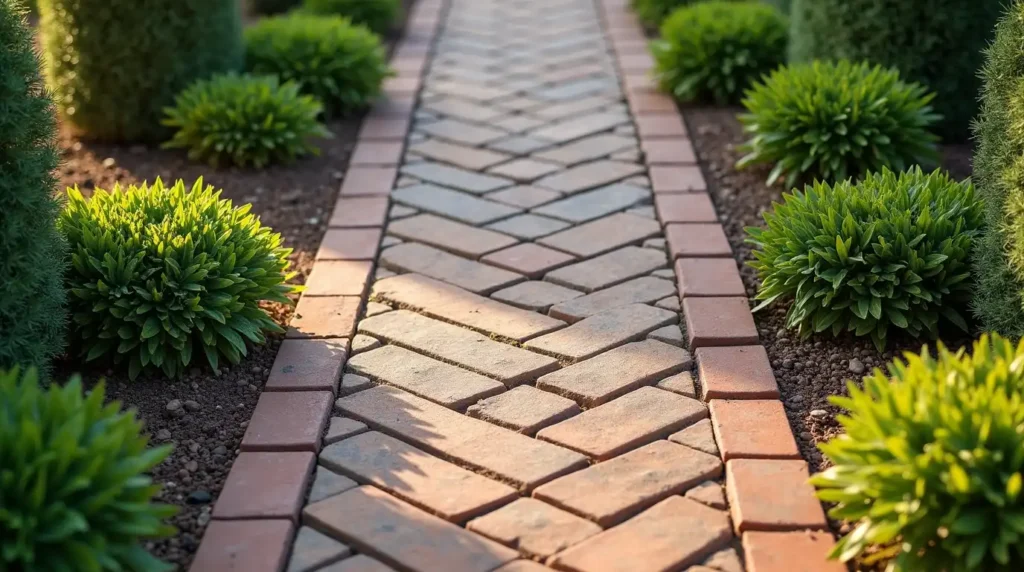
A herringbone pattern places bricks at angles to form a V-shaped design.
The pattern gives a path a strong sense of movement. It often looks good near traditional homes, brick walls, and formal garden beds.
Lay a plain brick border around the pattern. The border frames the design and helps hold the angled bricks in place.
Herringbone takes more planning than a basic running pattern. You may also need to cut bricks along the sides.
Test a small section before laying the full path. This lets you check the angle, spacing, and number of cuts.
Best for: Main walkways and traditional homes
Effort: High
Upkeep: Low
Watch for: Poor alignment and too many cuts
Use a Basketweave Pattern for a Classic Look
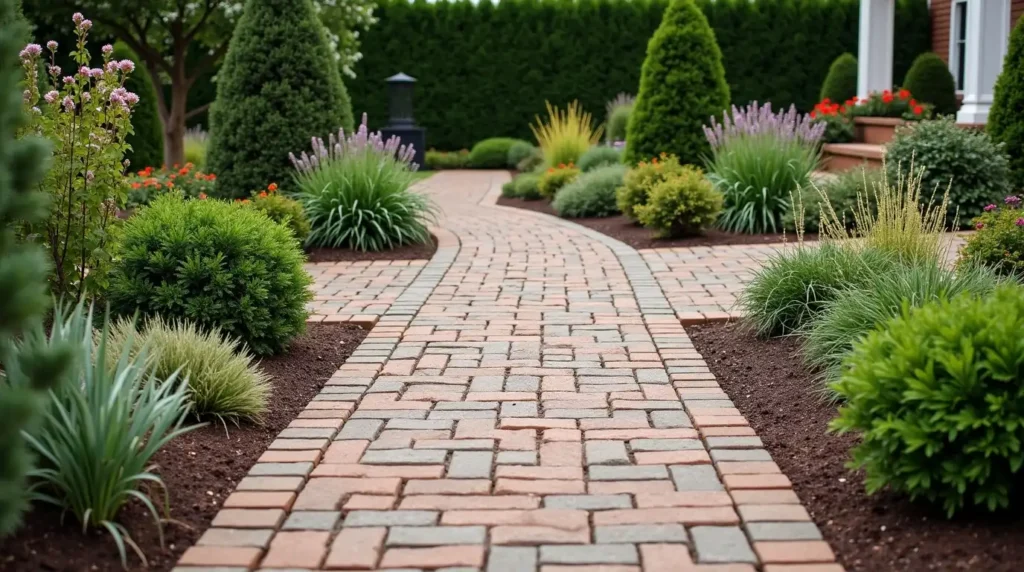
A basketweave pattern uses pairs of bricks placed in different directions.
One pair sits side by side in one direction. The next pair turns at a right angle. This creates a woven look across the surface.
The pattern works well in square patios, courtyards, and short paths. It adds detail without looking too bold.
Use a simple border around the outside. This helps control the pattern and gives the area a clean finish.
Basketweave works best when the brick size fits the design. Measure your bricks before planning the layout.
Best for: Courtyards and small traditional patios
Effort: Medium to high
Upkeep: Low
Watch for: Bricks that do not fit the planned pattern
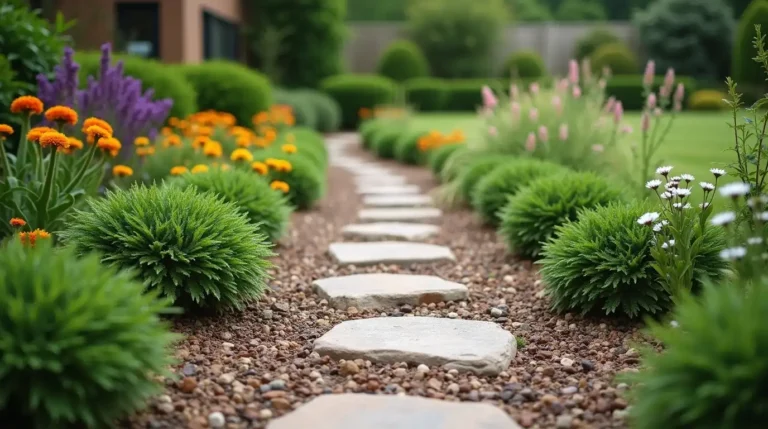
Combine Brick and Gravel in One Path
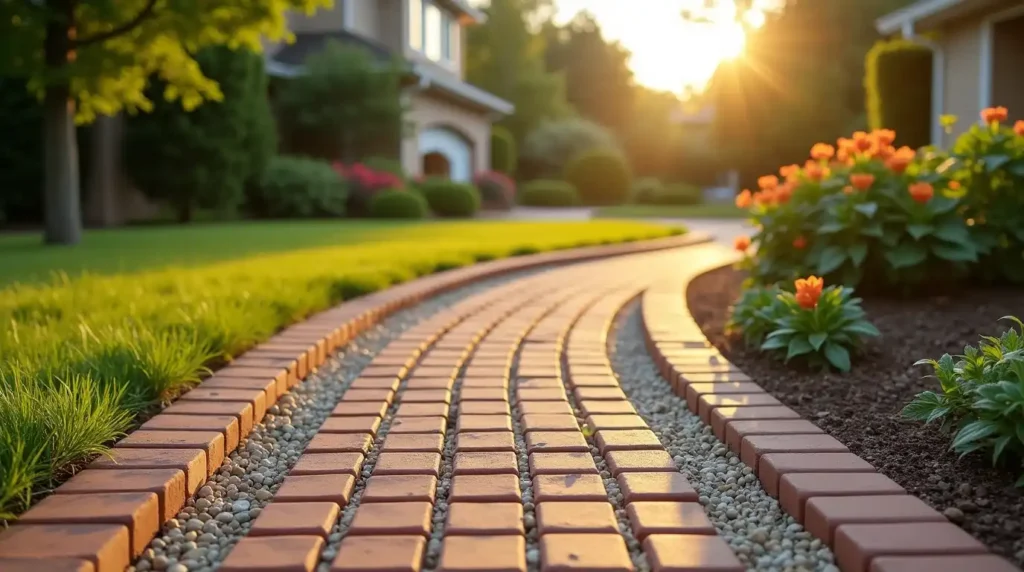
A brick and gravel path can cost less than a path made from brick alone.
Use bricks along the sides to hold the gravel in place. You can also place rows of brick across the path as walking bands.
Choose gravel that works with the brick color. Pale gravel creates a bright contrast. Brown or tan gravel gives the path a softer look.
Compact the gravel so your feet do not sink into it. Add a fabric layer only when it suits the soil, drainage plan, and project type.
Keep the path slightly raised from nearby beds. This can help stop soil from washing into the gravel.
Best for: Budget yards and informal gardens
Effort: Medium
Upkeep: Medium
Watch for: Loose gravel spreading into the lawn
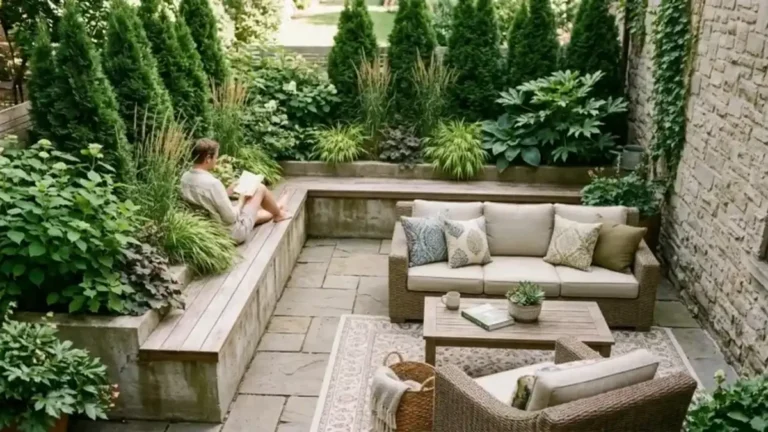
Create a Small Brick Patio
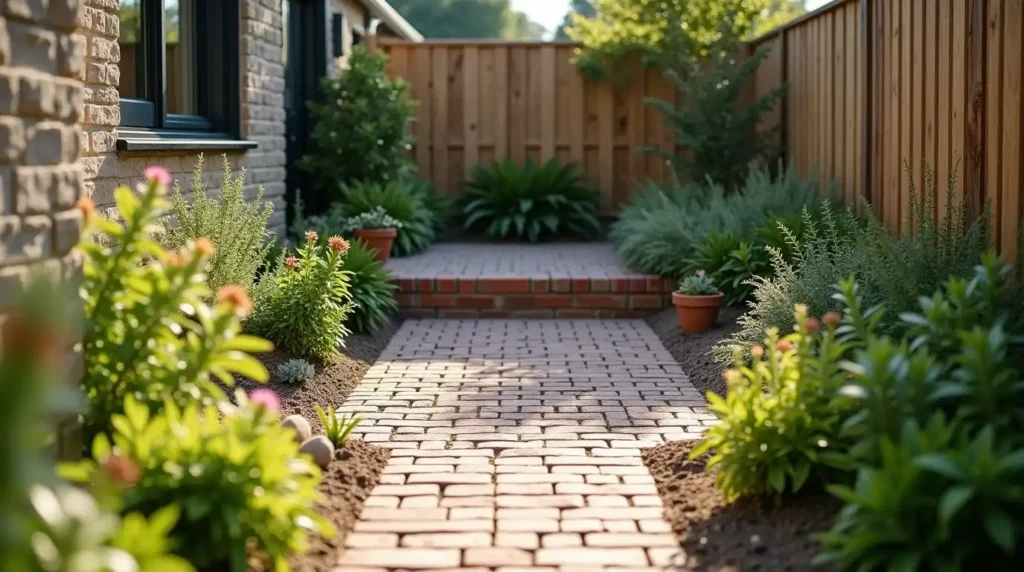
A small brick patio can turn an empty corner into a place for coffee, meals, or quiet time.
Choose a spot near the house or in a shaded part of the yard. Make sure there is enough room for chairs to move without touching the edge.
A simple running pattern is easier for a first DIY patio. More detailed patterns often need extra cuts and planning.
The finished surface should guide water away from buildings. Test the area after rain before you begin.
Add pots, a small table, and soft outdoor fabric. These items help the brick feel warm instead of hard.
Best for: Small backyards and seating areas
Effort: High
Upkeep: Medium
Watch for: Poor drainage and weak base layers
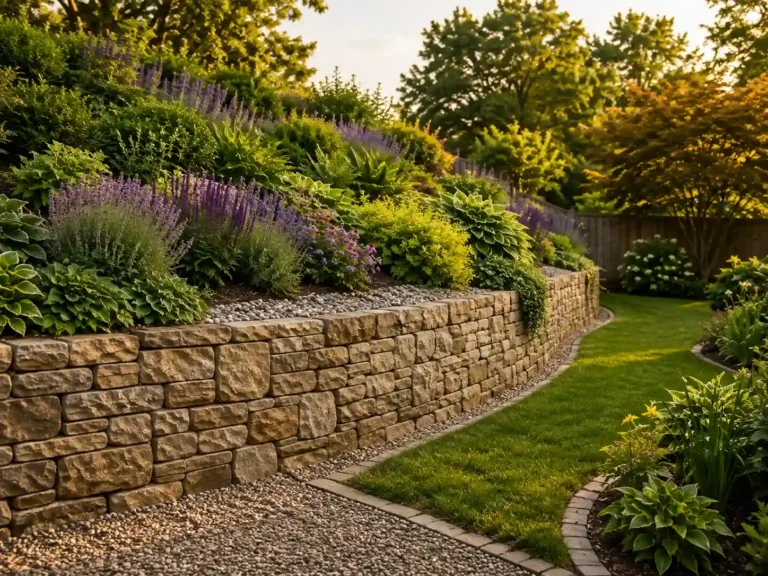
Add a Low Brick Retaining Wall
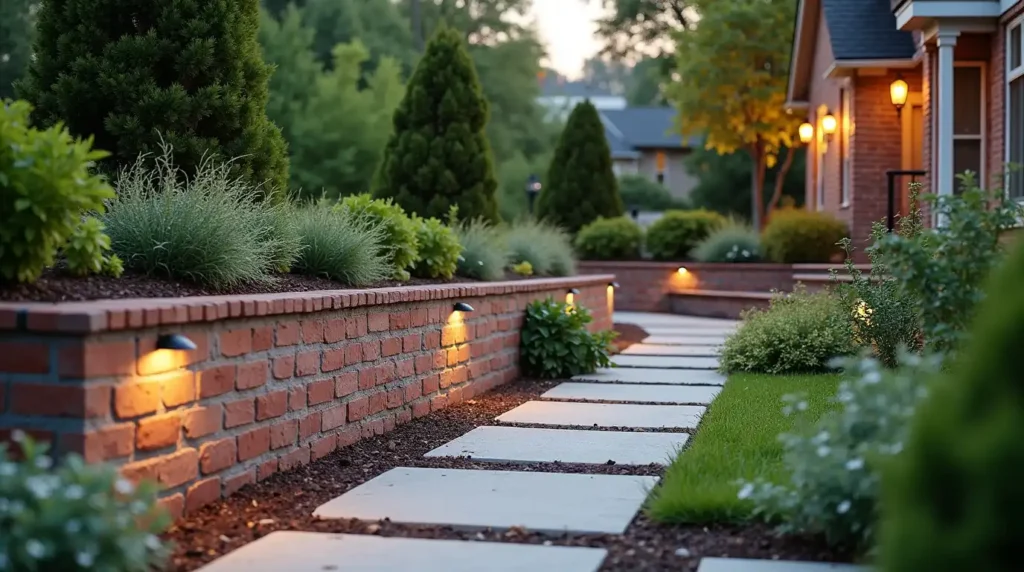
A low retaining wall can hold back a small amount of soil. It can also create a raised planting area on a gentle slope.
Water pressure behind a wall can cause cracks or movement. Add proper drainage behind the bricks before filling the area with soil.
Keep DIY walls low and simple. Tall walls carry more weight and may need permits, deeper support, or a trained builder.
Check local building rules before starting. Height limits and safety needs can change by area.
Plant trailing flowers or soft groundcover along the top. This can make the wall feel more connected to the garden.
Best for: Minor slopes and raised planting areas
Effort: High
Upkeep: Low
Watch for: Water pressure and wall movement
Build Brick Garden Steps on a Gentle Slope
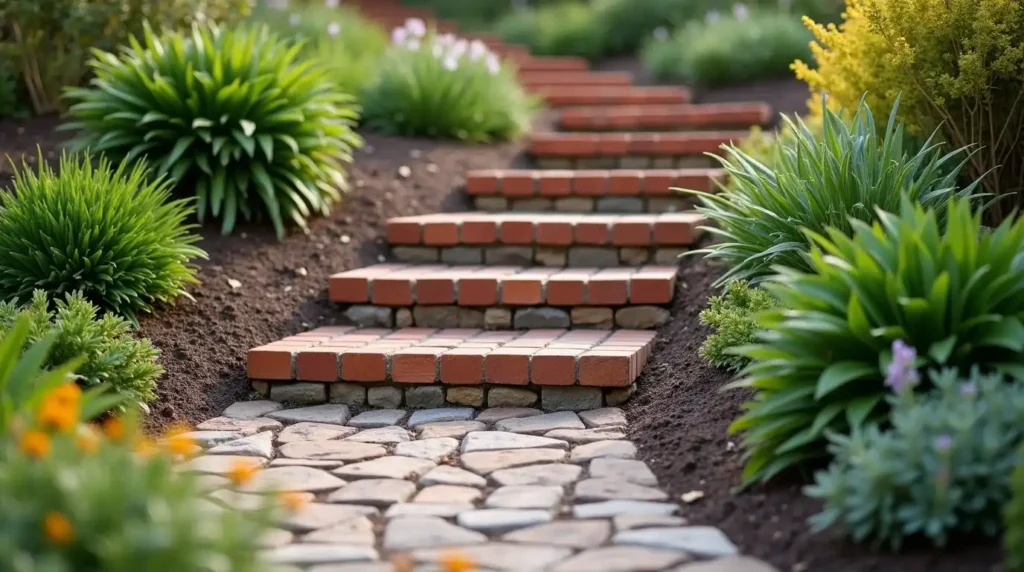
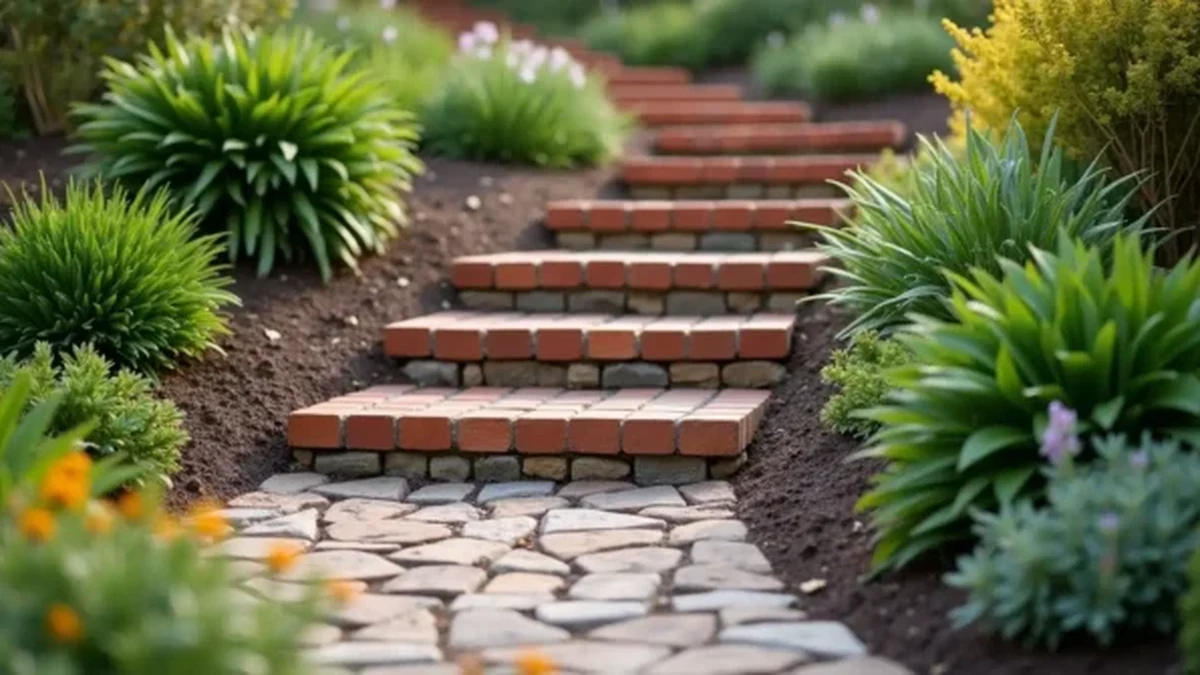
Brick steps can make a mild slope safer and easier to use.
Every step should have the same height and depth. Uneven steps can cause trips, even when the difference seems small.
Build a firm base under each step. Loose soil may settle at different rates and make the steps tilt.
Plan where rainwater will go. Water should not run down the center and wash out the base.
Brick steps on a steep slope need careful support. Get expert help when the ground is unstable or the height change is large.
Best for: Gentle slopes and raised patios
Effort: High
Upkeep: Medium
Watch for: Uneven step height and poor drainage
Create a Brick Fire Pit Surround
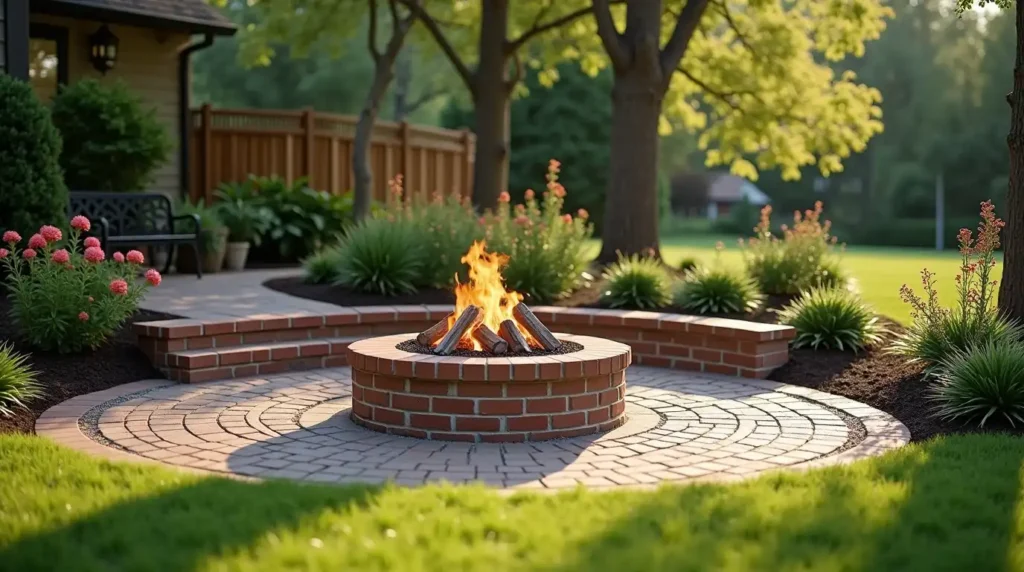
Brick can create a dry and neat area around a fire pit. It works well as paving under chairs or as an outer border.
Do not place regular landscape bricks where they will face direct flame or very high heat. Use a listed fire pit insert or high-heat-rated inner material.
Keep the fire area away from buildings, fences, branches, and dry plants. Follow local fire rules before building or lighting a fire.
Use gravel, brick paving, or another firm material around the seating area. This keeps chairs steady and reduces mud.
Leave enough space for people to move safely around the fire.
Best for: Open backyards with safe clearance
Effort: Medium to high
Upkeep: Medium
Watch for: Heat damage and unsafe placement
Build a Brick Base for a Garden Bench
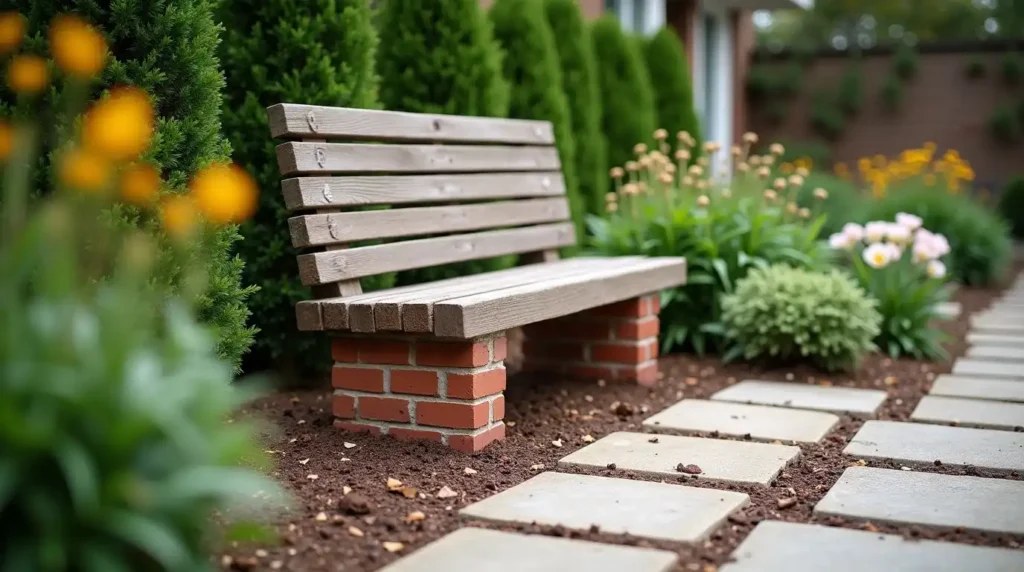
A brick base can support a wood, stone, or concrete bench.
Choose a quiet location with shade or a pleasant view. Keep the bench away from busy paths and wet ground.
Build two level brick supports under the seat. Both sides must match in height or the bench may rock.
Leave enough space under and around the seat for feet. Also check that people can stand up without stepping into plants.
Match the base with a nearby path, patio, or garden border. This makes the bench feel like part of the full yard design.
Best for: Courtyards and quiet garden corners
Effort: Medium to high
Upkeep: Low
Watch for: Uneven supports
Add a Safe Brick Border Around a Tree
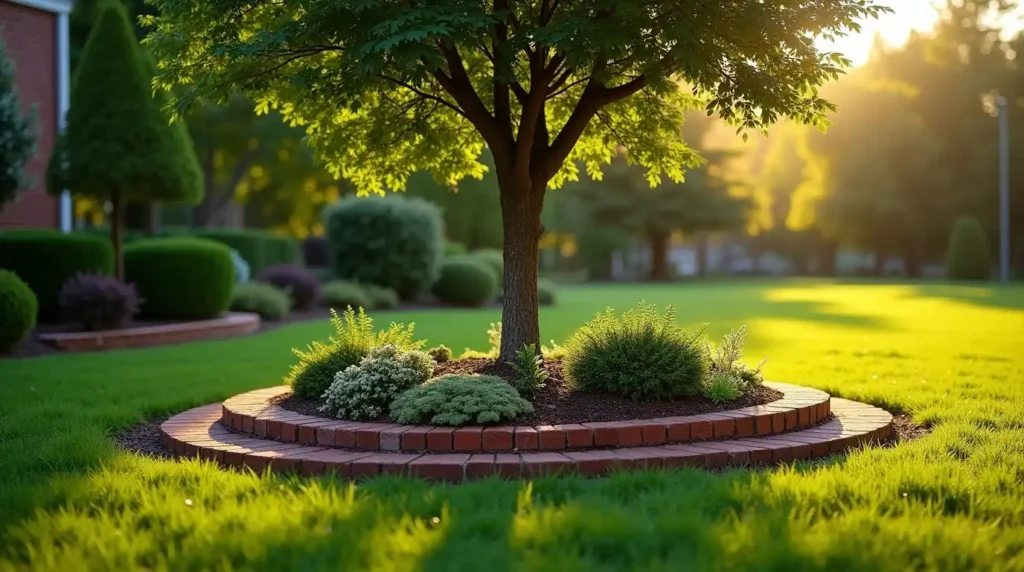
A flat brick border can separate a tree from the lawn. It can also keep mulch in one area.
Leave open space around the trunk. Do not place bricks tightly against the bark.
Avoid adding deep soil or mulch over the tree roots. The base of the trunk should stay visible.
Do not dig deeply near large roots. Cutting roots can harm the tree and may make it less stable.
Choose small shade plants that need little digging. A simple flat border is safer than a high ring filled with extra soil.
Best for: Mature lawn trees
Effort: Low
Upkeep: Low
Watch for: Covered roots and bricks touching the trunk
Make a Brick Platform for Pots and Planters
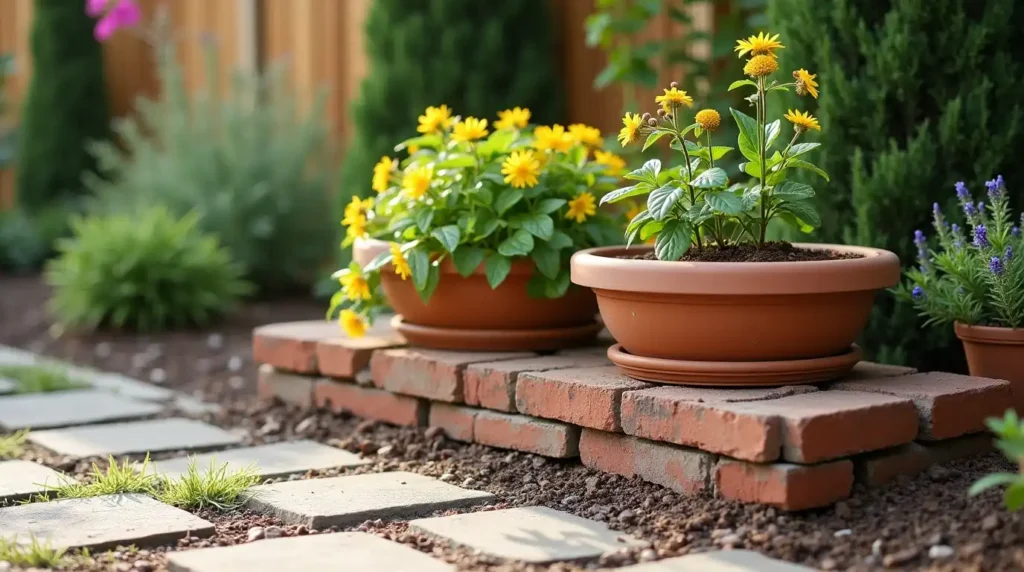
A small brick platform gives plant pots a clean, level place to sit.
Use it near a back door, fence, shed, or blank wall. It can make a plain corner feel more useful.
Lay the bricks over a firm base. Keep the surface level so tall pots do not lean.
Group pots in different heights. Place large containers at the back and smaller ones near the front.
Reclaimed brick can keep the cost low. It also works well when the yard already has an aged or cottage look.
Best for: Renters and small yards
Effort: Low to medium
Upkeep: Low
Watch for: Poor drainage under large pots
Create a Reclaimed-Brick Mosaic or Focal Point
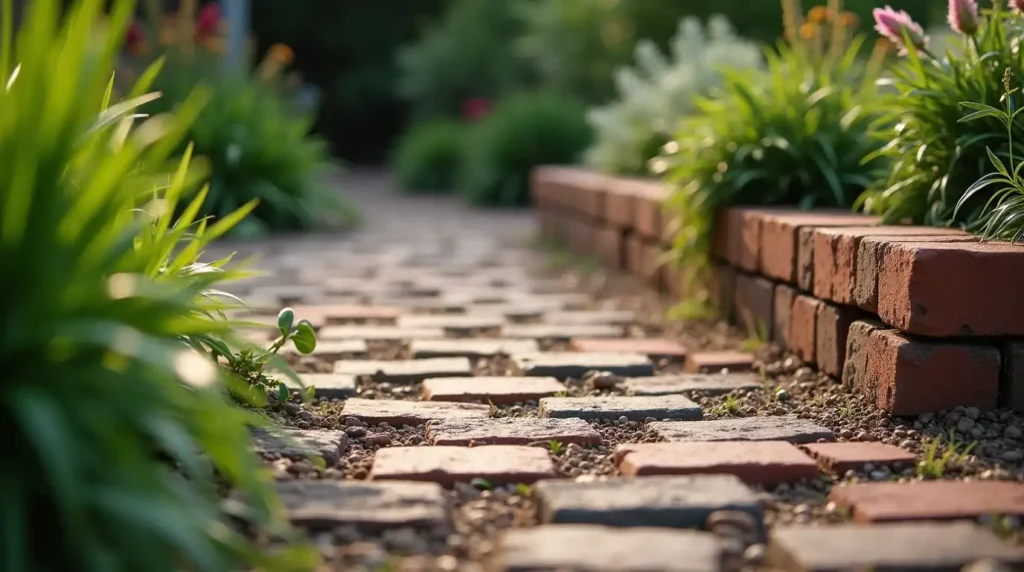
Leftover bricks can become a simple garden feature instead of going to waste.
Mix red, brown, tan, and dark bricks to create a basic pattern. You could make a circle, diamond, checker pattern, or framed square.
Place the design at a path entrance, in the center of a small patio, or near a seating area.
Lay out the full pattern before fixing anything in place. Stand back and view it from several points in the yard.
Keep the shape simple. Fine details may disappear when seen from a distance.
Best for: Creative projects and leftover materials
Effort: Medium
Upkeep: Low
Watch for: A design that feels too busy
Which Brick Project Fits Your Main Goal?
| Your Goal | A Good Option |
| Make mowing easier | Brick mowing strip |
| Use leftover bricks | Pot platform or mosaic |
| Improve a small yard | Herb spiral or curved path |
| Add outdoor seating | Brick patio or bench |
| Control a gentle slope | Steps or low retaining wall |
| Create a formal entrance | Straight brick walkway |
| Add cottage charm | Sawtooth edging |
| Lower path costs | Brick and gravel path |
How to Choose the Right Brick Idea for Your Yard
A project may look great in a photo but still be wrong for your space.
Start with the size of your yard. A large brick patio may feel too heavy in a tiny garden. Flat edging, a pot platform, or a small herb spiral may fit better.
Next, decide what problem you need to fix. A mowing strip can reduce trimming. A path can keep shoes out of mud. A raised bed can improve planting in poor soil.
Think about your home style. Straight paths and simple borders often suit modern or formal homes. Curved paths and reclaimed brick work well in cottage gardens.
Your skill level matters too. A flat border is easier than a patio, retaining wall, or set of steps. Larger projects need more digging, cutting, leveling, and compacting.
Also think about future care. Wide joints may collect weeds. Gravel may spread. Raised bricks may create trip risks. A design that looks good should also be easy for you to live with.
When landscaping with bricks, choose two or three ideas before buying materials. Mark each design on the ground. Then compare the size, cost, work, and upkeep.
How to Install Brick Landscaping That Stays Level
The brick pattern gets attention, but the base controls how long the project lasts.
A path or patio needs more base work than a light garden border. Soil type, rain, frost, and expected use can also change the right setup.
Follow the brick maker’s directions for your chosen product. Local hardscape suppliers can also suggest base materials that work in your area.
1. Mark the Area
Use stakes and string for straight lines. Use a garden hose for curves.
Walk around the marked area before digging. Check that the size and shape feel right.
2. Remove Loose Soil
Dig out grass, roots, and soft soil. The depth will depend on the project and local ground conditions.
Do not guess on major patios, steps, or walls. Check product directions or ask a local installer.
3. Compact the Ground
Press the exposed soil until it feels firm. A hand tamper may work for a small border. Larger areas may need a plate compactor.
4. Add the Base in Thin Layers
Spread the base material in thin layers. Compact each layer before adding the next one.
One thick layer may look solid at first but can settle later.
5. Add the Bedding Layer
Some brick paving systems use a thin sand layer above the compacted base. Keep it smooth and even.
Do not walk over the finished bedding layer before setting the bricks.
6. Lay the Bricks
Begin from a straight fixed edge. Place each brick gently.
Check the level, spacing, and pattern often. Fix small errors before they spread across the project.
7. Secure the Edges
Paths and patios need edge support. Without it, the outside bricks may move apart.
Use an edging system suited to the brick and base.
8. Fill the Joints
Sweep the recommended joint material between the bricks. Follow the product instructions.
Some joint sands need water. Others must stay dry during use.
9. Test the Drainage
Use a hose or wait for light rain. Check for puddles and water moving toward the house.
Fix low spots before placing furniture or finishing nearby beds.
How to Keep Brick Borders and Paths Looking Good
Brick does not need constant care. Still, small problems are easier to fix before they grow.
Sweep leaves and soil from the surface. Wet leaves can stain brick and make paths slippery.
Pull weeds while they are small. Large roots may push bricks apart or make them harder to reset.
Check paths and patios after heavy rain. Look for puddles, washed-out joints, and low areas.
Reset any loose or sunken brick. One raised corner can become a trip risk.
Use a stiff brush and mild cleaner for basic dirt. Test any cleaner on a hidden area first.
Pressure washing may remove dirt quickly, but strong water can also wash joint material away. Use low pressure and keep the nozzle moving.
Save several matching bricks after installation. They will be useful if one breaks or becomes stained.
A simple seasonal check can help:
- Spring: Check for movement, weeds, and winter damage.
- Summer: Remove stains and plant growth.
- Fall: Sweep leaves from paths and joints.
- Winter: Avoid metal tools that may chip brick.
Brick Landscaping Mistakes That Can Cost You More
Most failed brick projects have problems with the base, drainage, or material choice.
Laying Bricks on Loose Soil
Loose soil can settle after rain. This may leave low spots and uneven edges.
Fix: Remove soft soil and compact a proper base.
Ignoring Water Flow
A patio may look level but still send water toward the house.
Fix: Plan the slope before installing the bricks.
Using the Wrong Brick
Some wall bricks are not made for wet ground, foot traffic, or freezing weather.
Fix: Use paving bricks for busy outdoor surfaces.
Skipping Edge Support
Brick paths can spread when the sides are not held in place.
Fix: Install proper edge restraints before filling the joints.
Building Too Close to a Tree
Deep digging can damage roots. Raised soil can also harm the base of the trunk.
Fix: Keep the tree’s root flare open and avoid cutting major roots.
Making Uneven Steps
Small changes in step height can cause trips.
Fix: Measure every step and check it during construction.
Using Regular Brick Inside a Fire Pit
Regular brick may crack or break under high heat.
Fix: Use approved high-heat materials or a listed metal insert.
Most brick problems begin below the surface. Spend more time preparing the base than choosing the pattern.