16 Patio Ideas for Backyard Spaces of Any Size
Your backyard has space for a patio, but choosing the right design can feel hard. You may worry that the yard is too small. You may also think a good patio will cost more than you can afford.
The wrong layout can waste space. Poor drainage can leave standing water. Large furniture can make a small yard feel crowded. A patio without shade may sit unused during hot weather.
These patio ideas for backyard spaces can help you avoid those problems. You will find low-cost materials, space-saving layouts, covered seating options, and designs for sloped yards.
Some ideas work well as weekend DIY projects. Others may need help from a skilled contractor. The right choice depends on your budget, yard size, climate, and how you plan to use the space.
Start by choosing one main goal. Do you want a dining area, a quiet seating spot, or a place for evening gatherings? Once you know the answer, the rest of the plan becomes much easier.
Compare These Backyard Patio Ideas
| Patio Idea | Best For | Budget | DIY Level | Maintenance |
| Gravel patio | Low-cost projects | Low | Easy | Medium |
| Paver patio | Long-term use | Medium | Moderate | Low |
| Concrete makeover | Existing patios | Low to medium | Easy | Low |
| Flagstone patio | Natural gardens | Medium to high | Moderate | Medium |
| Brick patio | Classic homes | Medium | Moderate | Medium |
| Corner patio | Small yards | Low to medium | Easy | Low |
| Pergola patio | Shade and dining | Medium to high | Moderate | Medium |
| Shade sail patio | Flexible shade | Low | Easy | Low |
| Dining patio | Family meals | Medium | Easy | Medium |
| Fire pit patio | Evening gatherings | Medium | Moderate | Medium |
| Outdoor kitchen | Cooking outside | Medium to high | Advanced | Medium |
| Garden patio | Plant lovers | Low to medium | Easy | Medium |
| Private patio | Close neighbors | Low to medium | Easy | Medium |
| Multi-level patio | Sloped yards | High | Advanced | Medium |
| Modern patio | Clean design | Medium | Moderate | Low |
| All-season patio | Year-round use | Medium to high | Moderate | Medium |
Create an Affordable Gravel Backyard Patio
Best for: Tight budgets
DIY level: Easy
Main benefit: Low material cost
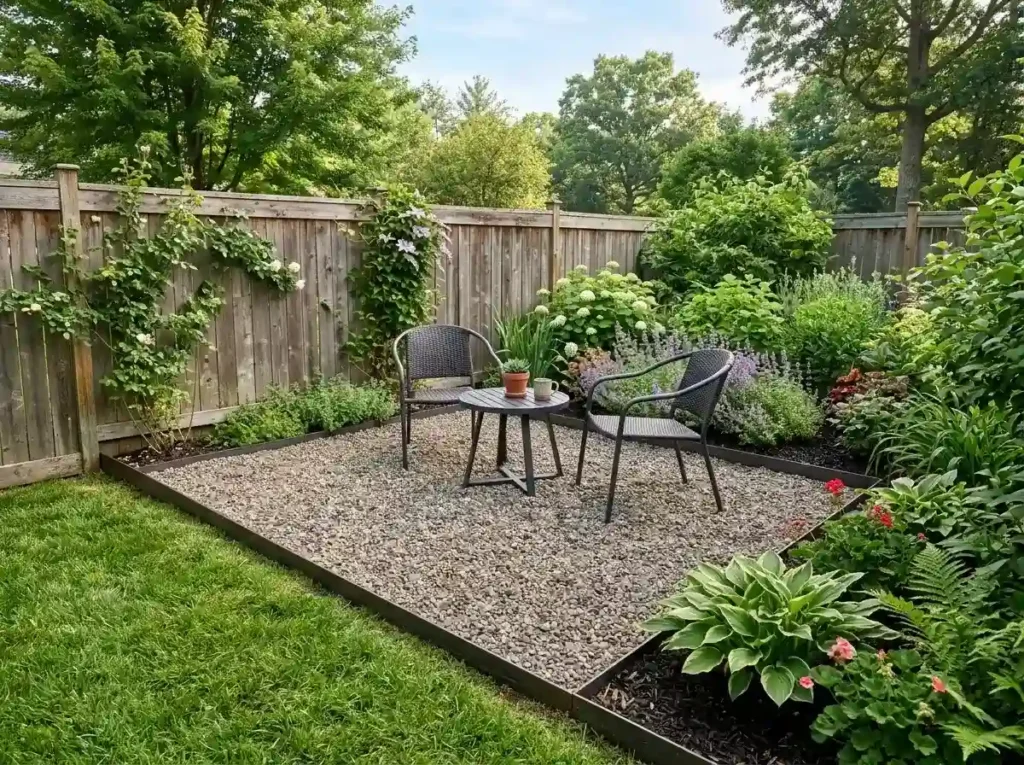
Gravel is one of the simplest materials for a backyard patio. It costs less than many types of stone, brick, or poured concrete. It also works well in spaces where heavy building work is not possible.
Start by marking the patio area with string. Remove the grass and a few inches of soil. Add a firm base, install strong edging, and spread the gravel in even layers.
The edging matters. Without it, the small stones may move into your lawn or garden beds.
Pea gravel feels smooth underfoot, but chairs may sink into it. Crushed stone locks together better and creates a firmer surface. Decomposed granite can also provide a more stable finish.
Use chairs and tables with wide legs. Thin furniture feet can sink or wobble.
Gravel is affordable, but it is not free from upkeep. You may need to rake it, remove weeds, and add fresh material over time. It remains one of the most useful budget backyard patio ideas for a simple seating area.
Build a Paver Patio That Lasts
Best for: Long-term use
DIY level: Moderate
Main benefit: Easy repairs
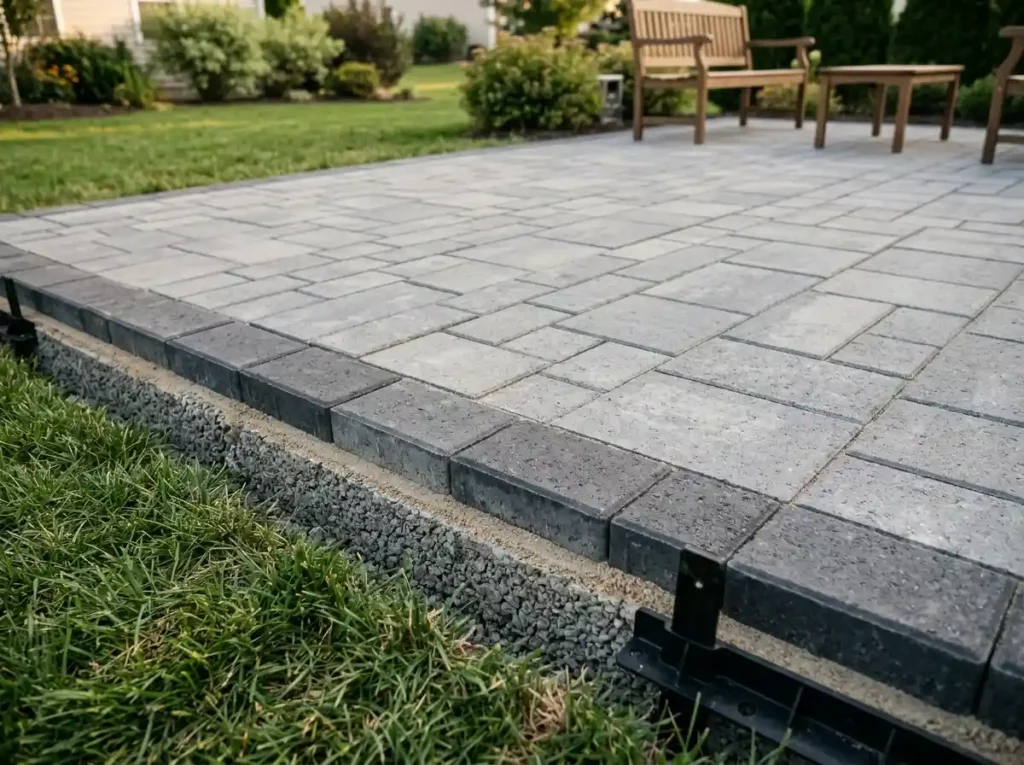
Pavers create a clean and finished surface without using one solid slab. You can choose concrete, brick, or natural stone pavers based on your home and budget.
A good base is more important than an expensive pattern. Poor ground work may cause pavers to sink, tilt, or separate after rain.
Remove loose soil before you begin. Add compacted base material, followed by a thin layer of leveling sand. Place the pavers and secure the outer edges with firm restraints.
Simple square layouts are easier for beginners. Curved designs need more cutting and planning.
Running bond patterns create a relaxed look. Herringbone patterns feel more formal and can handle movement well. A darker border can also give a plain patio more detail.
One major benefit is easy repair. You can lift and replace one damaged paver without rebuilding the full patio.
Among common backyard patio ideas, pavers offer a strong balance of style, repair options, and long-term use.
Refresh an Old Concrete Patio Without Replacing It
Best for: Existing concrete slabs
DIY level: Easy
Main benefit: Less waste and lower cost
An old concrete patio may look dull, stained, or worn. That does not always mean you need to remove it.
Start with a full cleaning. Clear away furniture, leaves, soil, and loose paint. A pressure washer can remove dirt, but use the correct setting to avoid damaging the surface.
Next, inspect the slab for cracks. Small surface cracks may be easy to patch. Wide cracks, sinking areas, or raised sections may point to a deeper problem.
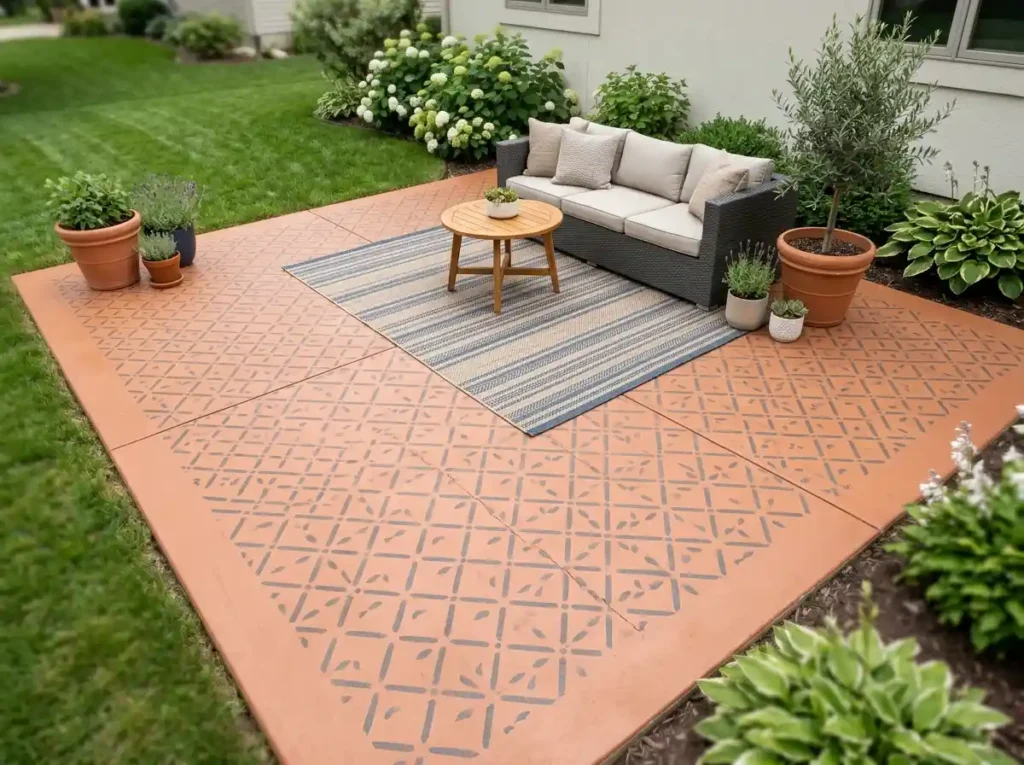
Once the slab is clean and stable, you can add concrete stain or outdoor paint. A stencil can create the look of patterned tile. An outdoor rug can cover plain areas and add comfort.
Follow the coating maker’s rules for weather, drying time, and surface preparation. Paint placed on damp or dirty concrete may peel.
This concrete patio makeover is one of the easiest patio ideas on a budget. It gives an old space a fresh look without the cost and mess of full removal.
Use Flagstone for a Natural Garden Look
Best for: Garden-style yards
DIY level: Moderate
Main benefit: Natural appearance
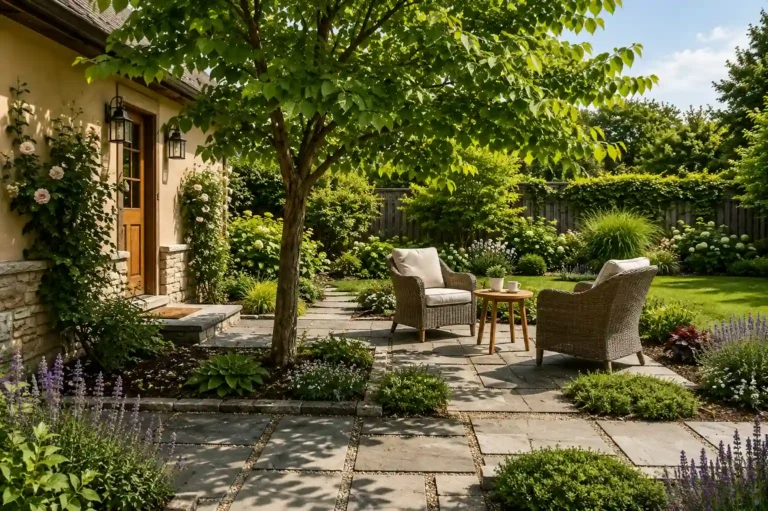
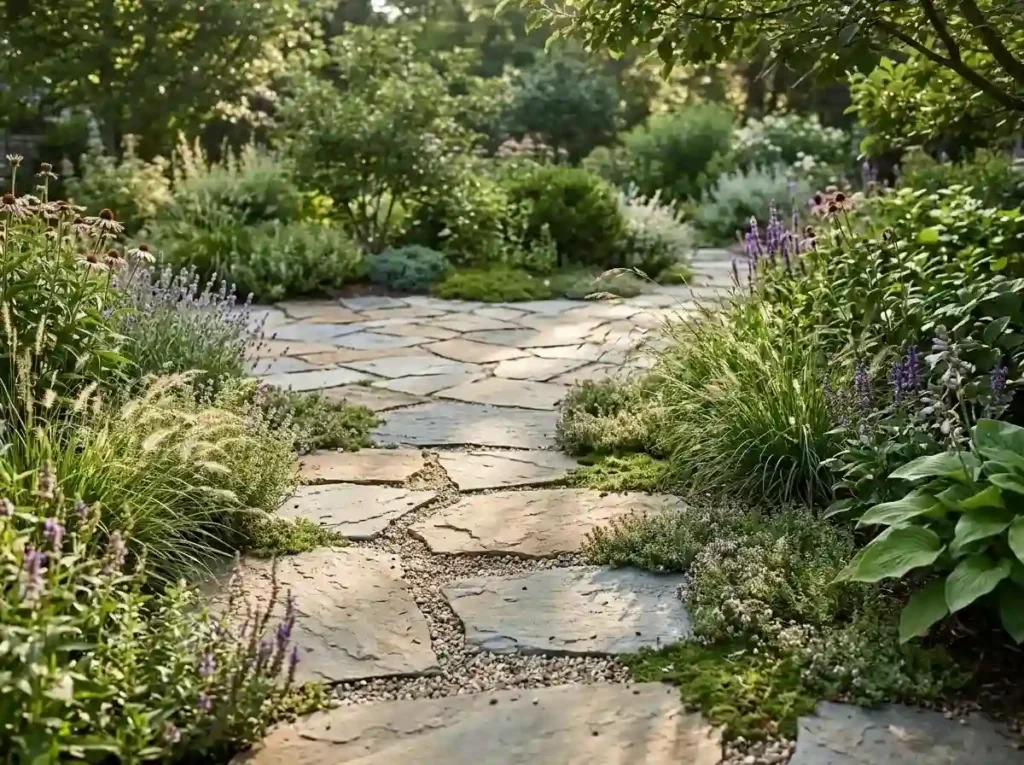
Flagstone works well when you want a patio that blends with plants, trees, and garden beds. Each stone has a different shape, color, and surface.
You can place flagstone on a prepared base without mortar. This is called a dry-laid patio. The gaps may be filled with gravel, sand, or low-growing plants.
A mortared patio creates a firmer surface, but it usually needs more skill. Cracks may form when the base shifts or water freezes under the stone.
Choose stones with a textured surface. Very smooth stone may become slippery during rain.
Try to use pieces with a similar thickness. Large changes in height may create trip hazards.
Flagstone can look great beside ornamental grasses, flowers, and small shrubs. Creeping thyme or another low plant can soften the gaps, as long as it suits your climate.
Stone delivery can add a lot to the project cost. Local stone may be cheaper and may also match the natural colors found in your area.
Add Warm Style With a Brick Patio
Best for: Cottage and traditional homes
DIY level: Moderate
Main benefit: Classic appearance
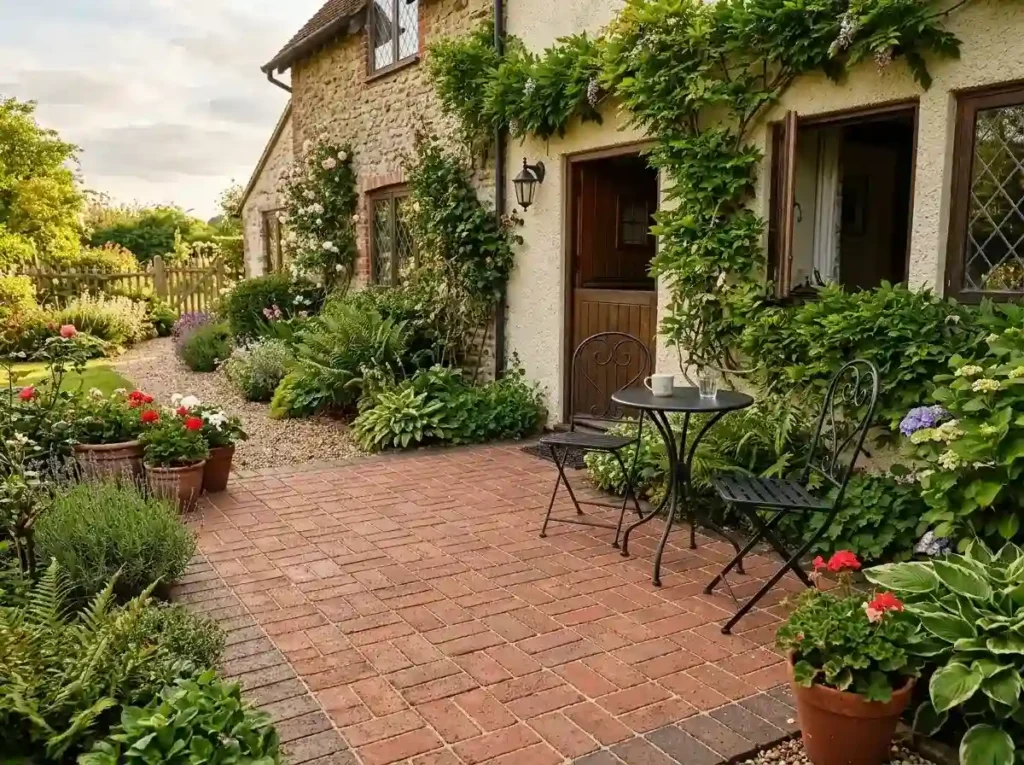
Brick adds warm color and texture to a backyard. It works well with older homes, cottage gardens, and simple metal furniture.
Choose bricks made for outdoor paving. Wall bricks or indoor bricks may crack when they face heavy rain, cold weather, or ground pressure.
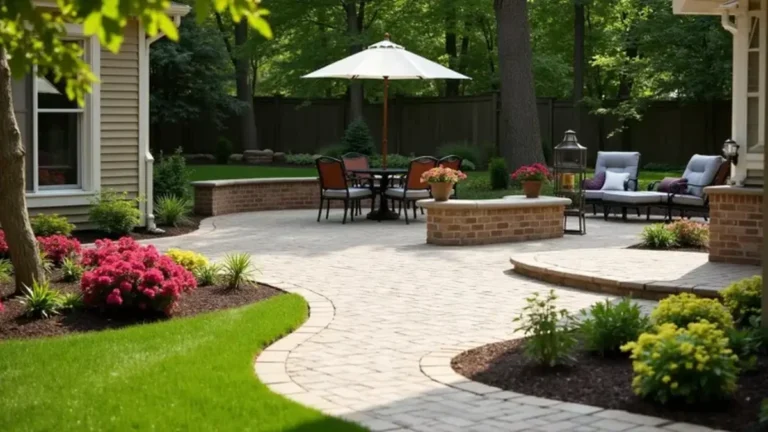
The pattern can change the full look of the patio. Running bond is simple and easy to follow. Basketweave feels more traditional. Herringbone adds strong visual movement.
You can also use a darker row of bricks around the edge. This creates a clear border and helps the patio look more finished.
Reclaimed bricks have an aged look, but they may vary in size and strength. New bricks are more even and may be easier to install.
Brick joints can collect weeds, moss, and dirt. Regular sweeping and joint care will help.
A small red-brick patio with black chairs and green plants can feel welcoming without needing many extra decorations.
Fit a Useful Patio Into a Small Backyard Corner
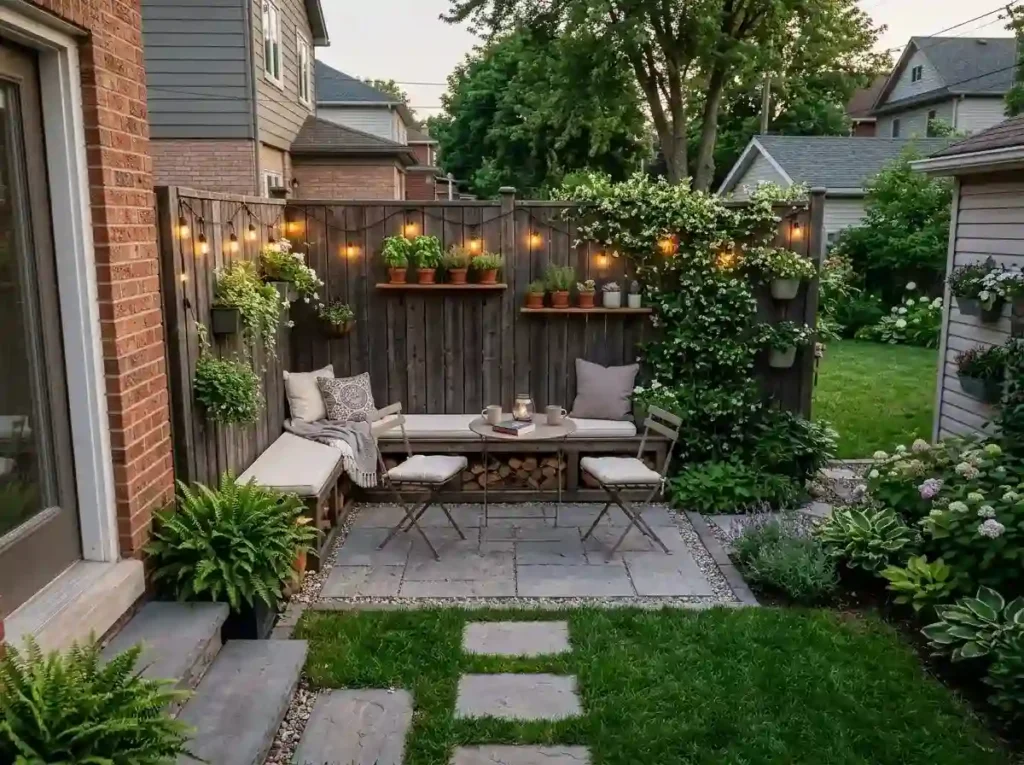
Best for: Small and narrow yards
DIY level: Easy
Main benefit: Saves open space
An unused corner may have enough room for a useful seating area. This is one of the best small backyard patio ideas because it leaves the center of the yard open.
An 8-by-8-foot area may fit a small bench, two chairs, and a round table. Measure each item before you buy it.
Built-in benches use less floor space than separate chairs. They can also include storage under the seats. Use the storage for cushions, garden tools, or outdoor games.
Round tables often fit small patios better than square tables. Their curved edges make it easier to walk around them.
Use the walls and fences for decoration. Add wall planters, narrow shelves, climbing plants, or string lights. This keeps the floor clear.
Leave a simple path from the house to the seating area. Avoid placing chairs where they block doors or garden access.
Mark the furniture size on the ground with tape or chalk first. This quick step can stop you from buying pieces that are too large.
Cover Your Patio With a Pergola
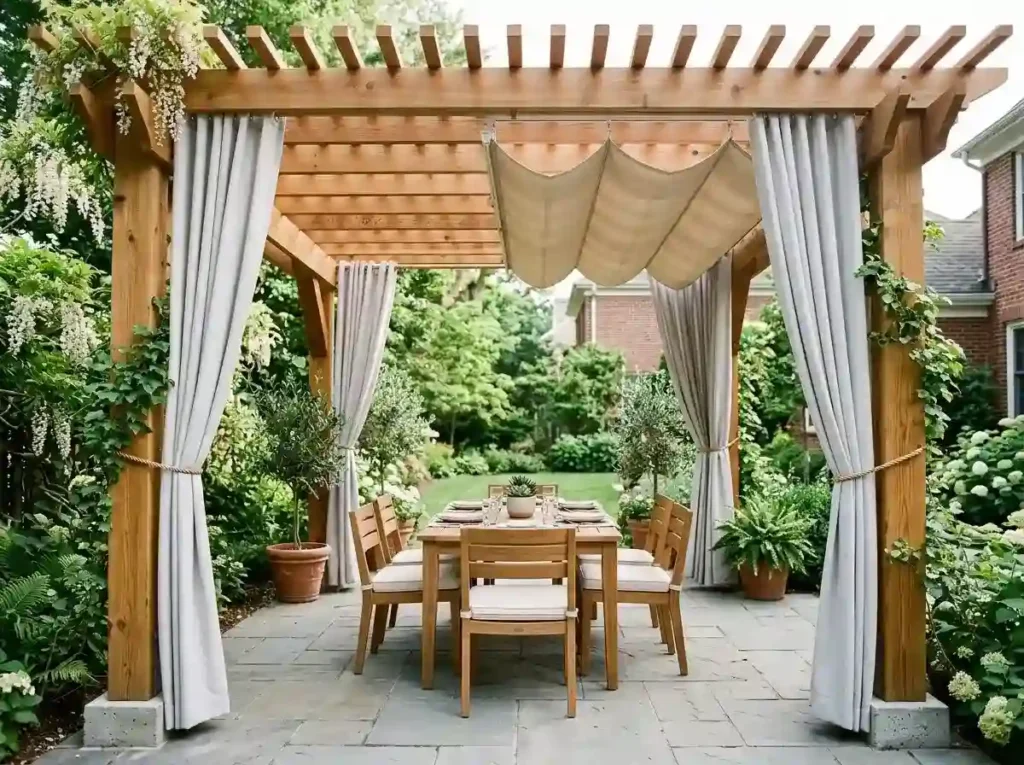
Best for: Dining and shaded seating
DIY level: Moderate
Main benefit: Defines the patio
A pergola helps a patio feel like a clear outdoor room. It adds height, shade, and a strong frame for furniture.
Wood pergolas have a warm and natural look. They may need staining or sealing. Aluminum and vinyl options need less care, but they can cost more at the start.
An open pergola does not block all sunlight. The amount of shade depends on the direction and spacing of the roof slats.
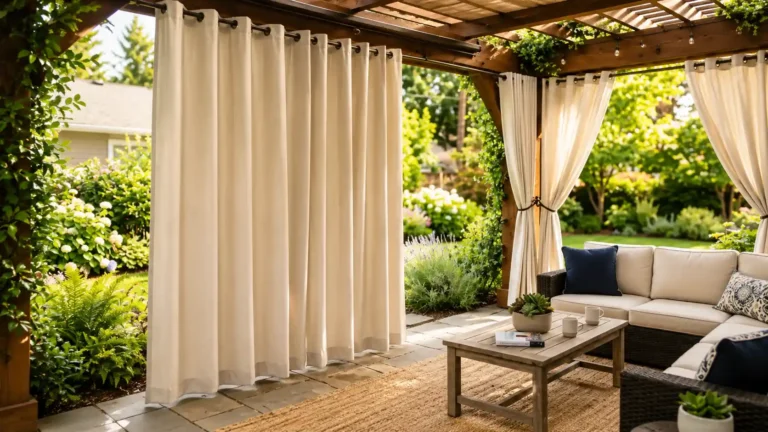
You can add a retractable cover for stronger shade. Outdoor curtains can block low sun and add privacy. Climbing plants may also create shade, but they need time to grow.
Study where the sun falls during the hours you use the patio. A sun-tracking app can help you choose the best position.
Pergola posts need secure footings. A weak post can move in strong wind or wet soil.
Check local rules before building. Some areas require permits or limit how close a structure can sit to the property line.
Add Flexible Shade With a Shade Sail
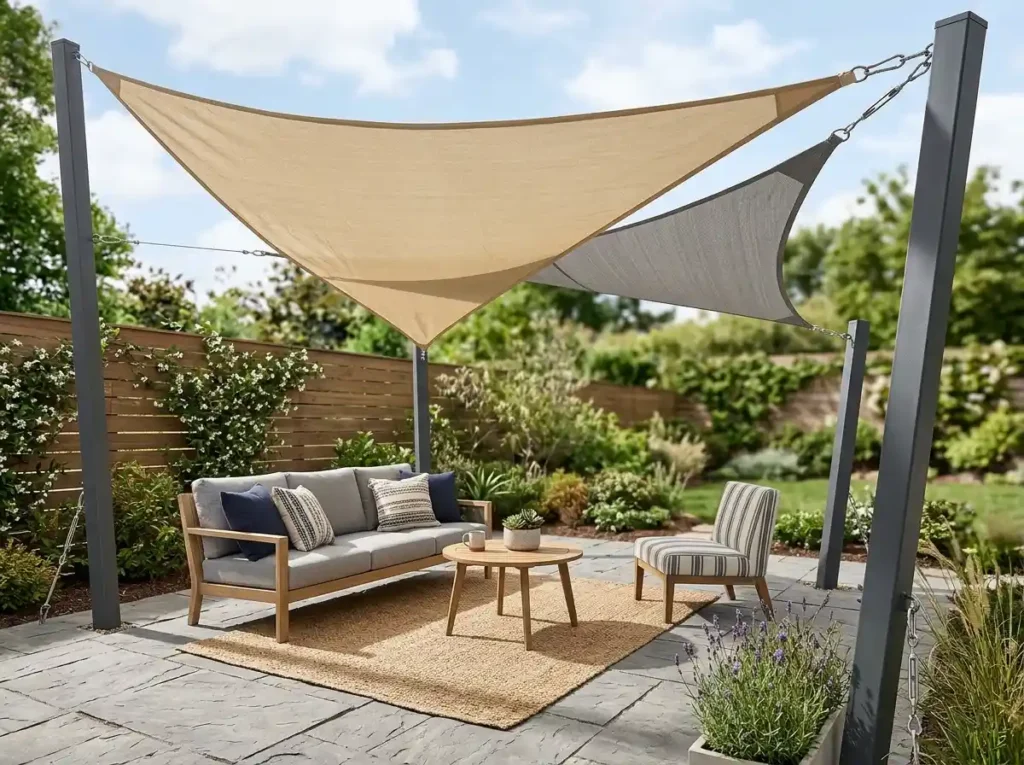
Best for: Modern patios and renters
DIY level: Easy to moderate
Main benefit: Lower-cost shade
A shade sail can cover a patio without the weight of a solid roof. It works well over dining tables, play areas, and small seating spaces.
Shade sails come in square, rectangle, and triangle shapes. Two overlapping triangles can create more shade and add a modern look.
Do not install the fabric flat. Set each corner at a different height so rainwater can run off. Flat fabric may collect water and stretch.
The anchor points must be strong. Do not attach a tightly pulled sail to weak trim, loose fence posts, or thin branches.
Some sails block sunlight but allow rain through. Waterproof sails provide more rain cover, but they need careful placement for drainage.
Check the maker’s rules for wind, tension, and hardware. Remove the sail during severe weather when the instructions advise it.
This is one of the most flexible budget backyard patio ideas because the cover can be changed, removed, or moved later.
Design a Patio for Comfortable Outdoor Dining
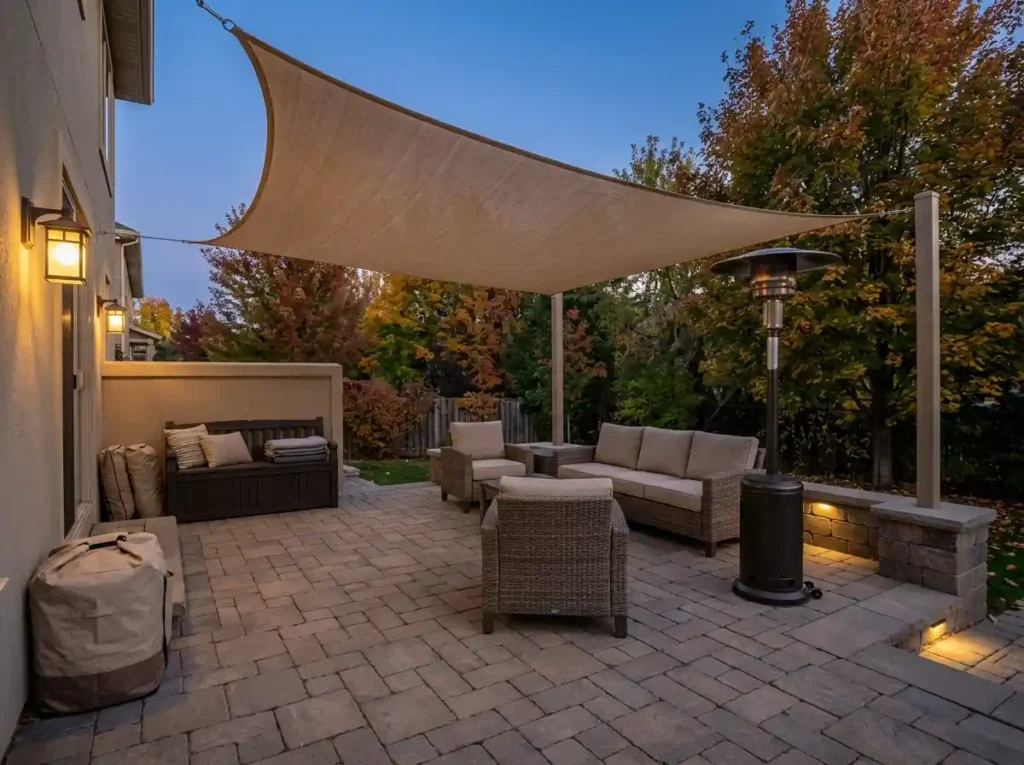
Best for: Family meals
DIY level: Easy
Main benefit: Makes outdoor meals simple
A dining patio works best when it is close to the kitchen. A shorter path makes it easier to carry food, plates, and drinks.
Choose the table based on regular use. A family of four may be more comfortable with a small round table than a large table built for rare parties.
Leave enough room behind every chair. People should be able to sit down, stand up, and walk past without hitting a wall or planter.
Use a serving cart when the patio sits far from the kitchen. It can carry dishes in one trip and work as an extra food station.
Add light above or beside the table. String lights, wall lights, or a covered ceiling fixture can make meals safer after sunset.
Choose furniture that can handle rain and sun. Quick-drying cushions are easier to care for than thick indoor-style cushions.
Your backyard dining patio should fit your daily life. Do not fill the full space with a table that you use only a few times each year.
Build a Fire Pit Patio for Cool Evenings
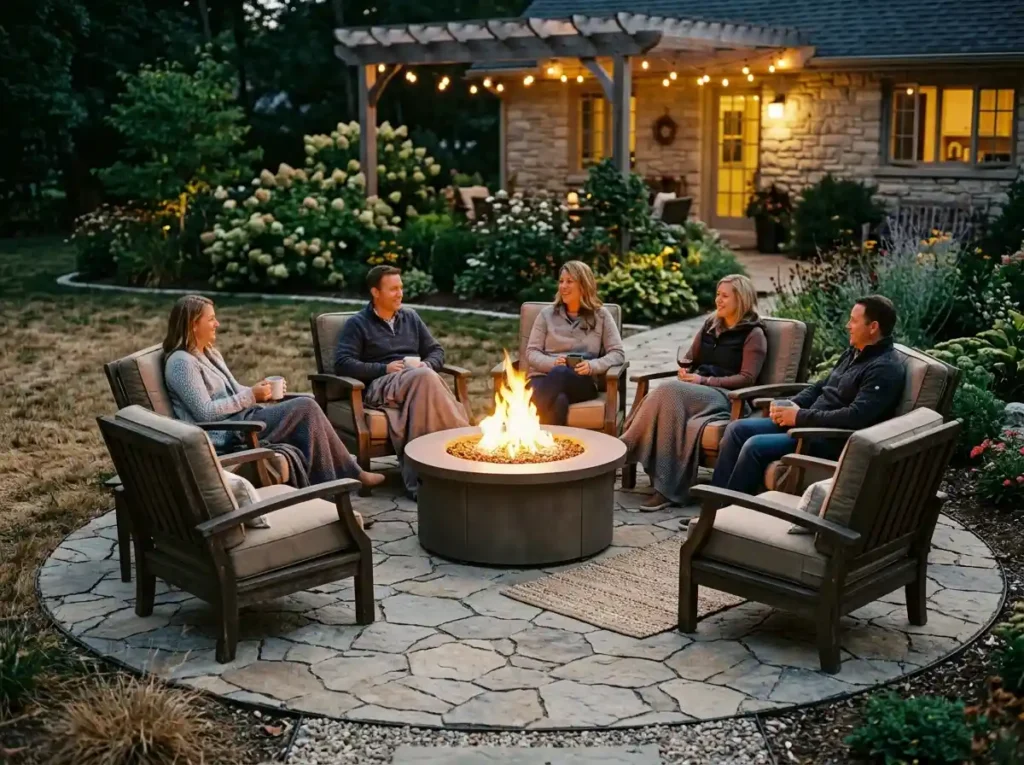
Best for: Evening gatherings
DIY level: Moderate
Main benefit: Adds warmth and a focal point
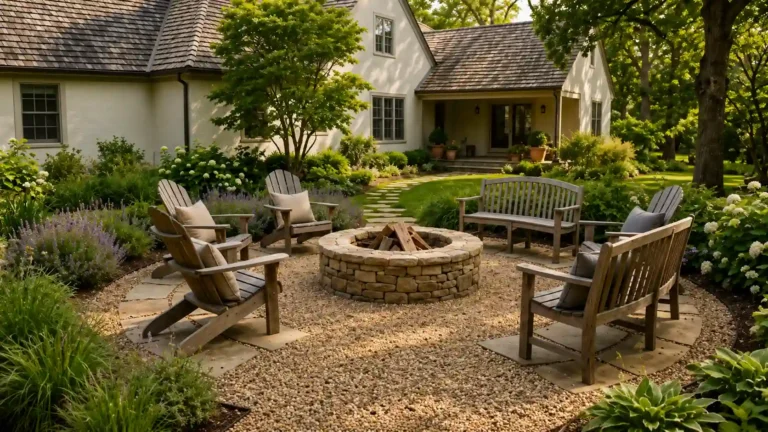
A fire pit can make your patio more useful after sunset. It can also become the main gathering point for family and friends.
You can choose a wood-burning, propane, or natural-gas model. Wood creates a classic fire, but it also produces smoke and ash. Propane models are easier to start and turn off.
Place the fire feature on a surface that can handle heat. Avoid placing it on dry grass, weak decking, or close to items that can burn.
Arrange chairs with enough space between people and the flame. Do not use one general safety distance for every model. Follow the product guide because each fire pit is different.
Think about smoke before choosing the location. Smoke may blow into open windows or a neighbor’s yard.
Local rules may limit fire pit use during dry or windy weather. Check city and fire department guidance before building or buying one.
Safety comes first. A beautiful fire pit is not useful when it creates a risk.
Add a Compact Outdoor Kitchen
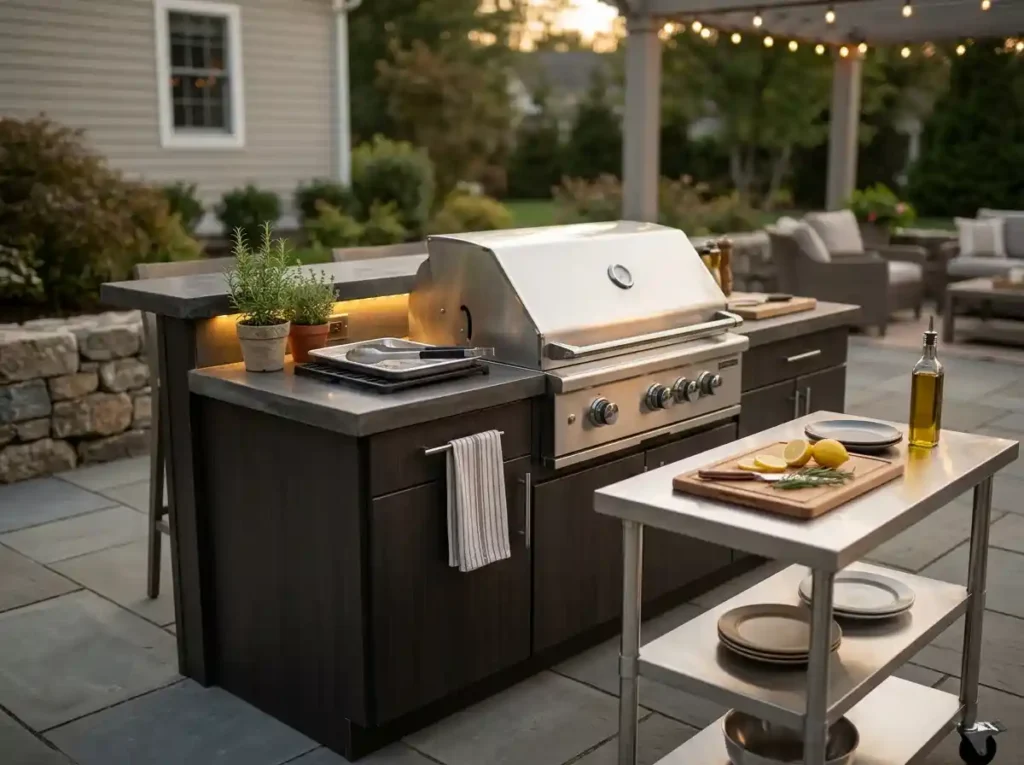
Best for: People who cook outside often
DIY level: Moderate to advanced
Main benefit: Keeps cooking supplies close
An outdoor kitchen does not need a sink, fridge, and large built-in grill. A simple setup can still make cooking much easier.
Start with three basic parts: a grill, a work surface, and weather-safe storage. This gives you space to prepare food and keep tools close.
A rolling prep cart is a good low-cost option. You can move it under cover after use.
Place the grill away from doors, open windows, curtains, and busy walking paths. Hot surfaces should not sit where children or guests may brush against them.
Use materials that can handle heat, sun, and rain. Indoor cabinets may swell, rust, or break down outside.
Task lighting helps you see food clearly after sunset. Add a safe place for hot tools and used trays.
Gas lines, water pipes, and new electrical work may need a licensed professional. Check local permit rules before adding fixed services.
Build the kitchen around how you cook. A small, useful grill station is better than a large setup that you rarely use.
Surround the Patio With Plants
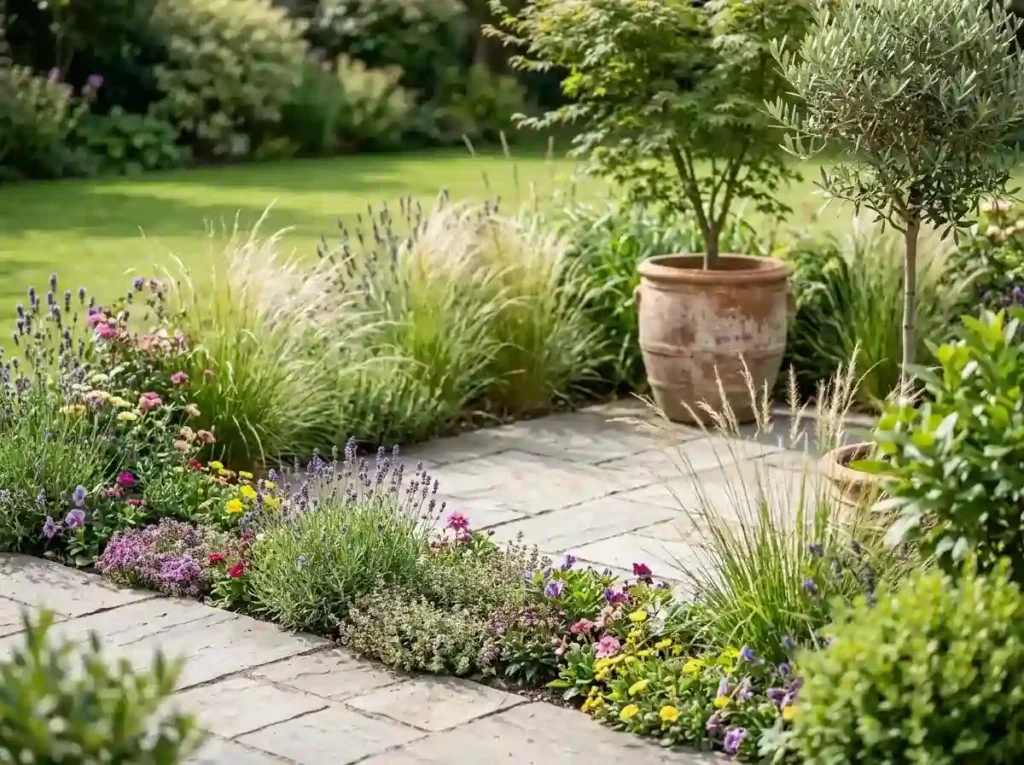
Best for: Harsh or plain patios
DIY level: Easy
Main benefit: Softens hard surfaces
Plants can make a hard patio feel cooler, softer, and more connected to the yard. They also add color without changing the patio surface.
Start with three plant heights. Use low plants near the edge, medium plants behind them, and one or two taller plants at the back.
Choose plants based on sunlight. A plant that loves full sun may struggle beside a shaded wall. A shade plant may burn on an open west-facing patio.
Containers are helpful for renters and small spaces. They can be moved when the sun changes or when a plant needs protection.
Avoid thorny plants beside chairs and walking paths. Large roots can also lift pavers or damage patio edges over time.
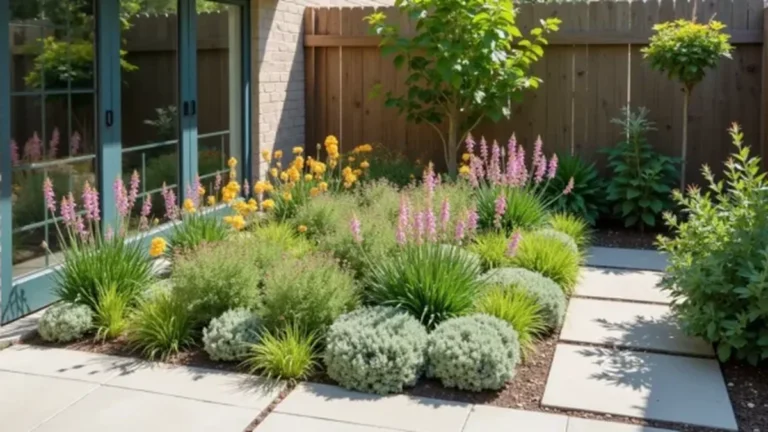
For a sunny patio, try ornamental grasses with flowering plants and a small tree in a large pot. For a shaded patio, use ferns, leafy plants, and shade-friendly flowers suited to your area.
Check the mature size before planting. A small shrub at the garden center may become much wider in a few years.
Add Privacy Without Blocking All the Light
Best for: Patios near neighbors
DIY level: Easy to moderate
Main benefit: Creates a more private seating area
Before adding a privacy wall, find the exact view you want to block. It may be one neighbor’s window, a road, or a nearby seating area.
A full wall may block too much light and air. A shorter screen placed in the right spot may solve the problem with less material.
Slatted wood screens offer privacy while allowing some airflow. Lattice works well with climbing plants. Outdoor curtains can be opened or closed as needed.
Tall planters are useful for renters because they do not need permanent building work. Choose heavy pots that will not tip in strong wind.
Hedges provide soft, natural privacy, but they take time to grow. Check the mature width before planting near the patio.
You can also combine two light barriers. Use a partial screen at seated eye level and plants above or beside it.
Check local fence height and property line rules before building a fixed screen. Place the screen inside your own property boundary.
Create a Multi-Level Patio on a Sloped Yard
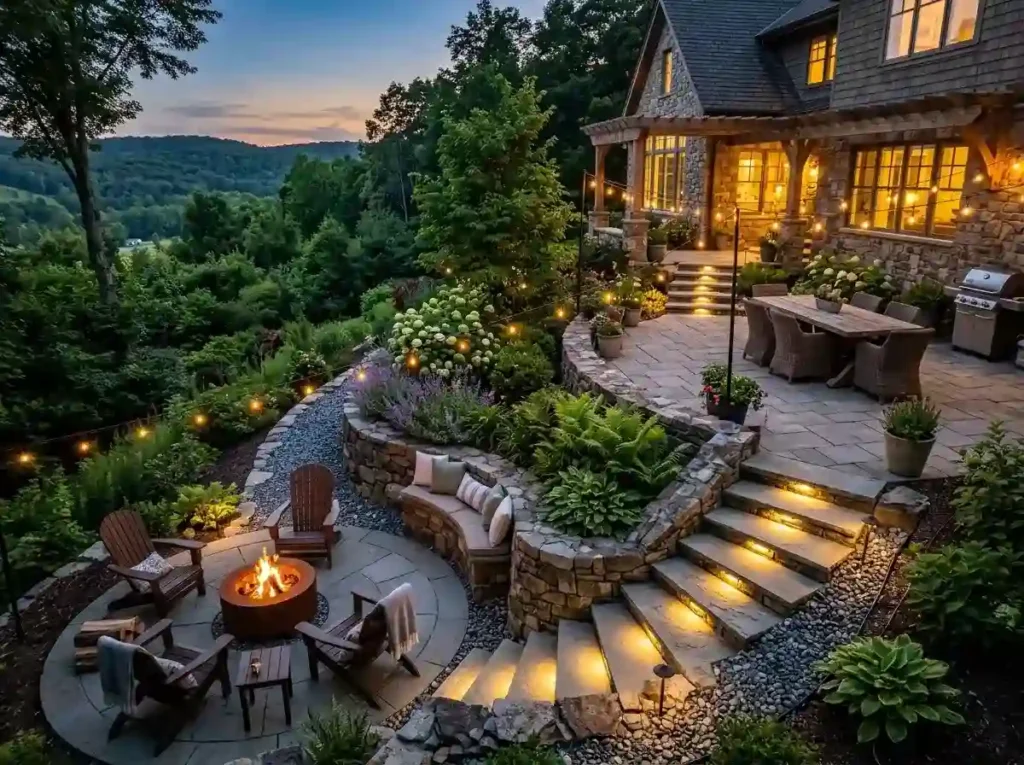
Best for: Sloped backyards
DIY level: Advanced
Main benefit: Creates separate outdoor zones
A sloped yard can support several useful spaces instead of one large flat patio. Each level can serve a different purpose.
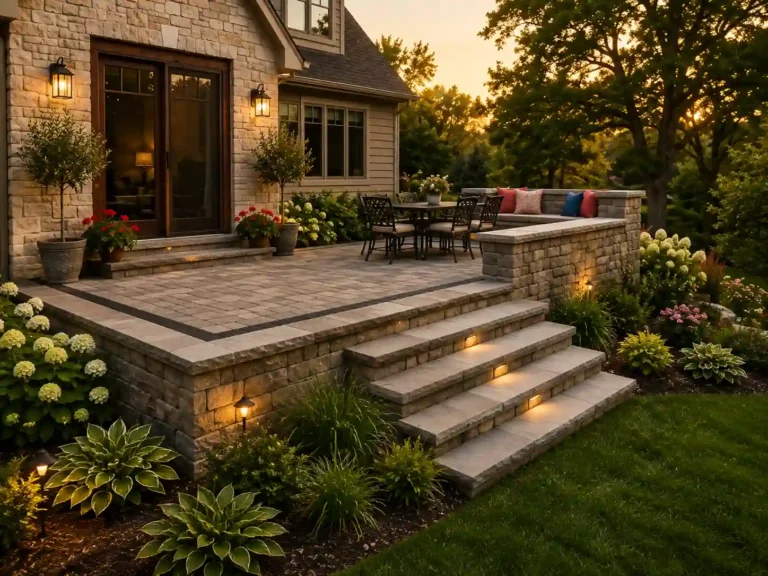
You may place a dining area near the house and a fire pit on a lower level. A small middle landing can hold plants or a bench.
Short retaining walls can support the soil and provide extra seating. However, they must be built to handle soil pressure and water.
Drainage is a major part of the design. Water should move away from the house and should not collect behind walls. Gravel zones and drains may help control runoff.
Steps should be even and easy to see. Add lights along the edges. Handrails may be required when the height or number of steps reaches local limits.
Large cuts into a slope may need an engineer or skilled contractor. Tall retaining walls may also need approval.
A multi-level patio can make a difficult yard useful, but this is not the best place to guess. Get help when the soil, walls, or drainage create safety concerns.
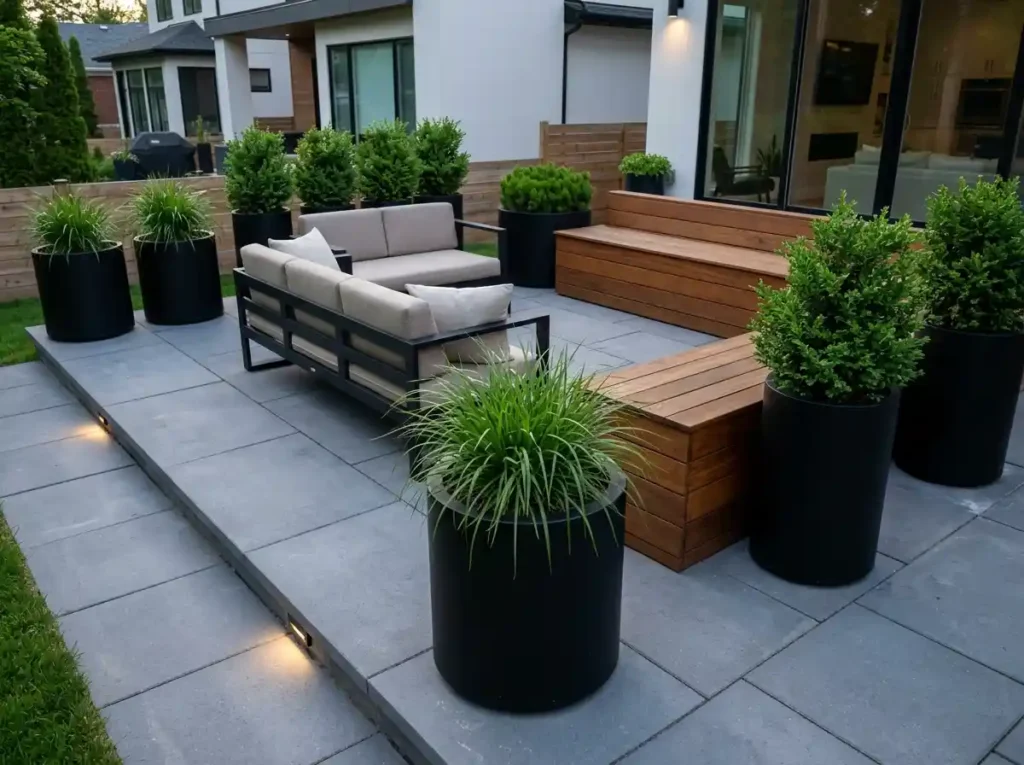
Keep the Patio Modern and Simple
Best for: Clean, low-clutter yards
DIY level: Moderate
Main benefit: Feels open and organized
A modern patio often looks better with fewer materials and larger pieces. Too many colors and small decorations can make the space feel busy.
Start with one main surface. Large pavers or smooth concrete create clean lines. Add one warm material, such as wood, to keep the design from feeling cold.
Choose furniture with simple shapes. A low sofa, plain dining table, or built-in bench may be enough.
Hide cushions, toys, and garden tools inside a storage bench. A clear floor makes even a small patio feel larger.
Use a few large planters instead of many small pots. Repeat the same planter shape or plant type for a more organized look.
Low lights along steps and edges can add safety without becoming the main feature.
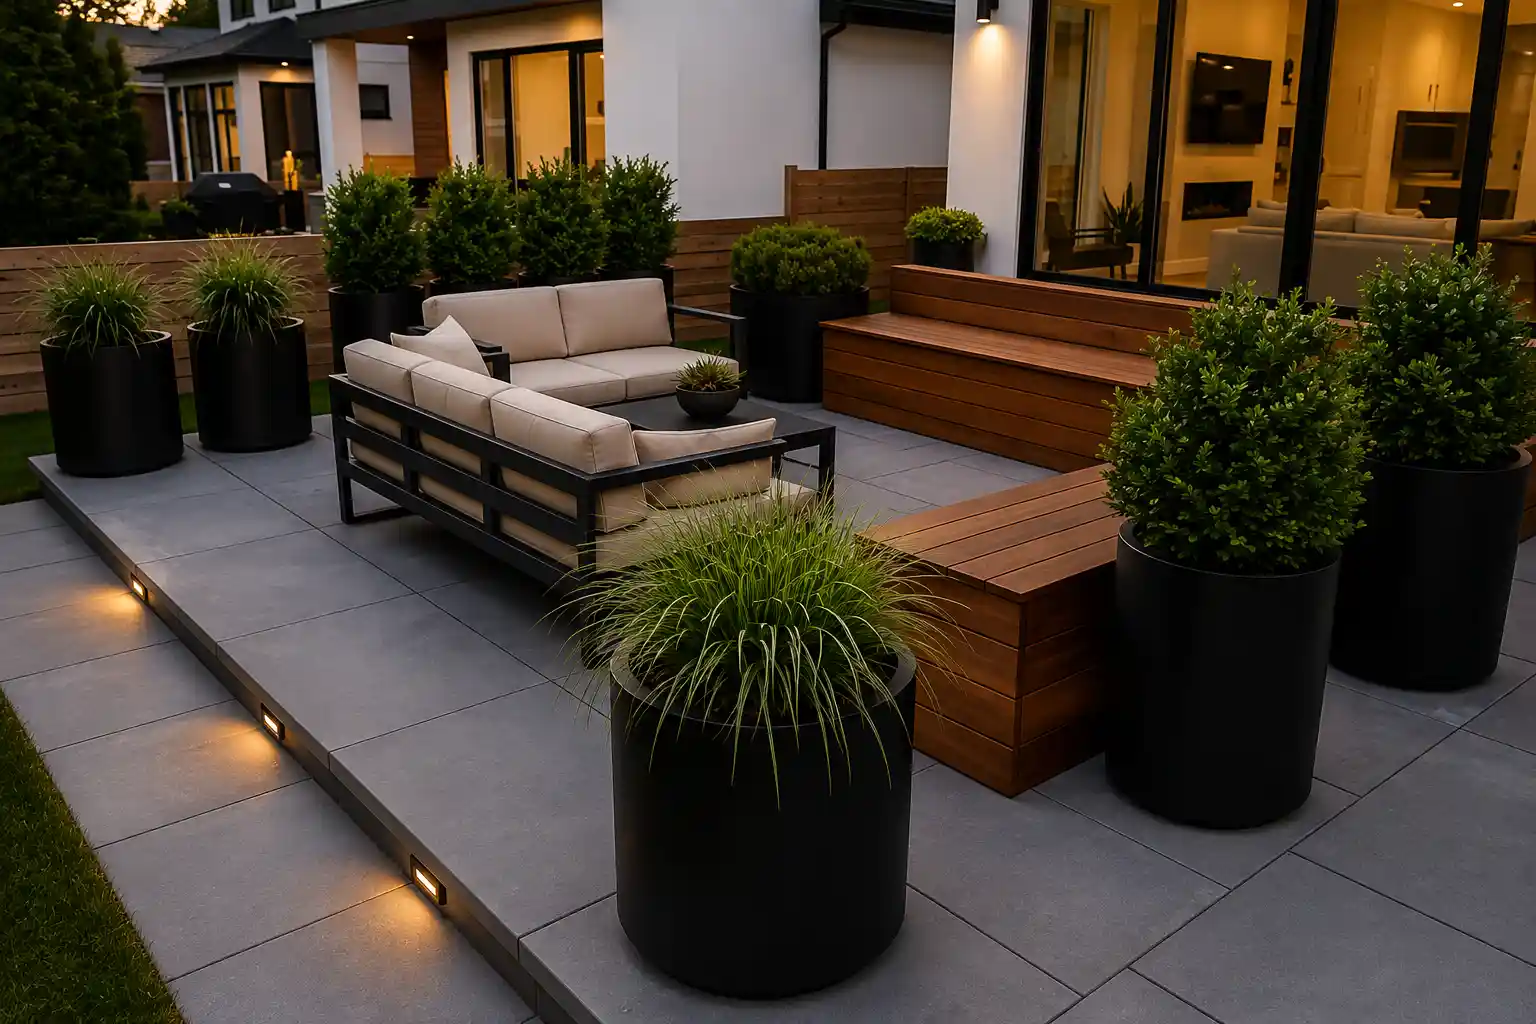
A simple mix may include gray pavers, wood seating, black planters, and green plants. You do not need to match every item. Keep the main materials consistent and let the plants add natural texture.
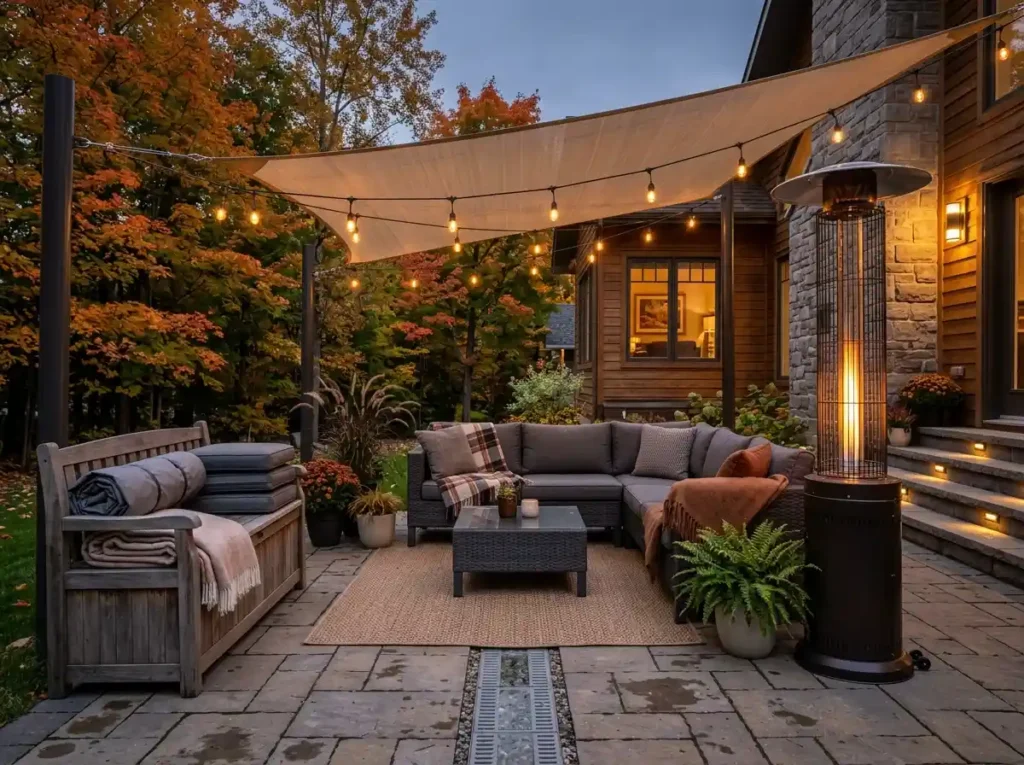
Make the Patio Useful in More Seasons
Best for: Changing weather
DIY level: Moderate
Main benefit: Extends patio use
A few practical additions can help you use the patio during more months of the year.
For summer, add removable shade. A sail, umbrella, or pergola cover can reduce direct sun. Good airflow also matters during hot weather.
For rainy months, focus on drainage and quick-drying furniture. Water should not collect under tables or beside the house.
Use a storage bench for cushions and blangkets. Choose furniture covers that fit each piece instead of using one loose sheet that may blow away.
Outdoor heaters can help during cooler weather. Follow the maker’s rules for airflow, placement, and safe distance from walls or fabric. Some heaters should not be used under low covers.
Add warm lighting for shorter days. Wall lights, string lights, and step lights can make the patio safer after dark.
Choose upgrades based on your local climate. A heater may matter in one area, while strong shade and rain cover may be more useful in another.
How to Choose the Right Backyard Patio Idea
You do not need to use all 16 ideas. Start with the problem that affects your yard most.
Measure the available area first. Next, decide how you want to use it. A dining patio needs a different layout than a quiet reading corner.
Set a budget before choosing materials. Include the base, edging, delivery, furniture, lighting, and drainage in your plan.
Think about maintenance as well. Gravel needs raking. Wood may need sealing. Plants need water and pruning. Painted concrete may need touch-ups.
Check sunlight at different times of day. Also watch where water moves after rain.
Start with one useful feature. You can add more parts later as your budget allows.
Create a Patio That Fits How You Live
A useful patio does not need to be large or expensive. Gravel, paint, planters, and movable furniture can improve a small space without major building work.
Pavers, pergolas, kitchens, and multi-level patios may suit larger projects. They need more planning, but they can create clear spaces for cooking, dining, and relaxing.
Choose a design based on your yard, climate, budget, and daily habits. Plan for shade, drainage, safe walking paths, and easy care.
The best patio ideas for backyard spaces are the ones that match how you already spend time outside. Measure your space, choose your main goal, and begin with one change you can complete well.