20 Backyard Landscaping Ideas on a Budget That Look Great
Your backyard may feel unfinished, dull, or hard to use. You might have patchy grass, empty corners, old furniture, or garden beds filled with weeds.
Fixing all of it can feel expensive.
The good news is that you do not need a full yard renovation. You also do not need mature trees, custom stonework, or high-end outdoor furniture.
The best backyard landscaping on a budget projects improve both the look and use of your yard. A clean garden border can make the space feel cared for. Two chairs on a gravel pad can create a useful seating area. A few well-placed plants can soften an empty fence.
Start with the part of your yard that bothers you most. Then choose one project that you can finish with the money, tools, and time you have.
These cheap backyard landscaping ideas work for homeowners, renters, and DIY beginners. You can complete them one at a time instead of trying to change the whole yard in one weekend.
Plan Your Backyard Landscaping Budget Before You Buy
Buying plants and decorations without a plan can waste money fast. You may end up with items that do not fit, plants that cannot survive, or materials that do not match.
Start by setting a total spending limit.
Next, walk through the yard and write down what needs to change. Separate real problems from simple style issues.
Drainage, broken fencing, loose steps, and unsafe surfaces should come first. Decorative items can wait.
Divide your yard into simple zones. You might have a seating area, planting area, play space, storage corner, or path.
Measure each area before buying materials. This helps you avoid buying too much mulch, gravel, edging, or landscape fabric.
Choose one main project and one or two small upgrades. For example, your main project could be a gravel seating area. Your smaller changes could be solar lights and two container plants.
Example $500 Backyard Budget
| Project | Example Budget |
| Mulch and soil | $100 |
| Used seating | $150 |
| Solar lighting | $50 |
| Plants | $125 |
| Edging or stepping stones | $75 |
Prices will vary by yard size, material, season, and location. Used items and free local materials can lower the total cost.
The key is to decide where every item will go before you buy it.
Refresh Tired Garden Beds With Mulch
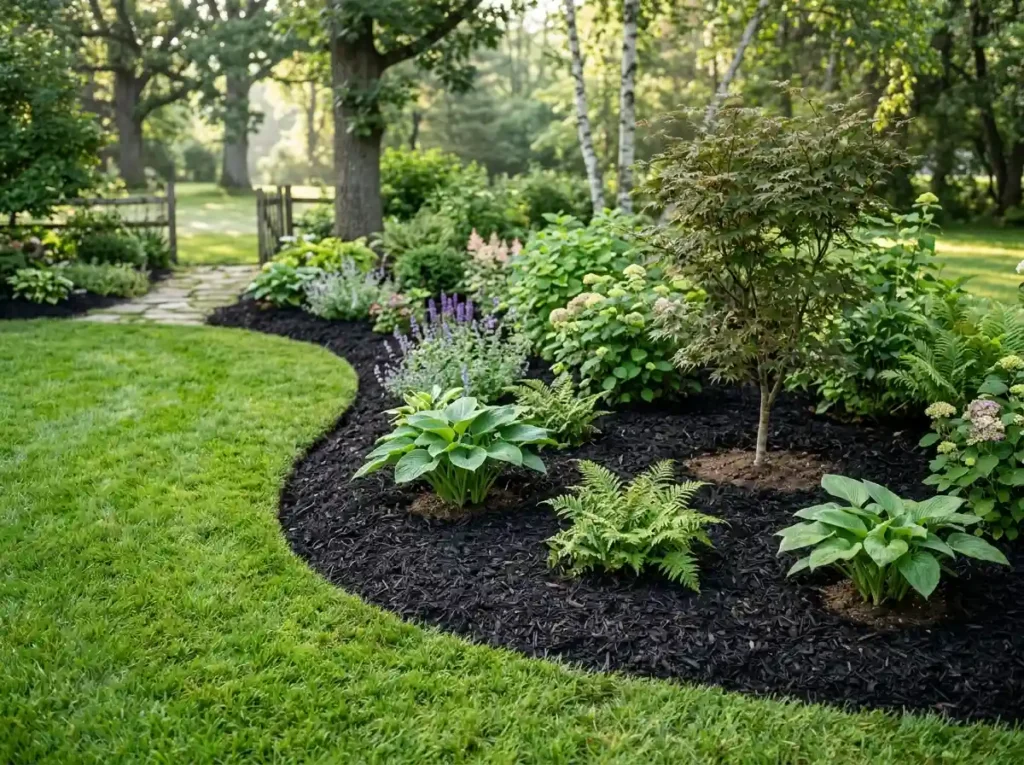
Old mulch, weeds, and bare soil can make the whole yard look neglected. Fresh mulch gives garden beds a cleaner shape and helps them stand out from the lawn.
Remove weeds before adding new material. If you cover large weeds without pulling them, they may grow through the fresh layer.
Spread mulch about two to three inches deep. Keep it away from tree trunks and plant stems. Mulch piled against plants can hold too much moisture and cause damage.
Wood chips work well in relaxed, natural yards. Dark bark gives flower beds a more defined look. Gravel may suit dry areas, but it can be hard to remove later. Shredded leaves offer a low-cost choice when you already have them.
Some tree services offer free wood chips. Ask what type of wood is included and whether the load contains leaves or large pieces.
Mulching existing beds is often cheaper than creating several new planting areas. It is also one of the fastest inexpensive backyard ideas you can finish in a day.
Make Garden Beds Look Finished With Cheap Edging
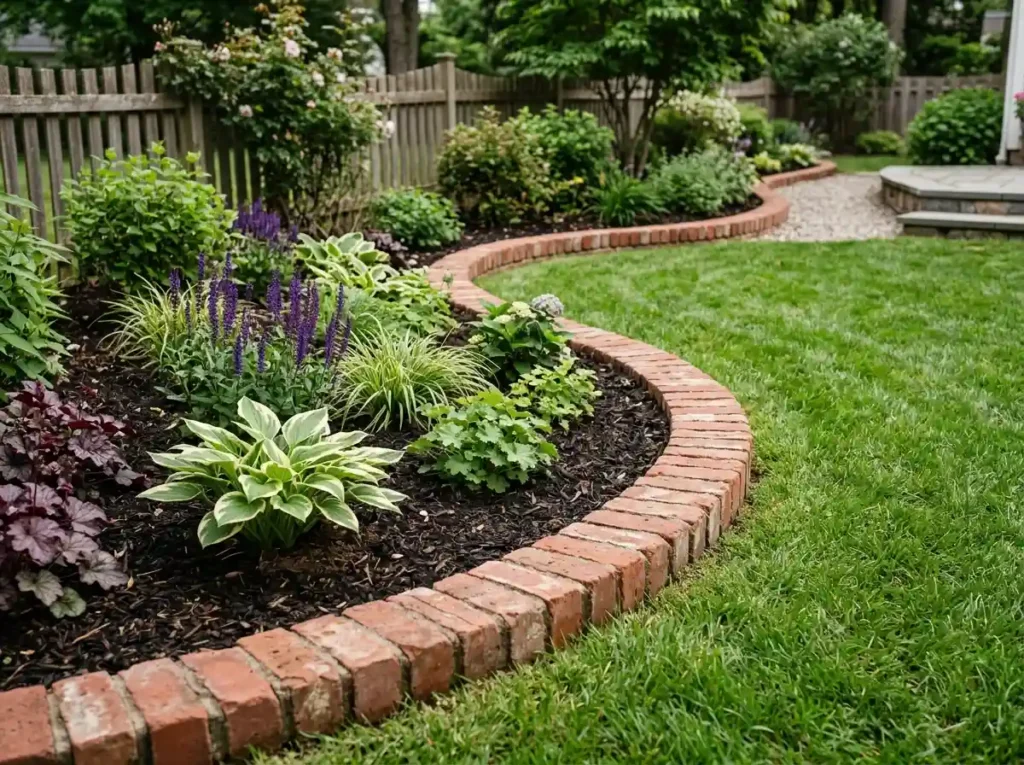
A clean border can improve your yard even when you do not add new plants.
Edging keeps grass from growing into beds. It also stops mulch and soil from spreading across the lawn.
You can reuse bricks, pavers, flat stones, or short timber pieces. Check that the material is safe, strong, and suitable for outdoor use.
Lay a garden hose on the ground to test curved bed shapes. Smooth curves usually look cleaner than several small bends.
Once you like the shape, mark it with spray chalk or a shovel. Install each piece at a similar height and depth. Uneven edging can become a trip risk or look messy.
Try to repeat the same border material in several parts of the yard. Using too many colors and materials can make a low-cost design feel random.
This simple DIY backyard landscaping project gives you a clear result without a large bill.
Create an Affordable Gravel Seating Area
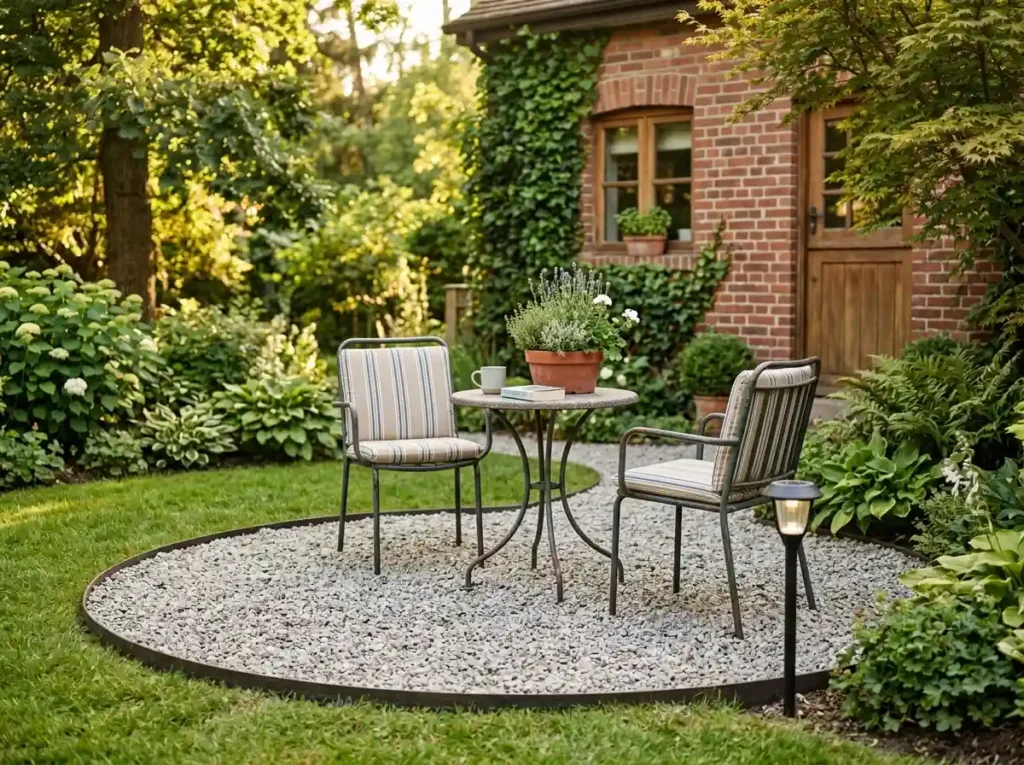
A backyard feels more useful when it has a clear place to sit.
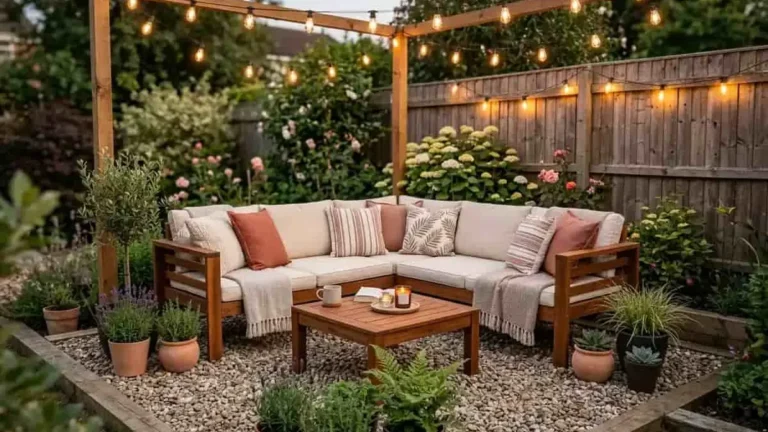
You do not need to build a large concrete patio. A small gravel area can hold two chairs, a bench, or a compact dining table.
Choose a level spot close to the house. It should be easy to reach and far from areas that collect water.
Mark the shape with stakes and string. A circle works well for two chairs around a small table. A rectangle may fit a dining set better.
Remove weeds and loose plant growth. Prepare and level the base before adding gravel. Skipping this step can cause the area to sink, shift, or become uneven.
Landscape fabric may help in some locations, but it is not right for every yard. It can break down, trap soil, or become hard to remove. Base preparation often matters more.
Add the gravel in layers and compact it well. Finish the space with used chairs, one planter, or a simple solar light.
This low-cost backyard makeover gives you an outdoor room without the cost of a full patio.
Fix Worn Grass With a Stepping-Stone Path
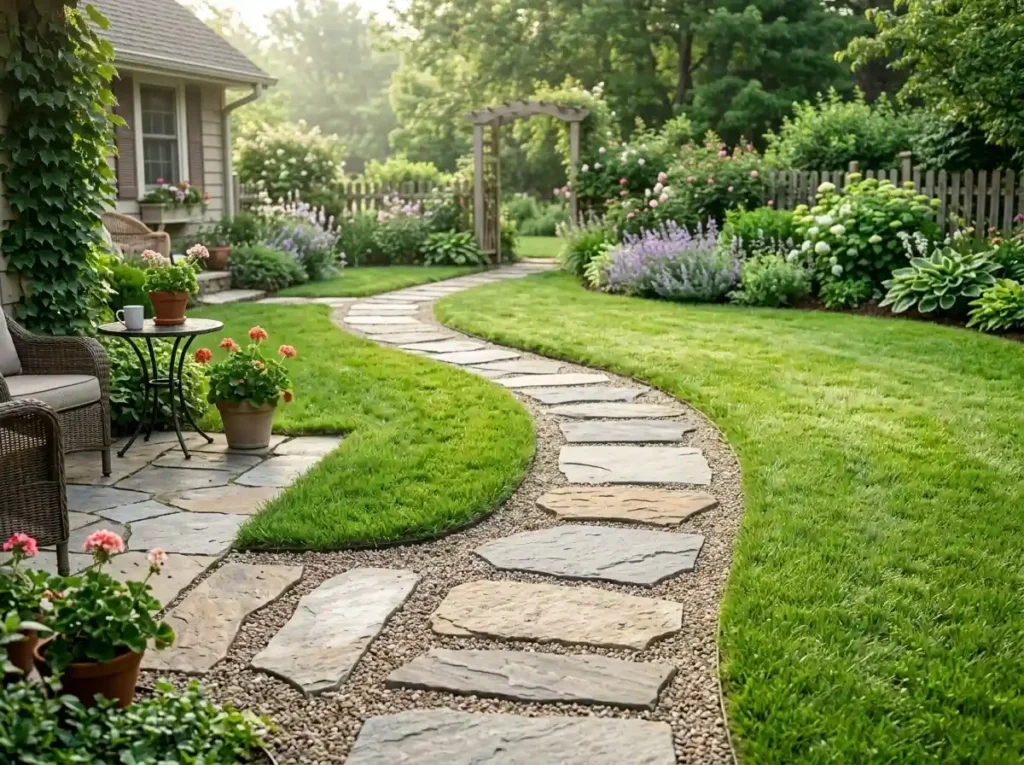
Worn strips of grass often show where people already walk. Use that natural route to plan a simple path.
Stepping stones can connect your patio, gate, garden, shed, or back door. They also help keep shoes cleaner after rain.
Place the stones on top of the ground first. Walk across them several times to test the spacing.
Your steps should feel natural. Stones placed too far apart can be awkward. Stones placed too close together can make the path feel cramped.
Once the layout works, trace each stone and remove a small amount of soil. Set the stone into the ground so it sits level and does not rock.
You can use concrete stepping stones, leftover pavers, flat natural stones, or stones made with a reusable mold.
Fill the gaps with gravel, mulch, or a suitable low-growing plant.
A cheap backyard path adds direction to the yard. It can also make a small space feel more planned.
Get Free Plants by Dividing Perennials
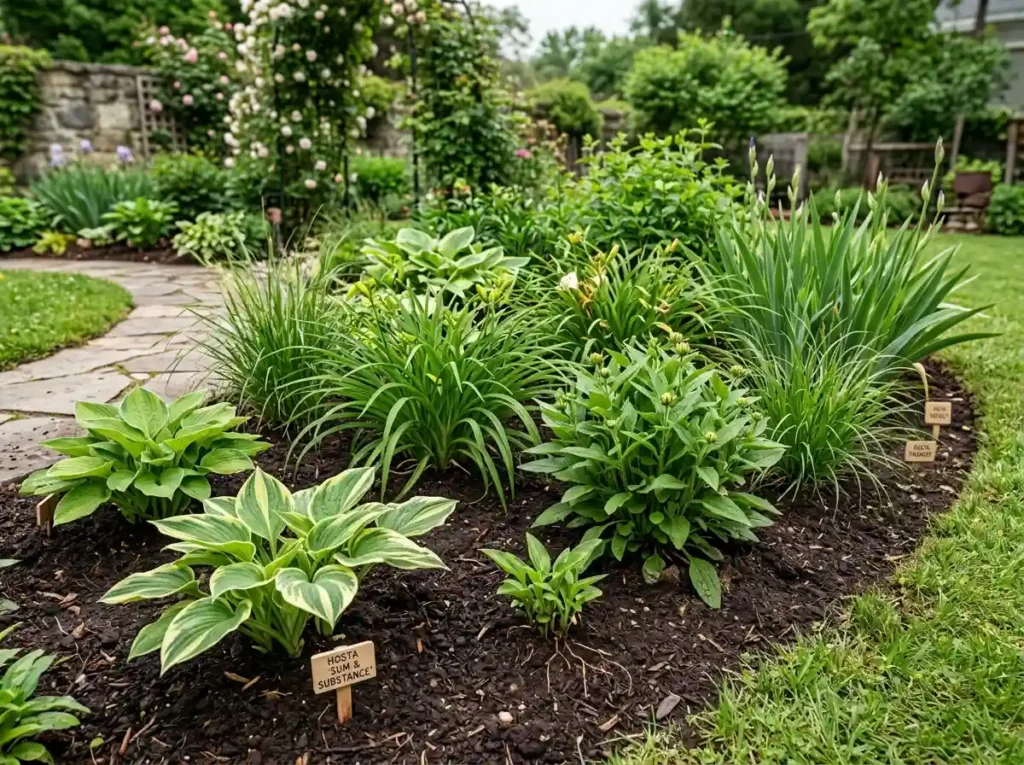
Mature plants may already contain several new plants.
Many perennials grow into larger clumps over time. When the center becomes crowded, you may be able to divide the plant and move the extra sections to bare areas.
Hostas, daylilies, some ornamental grasses, black-eyed Susans, and irises are often divided. The right method and season depend on the plant and your climate.
Water the plant before digging. Lift it with as much root material as possible. Separate healthy sections and replant them at the correct depth.
Water the new divisions while their roots settle.
You can also trade extra plants with friends or neighbors. A plant swap gives everyone more variety without another trip to the garden center.
Check that each plant suits your sunlight, soil, and climate. You should also confirm that it is not invasive in your area.
This is one of the most useful cheap backyard landscaping ideas because it fills empty beds with plants you already own.
Save Money With Seeds and Small Starter Plants
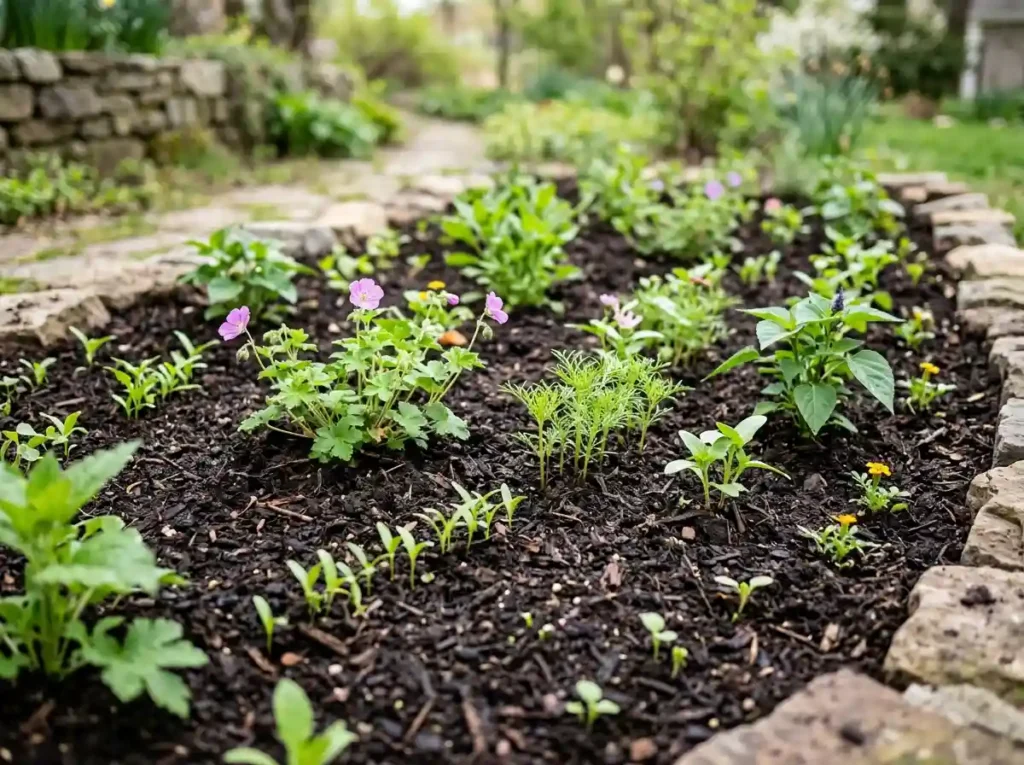
Large nursery plants give quick results, but they often cost much more.
Seeds offer the lowest starting price. They work well when you have time to wait and can give young plants regular care.
Small starter pots cost more than seeds but provide faster results. They are often easier for beginners because the plants already have roots and leaves.
Use fast-growing annuals when you want color for one season. Choose suitable perennials when you want plants that may return for several years.
Do not buy a plant based on flowers alone. Check its mature size, light needs, water needs, and local climate range.
A small plant may look empty at first. Give it enough room to grow instead of packing several plants into a tight space.
For balanced results, combine a few starter plants with lower-cost seeds. You will get some quick color while slower plants fill in.
Growing plants this way makes backyard landscaping on a budget easier to manage.
Choose Native Plants That Fit Your Yard
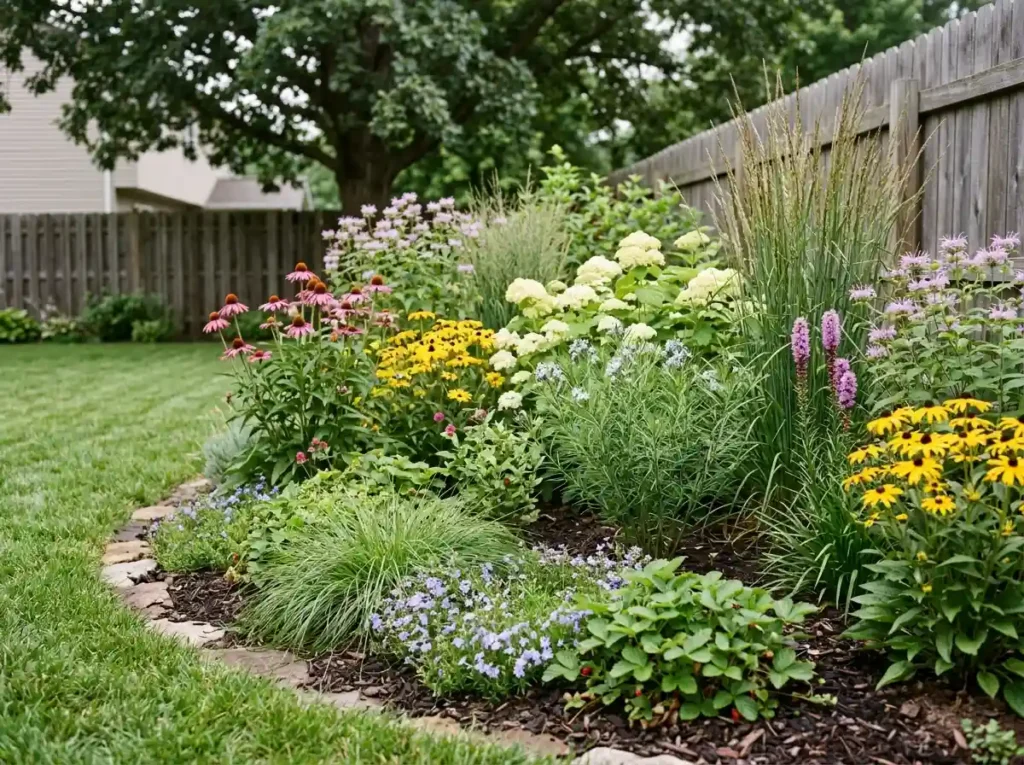
A cheap plant is not a bargain when it dies and needs to be replaced.
Plants that suit your local soil and weather have a better chance of lasting. Native plants can be useful because they are linked to local growing conditions and wildlife.
This does not mean every native plant is easy to care for. Some need wet soil. Others need full sun, dry ground, or lots of space.
Use three checks before buying:
- How much sun does the spot receive?
- Does the soil stay wet or dry?
- How large will the plant become?
Choose plants based on those answers.
Native flowers, grasses, shrubs, and ground covers may support local birds and insects. Some may also need less extra water after their roots become established.
Ask a local extension office, nursery, or native plant group for help. Regional plant lists are more useful than general lists found online.
The right plant in the right place saves water, time, and replacement costs.
Cover Bare Soil Where Grass Will Not Grow
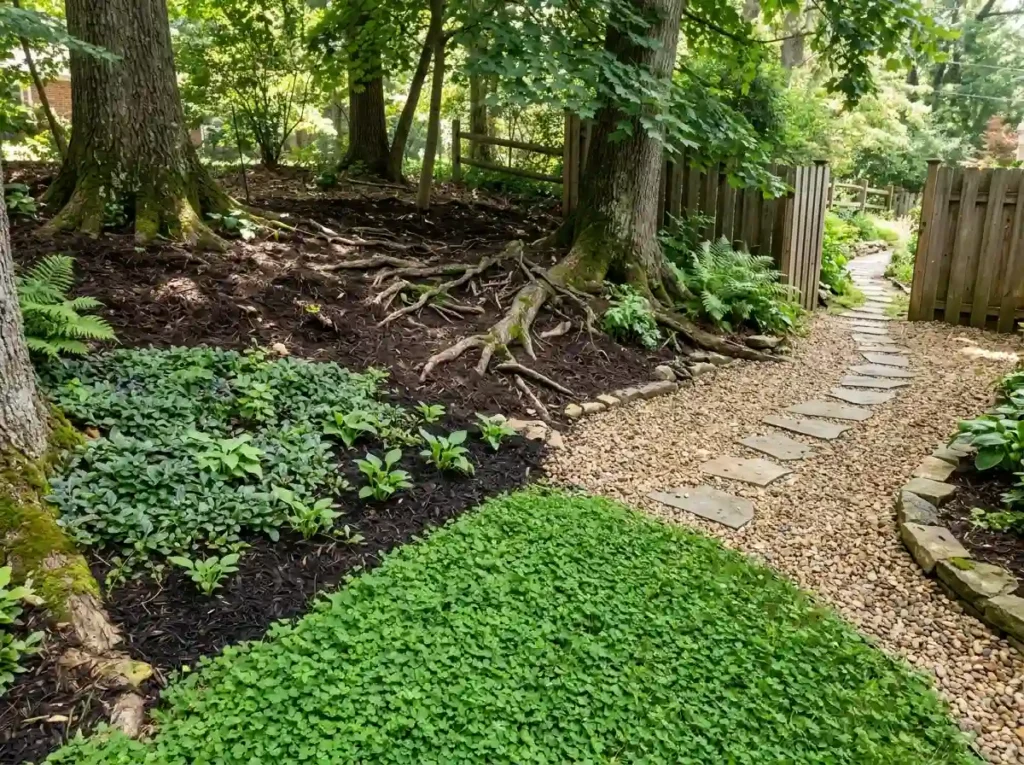
Some parts of a yard are not good for grass.
Heavy shade, poor soil, tree roots, slopes, and regular foot traffic can leave bare patches. Repeatedly adding grass seed may waste money.
Start by finding out why the grass is failing.
A low-growing ground cover may work in light traffic areas. Mulch can cover shaded soil under trees. Gravel may suit a dry side yard. Clover or another lawn alternative may fit some locations.
Check how quickly a living ground cover spreads. Some plants can move beyond the area where you want them. Avoid any plant listed as invasive in your region.
New ground cover plants may need mulch between them while they grow. Space them based on their mature width, not their small nursery size.
Do not place delicate plants where children, pets, or guests walk each day.
Using the right surface for the area can cost less than repairing weak grass every season.
Add Fast Color With Budget Container Gardens
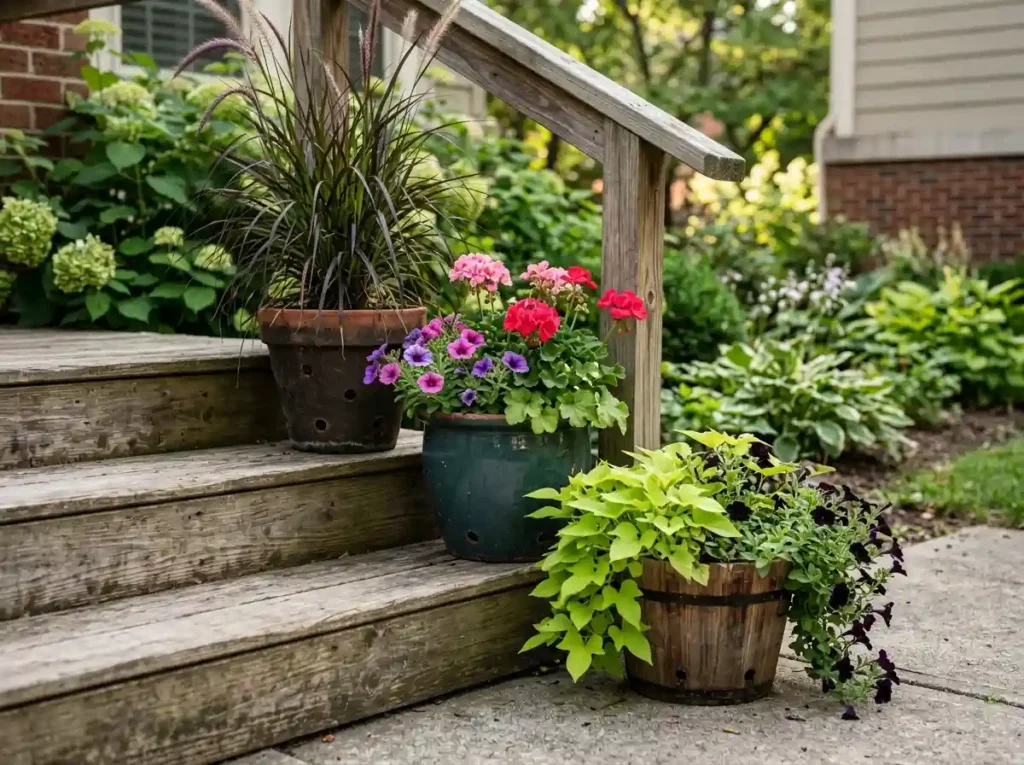
Containers let you add plants without changing the whole yard.
Place pots near doors, steps, seating areas, or dull corners. You can move them when sunlight or weather changes.
Old buckets, tubs, baskets, and planters may be reused when they are safe and strong. Add drainage holes so water does not sit around the roots.
Group containers instead of placing one pot in every corner. A set of three often looks more planned.
Try this simple container formula:
- One tall plant for height
- One medium plant for color
- One trailing plant for softness
You do not need three different pots. Matching or similar containers can make inexpensive plants look more polished.
Large pots need more soil and can become heavy. Place them before filling them.
Container garden ideas work well for renters because many setups can move with you. They are also useful when your soil is poor or you have a small backyard.
Use Walls and Fences for a Vertical Garden
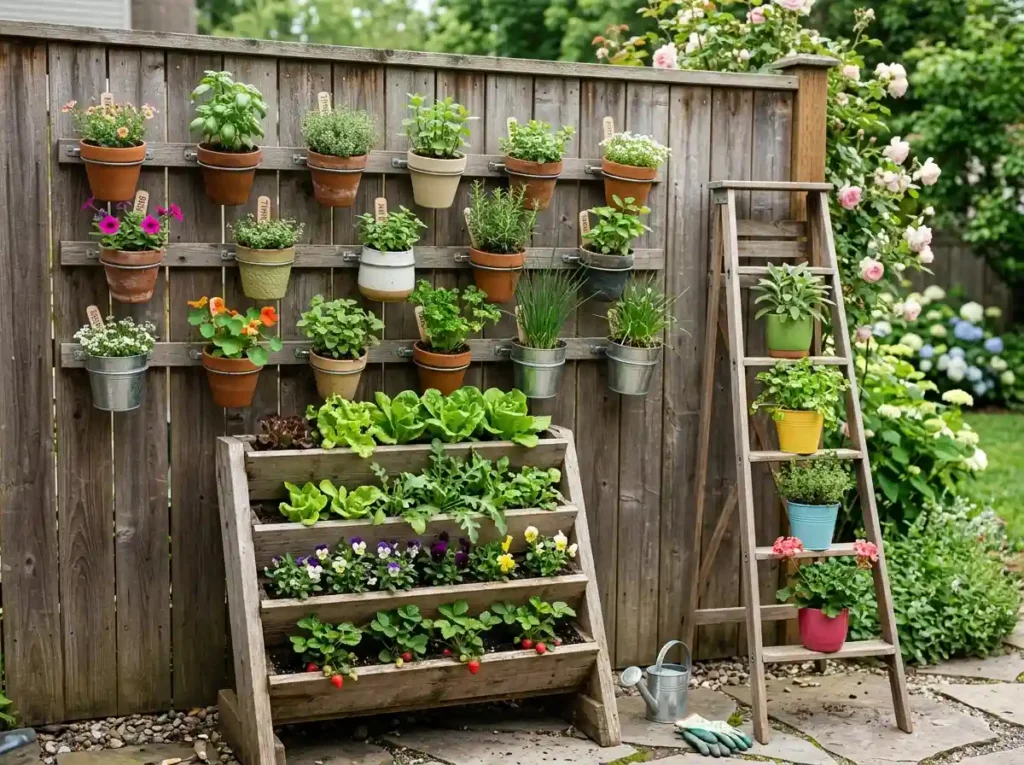
Small yards may have more wall space than open ground.
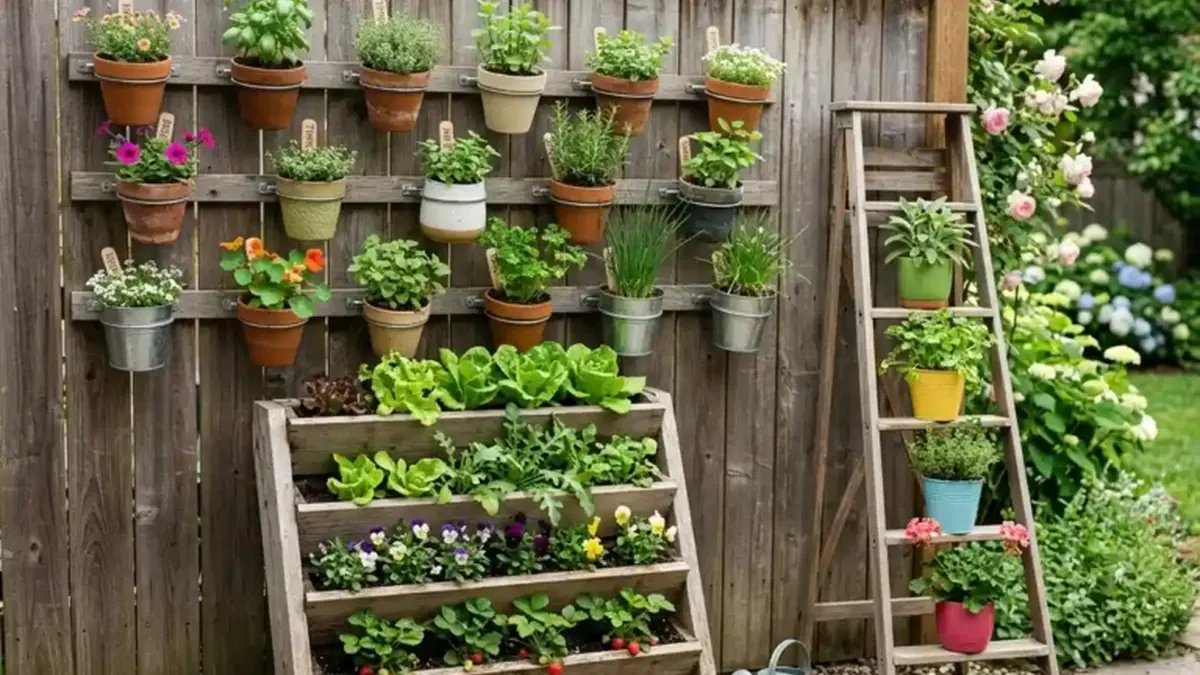
A vertical garden adds plants without using valuable floor space. You can use wall-mounted pots, stacked planters, ladder-style stands, or a strong reused frame.
Attach every item securely. Wet soil and water add weight. A weak fence may not support a large planter.
Leave a gap between wet containers and wood siding. Constant moisture can stain or damage the surface.
Choose small plants with roots that fit the container. Lightweight potting mix is often better than heavy garden soil.
Place the vertical garden where you can water it easily. High containers dry out faster and may need more regular checks.
A few herbs or flowers can fill an empty wall. Still, avoid adding too many small items. One clear display often looks better than a wall filled with mismatched pots.
This recycled garden project can add color while keeping your low-cost backyard makeover organized.
Turn Safe Pallets Into Useful Yard Features
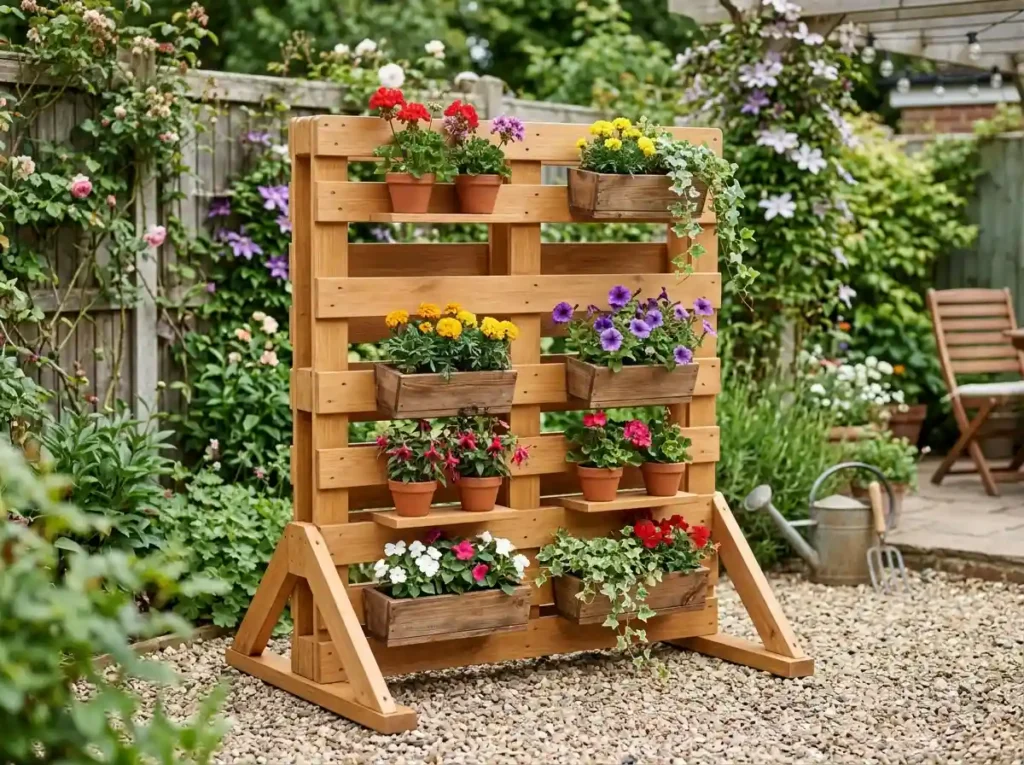
Free pallet wood can be useful, but you need to check it first.
Do not use wood that smells strange, has oily stains, contains mold, or has an unknown history. Avoid damaged boards with deep cracks or exposed nails.
Check the pallet markings and research what they mean before using the wood. Sand rough areas and remove sharp pieces.
You can turn a safe pallet into:
- A decorative planter wall
- A simple tool rack
- A privacy panel
- A freestanding plant display
Use an outdoor-safe finish when needed. Reinforce any pallet used as a screen or support.
Be careful with food plants. When you cannot confirm the wood’s history, use it for decorative plants instead of herbs or vegetables.
Pallet furniture often looks easy to build, but seating must support weight safely. Do not use a weak or unstable design.
A small pallet feature can save money. It should still be clean, secure, and suitable for its job.
Add Privacy Only Where You Need It
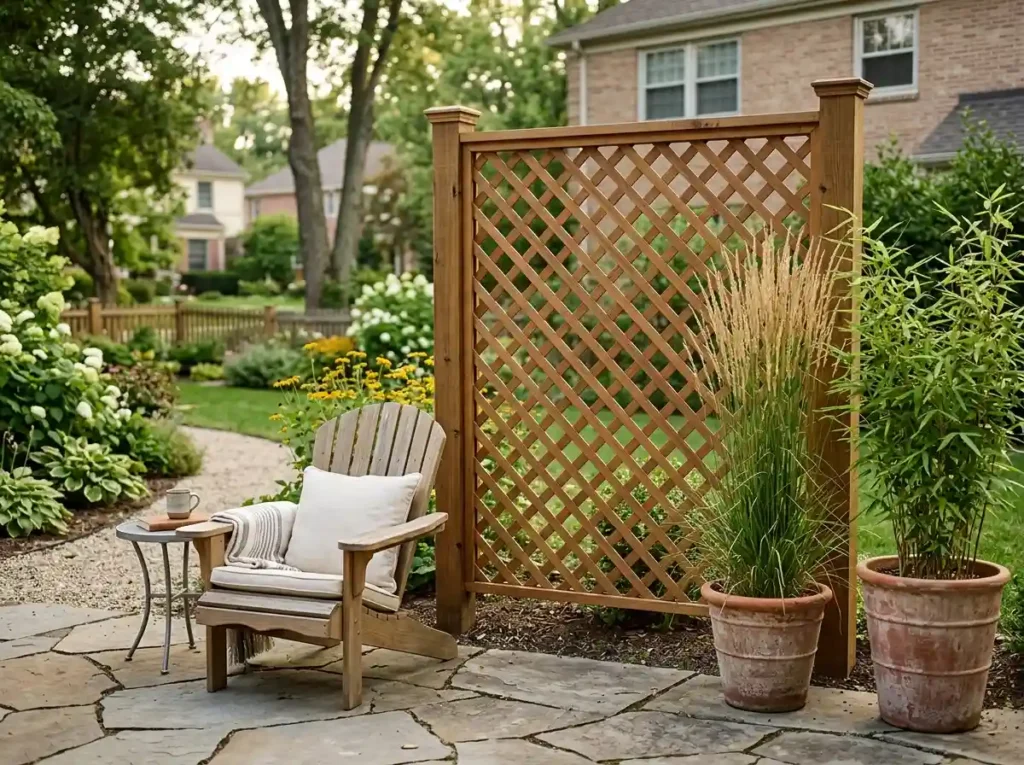
You may not need to screen the full property line.
Most people want privacy around a patio, dining table, hot tub, or favorite chair. Blocking one clear sightline can cost much less than adding a tall fence around the whole yard.
Stand in the seating area and note where neighbors or passing cars are visible. Screen that part first.
Possible low-cost choices include:
- Outdoor curtains
- Reed panels
- Shade fabric
- Lattice
- Tall container plants
- Fast-growing shrubs suited to your area
Temporary fabric screens may cost less and work well for renters. Plants take longer, but they can soften the yard and provide a more natural look.
Leave room for airflow. Plants also need space to reach their mature size.
Check local rules before raising fence height or attaching panels to shared boundaries. Strong winds can damage fabric, lattice, and weak supports.
A focused privacy screen gives you comfort without turning the whole yard into a costly building project.
Make a Hot Patio More Comfortable With Shade
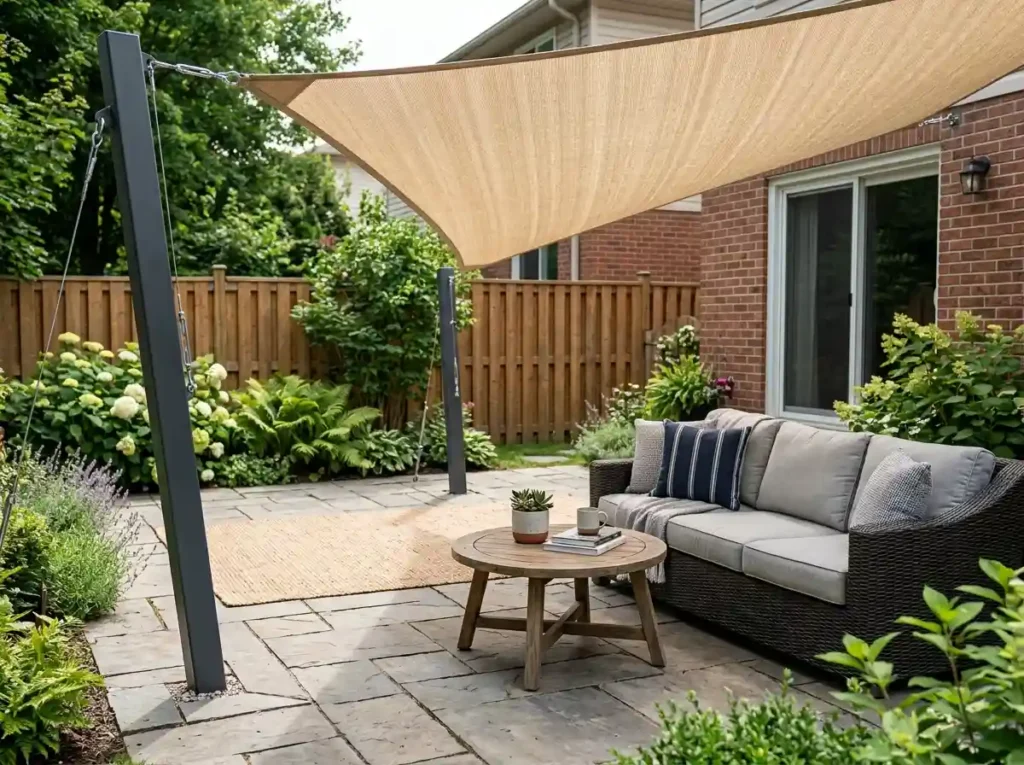
A patio may look good but still go unused when it becomes too hot.
Watch the area in the morning, at noon, and later in the day. This shows when and where shade is needed.
A small umbrella may be enough for a table. Outdoor curtains can block low afternoon sun. A shade sail may cover a seating or play area.
Use outdoor-rated materials. Shade sails need strong anchor points and correct tension. Do not attach a heavy sail to a weak fence or unstable post.
Think about wind and rain. Water should not collect in the center of the fabric. Loose material can flap, tear, or pull on its supports.
Focus on the space you use most. Shading one small seating area may cost far less than covering a full patio.
Budget backyard shade can improve comfort, but safe installation matters. Ask a skilled installer for help when the support points are unclear.
Repair Old Outdoor Furniture Before Replacing It
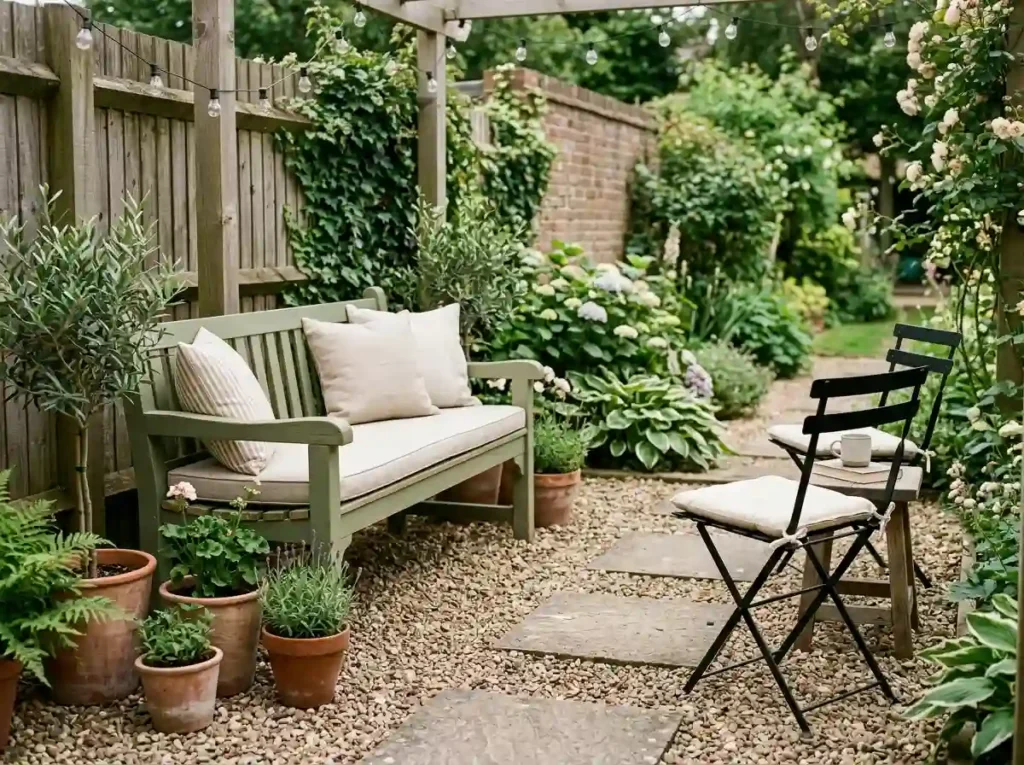
Dirty furniture can look worse than it really is.
Wash each piece before deciding to replace it. Tighten loose screws, check joints, and look for rust, rot, cracks, or sharp edges.
Safe furniture may need only paint, stain, or a new cushion. Use products made for the furniture material and outdoor weather.
Washable cushion covers can update the color without replacing the whole chair. A used bench can become a strong focal point when you place it near a few container plants.
Check secondhand furniture carefully. Sit on it, test for movement, and inspect the underside.
Do not repair a piece that is badly rusted, rotten, or unstable. Low cost is not worth an injury.
Keep the furniture layout simple. Too many chairs can make a small patio feel crowded.
An outdoor furniture makeover can free more of your budget for plants, lighting, or a path.
Build Simple Seating With Blocks and Wood
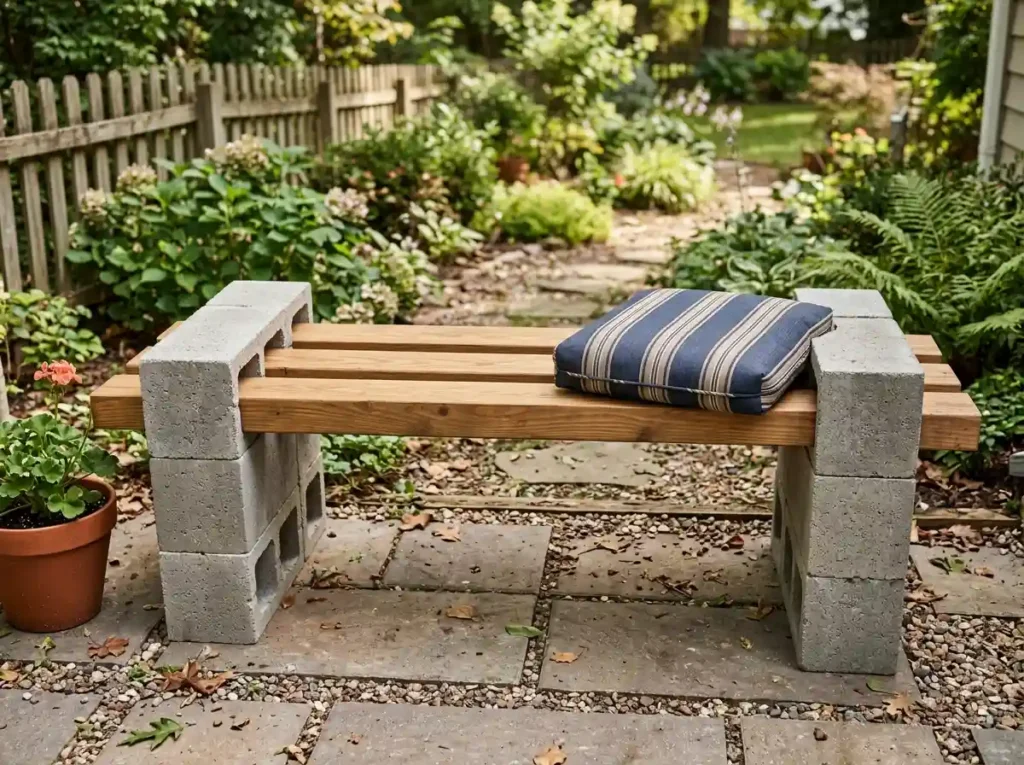
A basic bench can create a useful seating spot without the price of a full outdoor set.
Some DIY benches use concrete blocks and exterior-rated wood. The design may look simple, but every part must sit on level, firm ground.
Use strong lumber made for outdoor conditions. Sand rough edges and apply a suitable outdoor finish.
The blocks should sit evenly and should not rock. The wood must fit securely and support the expected weight.
Add an outdoor cushion for comfort. Bring it inside during wet weather if it is not made to stay outdoors.
You may need:
- Concrete blocks
- Exterior-rated wood
- Sandpaper
- Outdoor sealant
- A level
- Optional cushions
Test the bench before regular use. Do not let children climb on it if the design can shift or tip.
A DIY backyard bench is useful when built well. Skip this project when you are unsure about stability or material strength.
Use Solar Lights Where They Matter Most
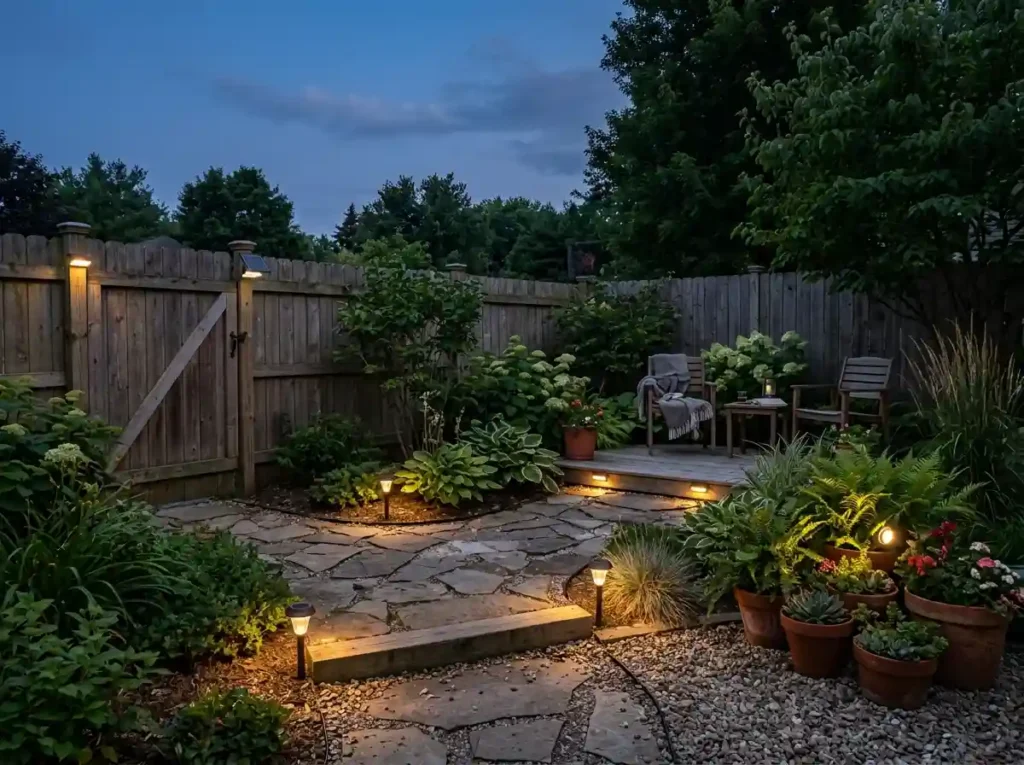
More lights do not always make a yard look better.
Use solar lights to guide movement and mark important areas. Start with steps, path turns, gates, and seating edges.
Place the lights in direct sun so the batteries can charge. Trees, walls, and roof overhangs may block the light they need.
Clean the small solar panels when dirt or leaves collect on them. Weak light may mean the panel is shaded, dirty, or old.
Avoid placing a light every few inches. This can create a runway effect and make the yard feel busy.
Set the lights in place during the day. Then check the layout after dark before pushing them fully into the ground.
You can also use one light near a feature plant or container group. The goal is to create a useful glow, not light every corner.
Affordable backyard lighting improves safety and helps you use the space after sunset.
Plan a Budget Fire Pit Area Safely
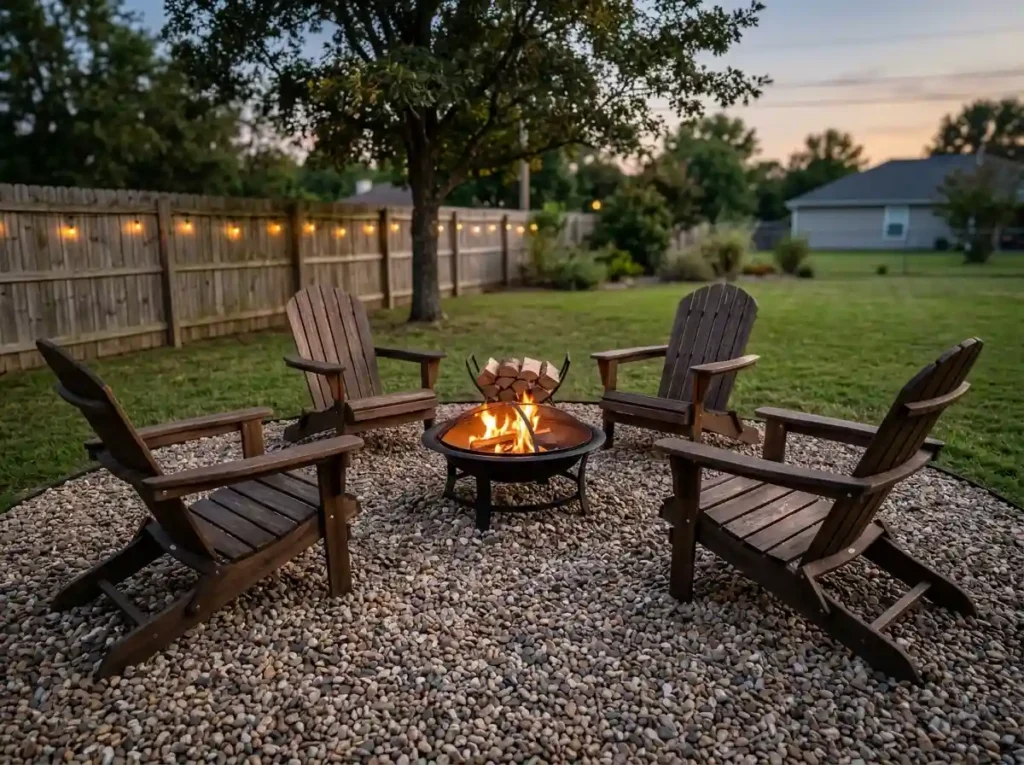
A fire pit can create a warm gathering space, but safety comes first.
Check local fire rules before buying or building anything. Some places limit open flames, fuel types, fire pit sizes, or use during dry weather.
Choose a location away from buildings, fences, low branches, and other items that can burn. Follow the manufacturer’s instructions and local rules for spacing.
Use a stable, non-combustible surface. Do not place a fire pit directly on dry grass, loose leaves, or a surface that can melt or catch fire.
A portable fire bowl may cost less than a built-in pit. It can also be stored when it is not in use.
Arrange stable seating around the area. Do not crowd chairs close to the flame.
Keep water or a suitable fire extinguisher nearby. Never leave the fire unattended. Fully put it out before going inside.
A budget fire pit area can be inviting, but it is not right for every yard. Skip it when your space is too small or local rules do not allow it.
Make a Small Water Feature From a Container
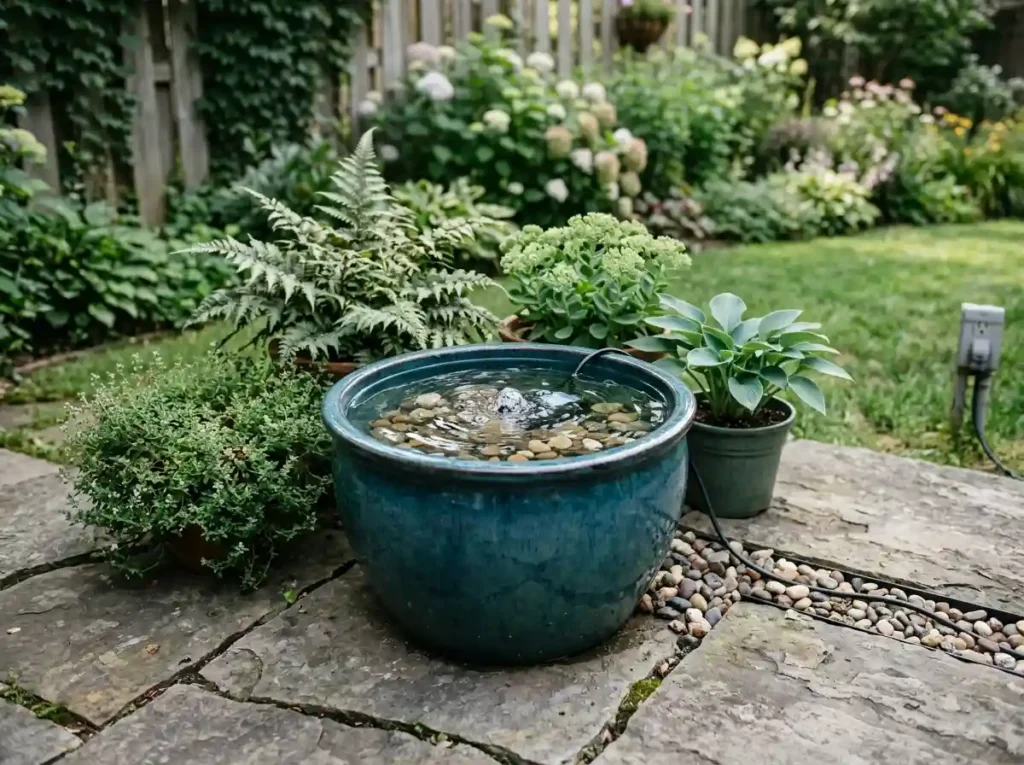
A small water feature can soften noise and create a clear focal point.
You do not need a large pond. A watertight pot, basin, or container may work with a small recirculating pump.
Choose a container that is easy to clean and deep enough for the pump. Place it on a stable surface.
Some pumps need an outdoor electrical connection. Use equipment rated for outdoor use and follow all safety instructions. Keep cords away from paths and wet areas.
Change or treat the water as needed so it does not become stagnant. Remove leaves and dirt before they block the pump.
Think about children and pets. Open water can create a risk even when the container is small.
A bubbling pot often needs less work than a pond. It still needs cleaning and regular water checks.
This inexpensive backyard water feature adds sound and movement without taking up much space.
Hide Bins and Tools With a Simple Screen
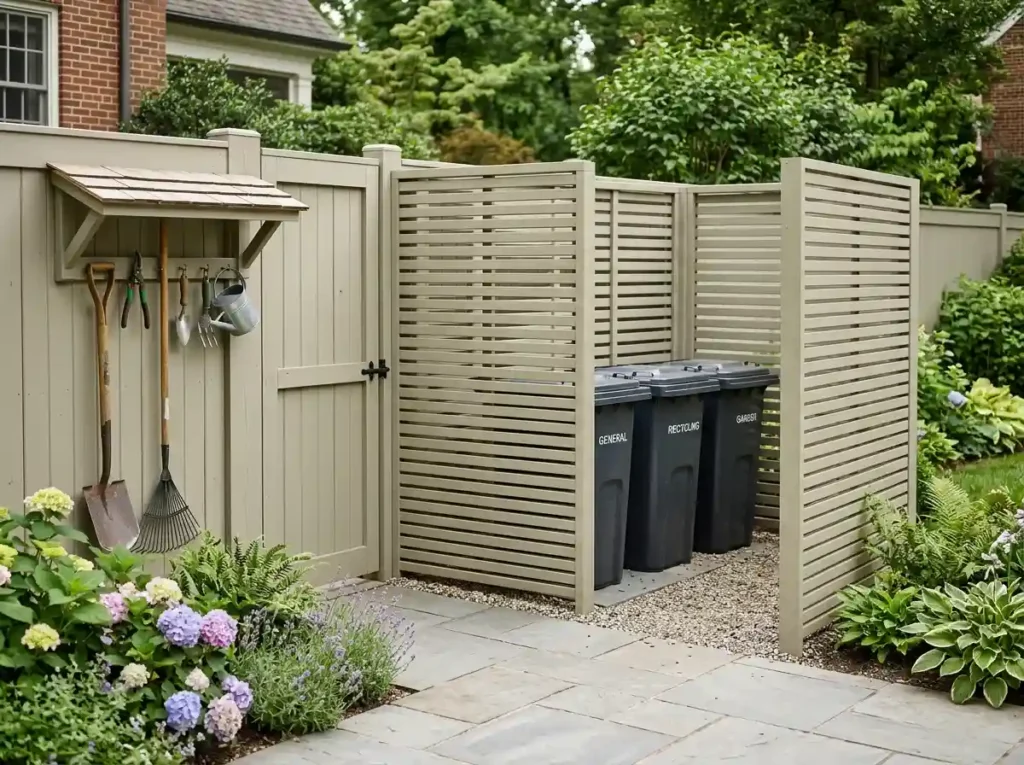
Visible trash bins, hoses, and tools can make a clean yard feel cluttered.
Before adding more decorations, hide or organize what is already there.
A three-sided screen may be enough to block bins from the patio or kitchen window. You can use lattice, slatted wood, outdoor panels, or suitable tall plants.
Keep the opening wide enough to move bins easily. Leave airflow around the area so bad smells and moisture do not build up.
Do not block meters, gates, drainage points, or utility access.
A painted panel can match your fence or house trim. Repeating an existing color helps the screen feel like part of the yard.
Garden tools can hang on a simple outdoor rack inside a shed or covered area. Hoses can sit in a pot or wall holder.
Removing visible clutter often improves the yard more than buying another ornament.
Complete One Backyard Zone at a Time
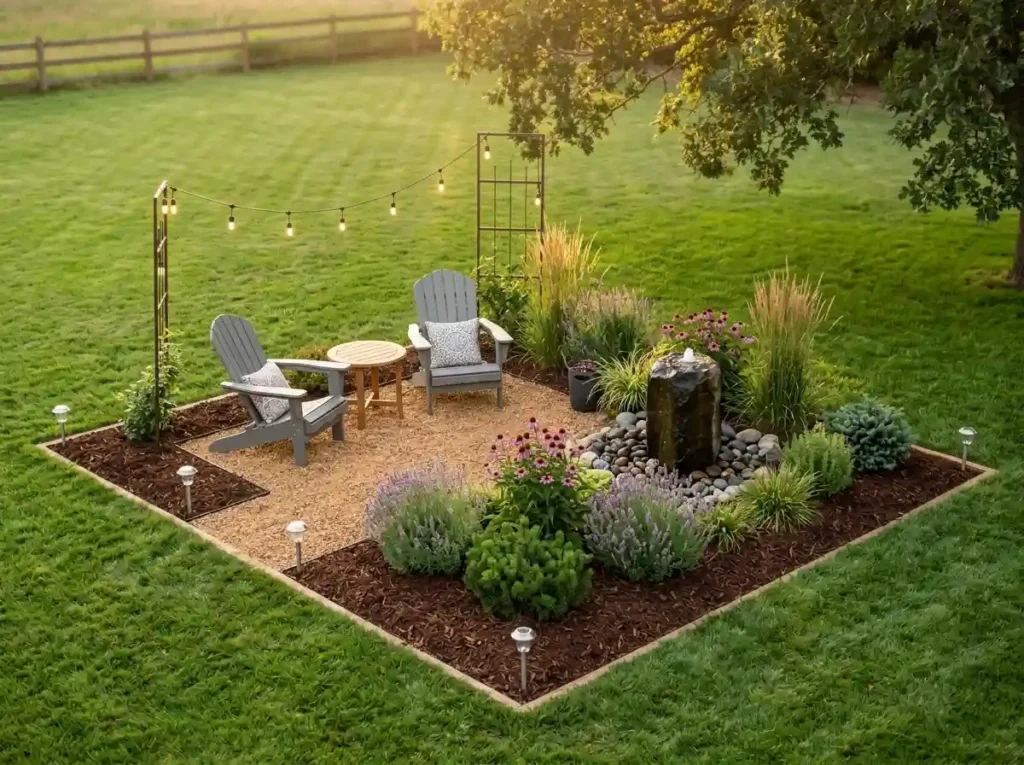
Trying to fix the whole yard at once can leave you with several half-finished projects.
Choose the zone you use most. This may be the patio, back door, garden bed, or play area.
Finish that space before buying materials for another part of the yard.
A simple three-month plan may look like this:
- Month one: Clean, weed, edge, and mulch.
- Month two: Add seating and useful lighting.
- Month three: Add plants, privacy, or one focal feature.
Set a spending limit for each month. Save leftover stones, wood, soil, or paint for later projects.
Take before-and-after photos. They help you see progress that may be hard to notice day by day.
A staged plan also lets you test the yard. You may learn that a chair needs more shade or a path should take a different route.
Backyard landscaping on a budget works better when every finished area has a clear purpose.
Sample Backyard Landscaping Budgets for Different Spaces
There is no single correct amount to spend on a backyard.
A renter may need portable items that can move to a new home. A family may care more about safe paths, storage, and seating. A large unfinished yard may need several years of work.
Use your yard type to set priorities.
| Backyard Type | Main Priority | Good Starting Projects |
| Small rental yard | Portable upgrades | Containers, solar lights, outdoor rug, movable chairs |
| Small homeowner yard | Function and privacy | Gravel seating, screen, path, compact plants |
| Family backyard | Safety and useful zones | Seating, lighting, storage, play area |
| Large unfinished yard | Work in stages | Mulch beds, paths, ground cover, young trees |
| Low-maintenance yard | Less mowing and watering | Native plants, gravel, mulch, hardy shrubs |
What You Could Do With $250
Focus on cleaning and one visual upgrade.
You might buy mulch, edging, a few small plants, and several solar lights. Used furniture could replace some of those costs.
What You Could Do With $500
You may be able to create a small seating zone, refresh beds, and add containers.
Do the labor yourself only when the task is safe and fits your skills.
What You Could Do With $1,000
This budget may cover a larger gravel area, more plants, improved privacy, or several linked projects.
Keep part of the money for delivery fees, soil, repairs, and extra material. Small costs add up quickly.
How to Save Money Without Making the Yard Look Cheap
A low-cost yard can still look planned and cared for.
The main difference is consistency. Random bargains can create clutter when the colors, materials, and styles do not work together.
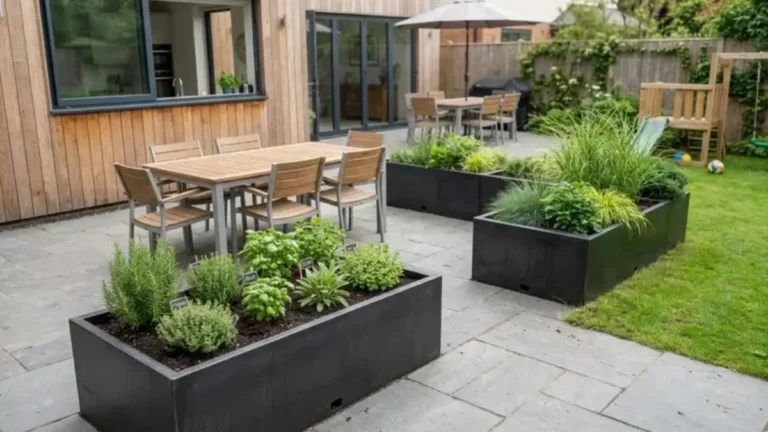
Choose two or three main materials. For example, you might repeat natural wood, black containers, and light gravel.
Group plants instead of spreading single plants across the yard. Repeating the same flower color can also make the design feel more connected.
Keep edges clean. Sweep paths, trim grass around borders, and remove broken containers.
Spend more on items that affect safety and long-term use. This may include a stable path base, strong seating, healthy soil, or secure shade supports.
Save money on items that can be reused or replaced easily. Used pots, small starter plants, simple cushions, and free wood chips may be good choices.
Leave some open space. Filling every corner can make the yard feel smaller.
Create one focal point. This could be a bench, large container, small tree, or water feature.
A yard does not need expensive materials to look good. It needs clear zones, repeated details, and finished projects.
Backyard Budget Mistakes That Cost More Later
Some shortcuts save money today but create more work next season.
Buying Plants Before Checking the Site
A sun-loving plant will struggle in deep shade. A plant that likes dry soil may fail in a wet area.
Check the location before shopping.
Ignoring Drainage
Water can damage plants, wash away mulch, and make paths sink.
Fix serious drainage problems before adding decorative work. Get professional advice when water is affecting the house or nearby structures.
Skipping the Path Base
Gravel and pavers need a stable base. Poor preparation can lead to weeds, low spots, and loose surfaces.
Using Indoor Items Outside
Indoor rugs, cushions, paint, and furniture may fade, rot, or grow mold.
Choose items made for outdoor conditions.
Choosing Aggressive Plants
A fast-spreading plant can move into the lawn, garden beds, or a neighbor’s yard.
Check local invasive plant lists before buying.
Buying Too Many Decorations
Several small signs, statues, lights, and planters can make the space feel crowded.
Choose fewer items with a clear purpose.
Starting Too Many Projects
A half-built path, unfinished bench, and empty garden bed will not improve the yard.
Finish one project before starting the next.
Choose the Best First Project for Your Yard
Your first project should solve the problem you notice most.
- Your yard looks messy: Weed, edge, and mulch the main beds.
- You have nowhere to sit: Create a small gravel seating area.
- You need privacy: Screen the patio or favorite chair.
- Your yard feels empty: Add a path and one grouped planting bed.
- You rent your home: Use containers, solar lights, and movable furniture.
- Grass keeps dying: Try suitable ground cover, mulch, or gravel.
- Your patio gets too hot: Add safe, focused shade.
- Your yard feels cluttered: Hide bins and organize tools.
Pick one option that fits your budget and skill level. A small finished project is better than a large idea that never gets completed.
Start With One Affordable Backyard Change
You do not need to rebuild your entire yard to make it feel better.
Start with planning. Fix safety and drainage issues first. Then focus on clean borders, useful seating, suitable plants, and simple paths.
Reuse safe materials when it makes sense. Buy small plants and let them grow. Keep your colors and materials consistent.
Most of all, finish one area before moving to the next.
Backyard landscaping on a budget works best when you improve the space in small, useful stages. Walk through your yard today, choose the area you use most, and set a spending limit.
Then pick one of these inexpensive backyard ideas and complete it before starting another.