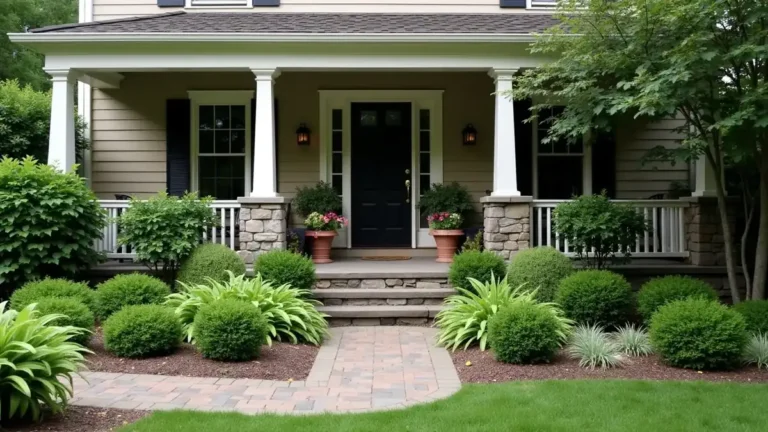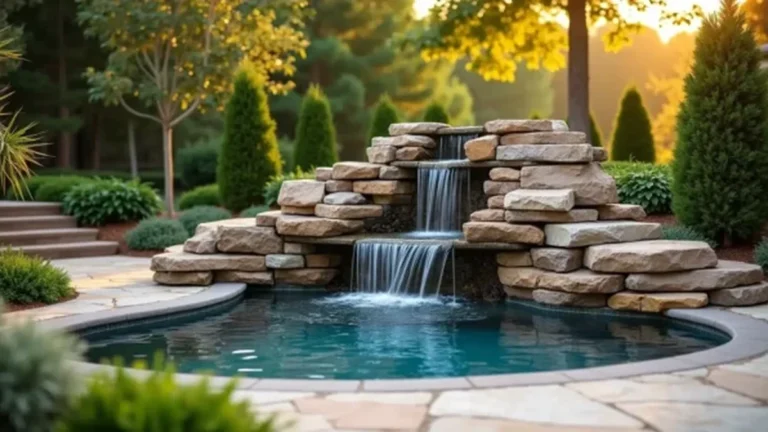
17 Rock Landscaping Ideas on a Budget
A bare, muddy, or weedy yard can make your whole home look unfinished. The problem is that a full yard makeover can cost more than you expect.
Rocks offer a simple fix. They can cover bare soil, shape garden beds, improve paths, and help with small drainage problems. They also last much longer than many types of mulch.
Still, rock landscaping can get expensive when you cover a large area or choose rare decorative stone. Good planning matters.
These rock landscaping ideas on a budget will help you improve your yard without replacing everything at once. You will learn how to reuse materials, buy less stone, create useful features, and avoid costly mistakes.
Start with one small space. A narrow border, short path, or tiny rock garden can make a clear difference.
How to Plan Rock Landscaping Without Wasting Money
The fastest way to waste money is to order rocks before measuring your yard. You may buy too much. You could also run short and pay another delivery fee.
Measure the length and width of the area first. For example, a garden bed that is 10 feet long and 6 feet wide covers 60 square feet.
The depth also matters. Small gravel may need a different depth than large river rocks. Ask your supplier how much material you need for your chosen stone.
You can also use an online gravel calculator. Enter the length, width, and planned depth. The calculator will give you a rough amount in cubic feet, cubic yards, or tons.
Next, decide what the area needs to do. Do you want it to look better? Does it need to stop mud, guide foot traffic, or move rainwater?
Your answer will help you choose the right rock.
Crushed gravel works well for paths because the sharp pieces lock together. Pea gravel feels smoother underfoot, but it can move. River rock looks clean and natural, but it may slide on a slope.
Use one main rock type across most of the yard. This keeps delivery costs lower and gives the space a connected look.
Save costly decorative rocks for small spots that people notice first.
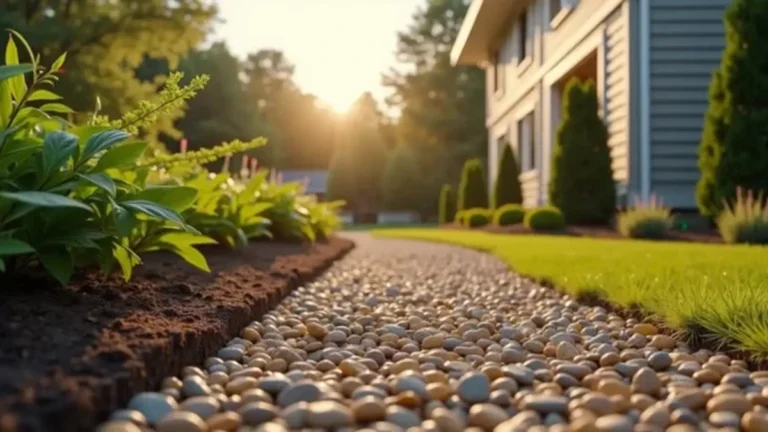
Add a Narrow Gravel Border Around Garden Beds
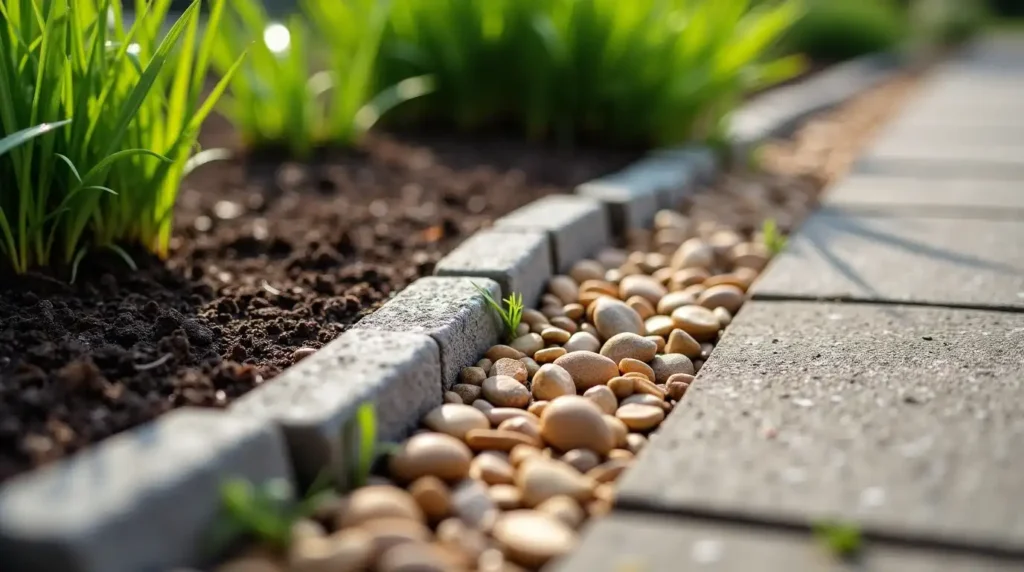
A thin gravel border can make a messy garden bed look clean in one afternoon. It also helps stop soil and mulch from spilling onto nearby paths.
Create a strip that is about 6 to 12 inches wide. Remove weeds and loose soil before adding the gravel.
Install edging along both sides when the border touches grass or mulch. The edging keeps the stones in place and reduces cleanup.
Local crushed gravel is often cheaper than polished decorative stone. Choose a color that works with your home, path, or driveway.
Budget tip: Use basic gravel for most of the depth. Add a thin layer of decorative stone on top.
Build a Short Pea Gravel Walking Path
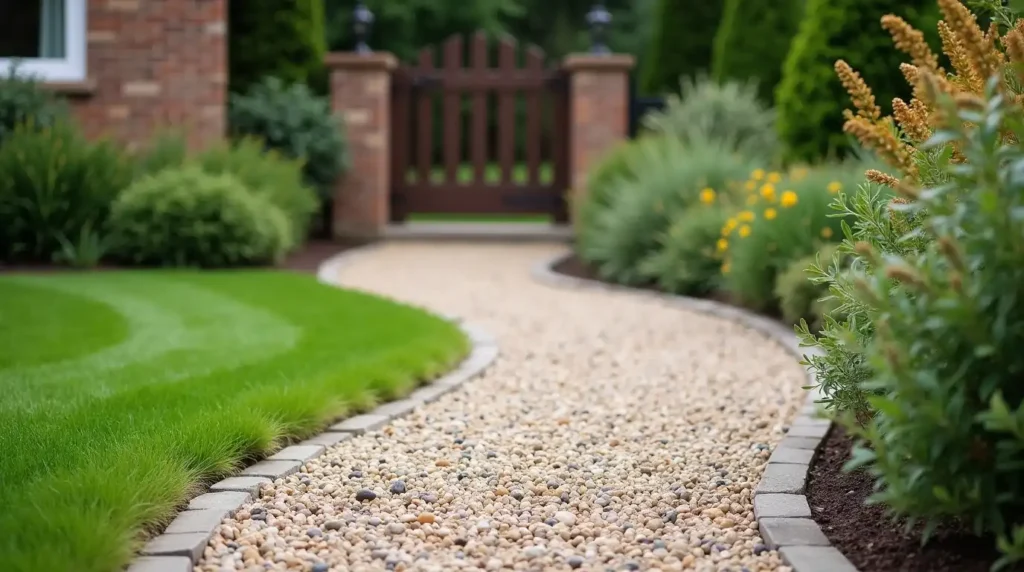
You do not need to install an expensive stone walkway. A short pea gravel path can connect your patio, gate, garden, or shed.
Use a garden hose to mark the path. A soft curve often looks more natural than a straight line.
Remove the top layer of grass and soil. Add a firm base so the path does not sink after rain.
Place edging along both sides before adding the pea gravel. Without edging, the small stones will move into the lawn or garden beds.
Keep the path wide enough for easy walking. Test the width before you buy the materials.
Best for: Flat areas with light foot traffic.
Mix Stepping Stones With Gravel
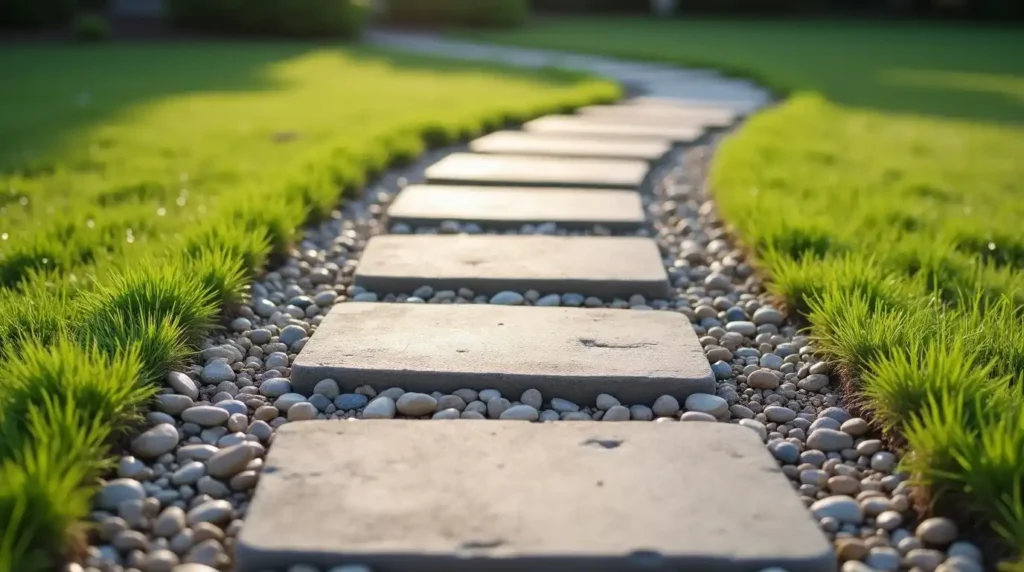
A full paver path can cost a lot. You can lower the cost by using fewer stepping stones and filling the gaps with gravel.
Place the stones where your feet naturally land. Walk along the unfinished path several times before setting them.
Each stone should sit flat and firm. A loose or uneven stone can become a trip risk.
Old concrete pavers work well for this project. The pieces do not need to match perfectly.
You can also buy clearance pavers in different colors. Use a repeating pattern so the mix looks planned.
Budget tip: Ask friends or neighbors if they have leftover pavers from past projects.
Create a Rock Edge Along the Driveway
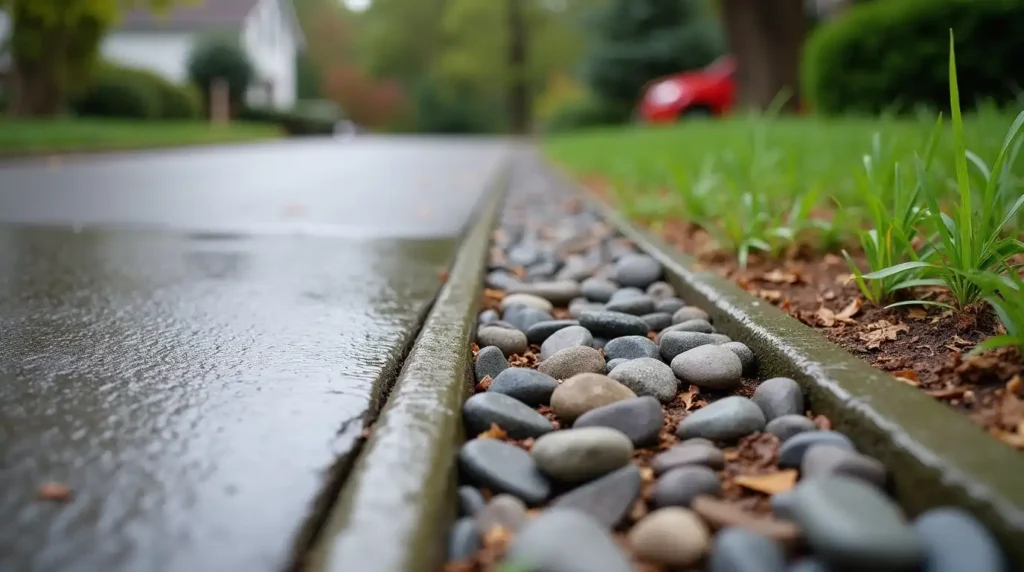
Grass often grows over driveway edges. Soil may also wash onto the pavement after heavy rain.
A narrow rock strip creates a cleaner border. It can also make mowing easier.
Use medium-size stones that are less likely to roll under tires. Keep the top of the stones slightly below the driveway surface.
Leave enough space for car doors, tires, bins, and foot traffic. Avoid placing large rocks where people step out of the car.
You may need edging to keep small gravel from spreading onto the driveway.
Best for: Driveways with thin, muddy, or uneven side strips.
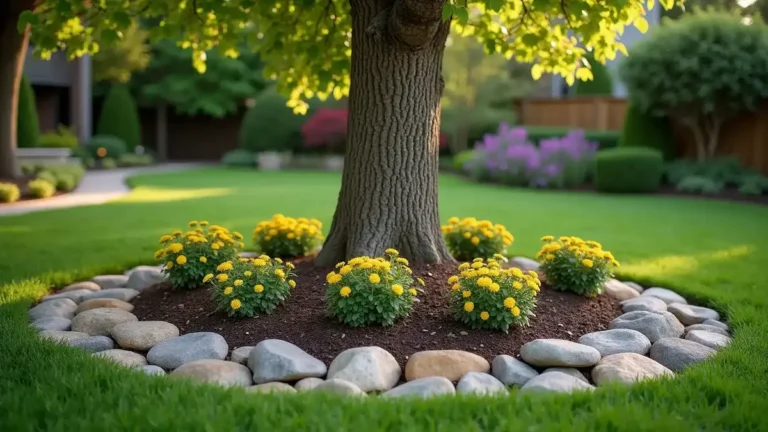
Make a Simple Tree Ring With Found Stones
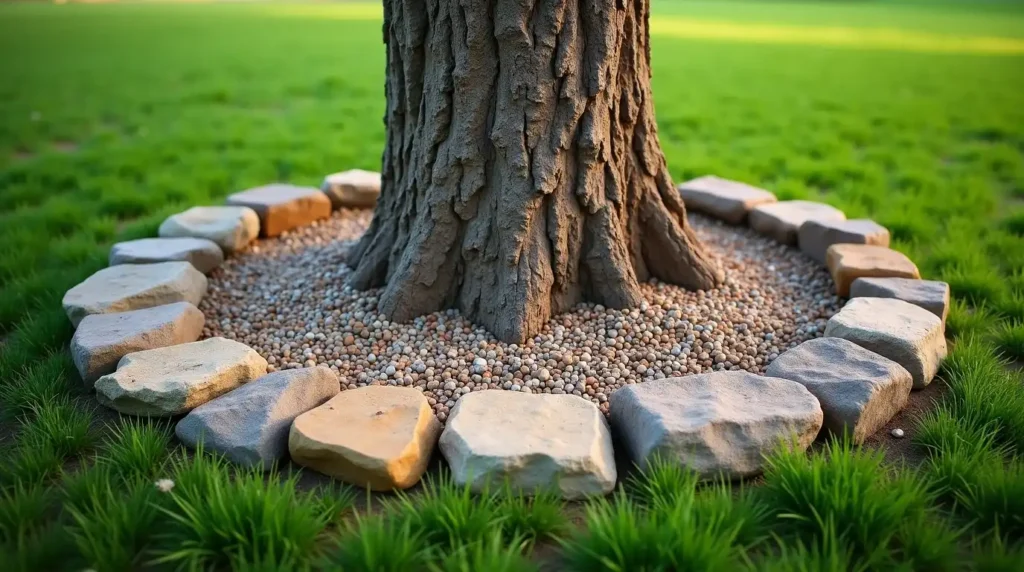
A tree ring can turn loose rocks from your yard into a useful feature. It also gives the tree area a clear shape.
Choose stones with similar colors but different sizes. Place them in a wide, low circle.
Do not stack rocks against the tree trunk. Leave the base of the trunk and the top roots open.
You can fill the ring with small gravel, mulch, or low-growing plants. Keep all materials a few inches away from the trunk.
A wide ring is often better than a small, tight circle. It protects more roots from lawn tools.
Budget tip: Use stones from your own property instead of buying matching blocks.
Replace Mulch in One Small Garden Bed
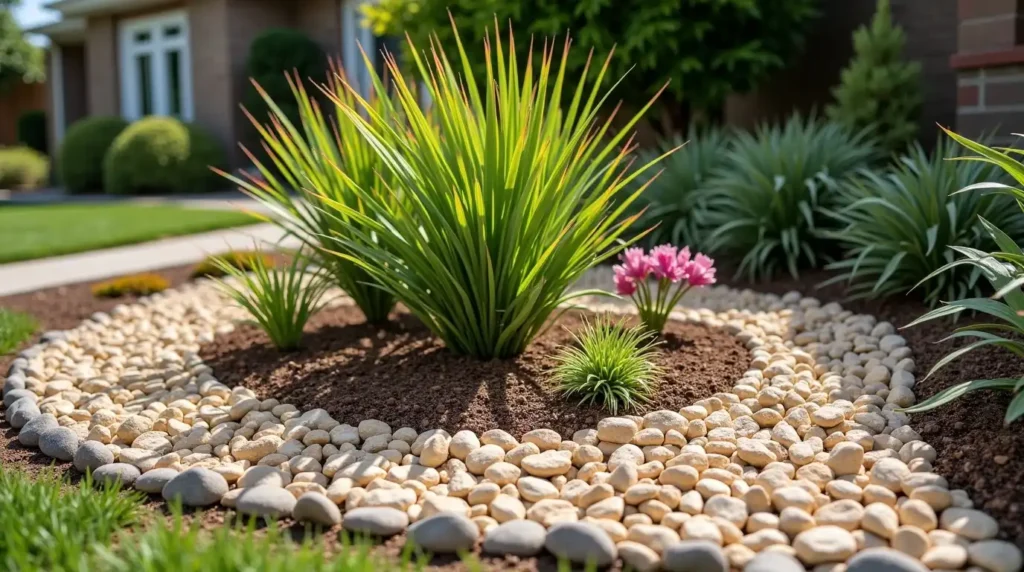
You do not need to replace every mulch bed at the same time. Start with one small bed that is easy to see from the street or patio.
Remove old mulch, weeds, and loose plant matter. Level the soil before adding rock.
Choose plants that can handle the extra heat that rocks may hold. Many drought-tolerant plants work well in sunny areas.
Do not pile stones against plant stems. Leave a small open space around each plant.
Match the rock color to your home. Dark stone can create a bold look. Light gray or tan stone often feels softer.
Budget tip: Change one bed each year instead of paying for the whole yard at once.
Turn a Difficult Corner Into a Small Rock Garden
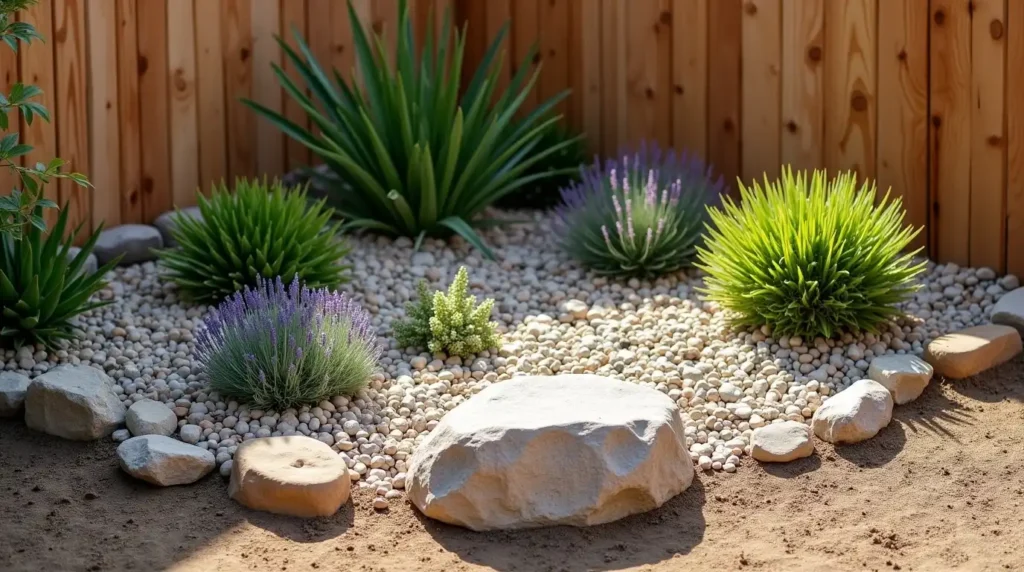
Many yards have an empty corner where grass will not grow well. It may sit beside a fence, patio, wall, or shed.
This space can become a small rock garden.
Use three rock sizes for a more natural look. Start with one medium feature rock. Add smaller stones and gravel around it.
Then add two or three hardy plants. Sedum, thyme, lavender, dwarf grasses, and local native plants may work well.
Check your climate before choosing plants. A plant that grows well in one region may fail in another.
Raise part of the soil or rocks to create height. A flat layer of stones can look dull.
Best for: Dry corners, poor soil, and small spaces that are hard to mow.
Reuse Broken Concrete as Landscape Stone
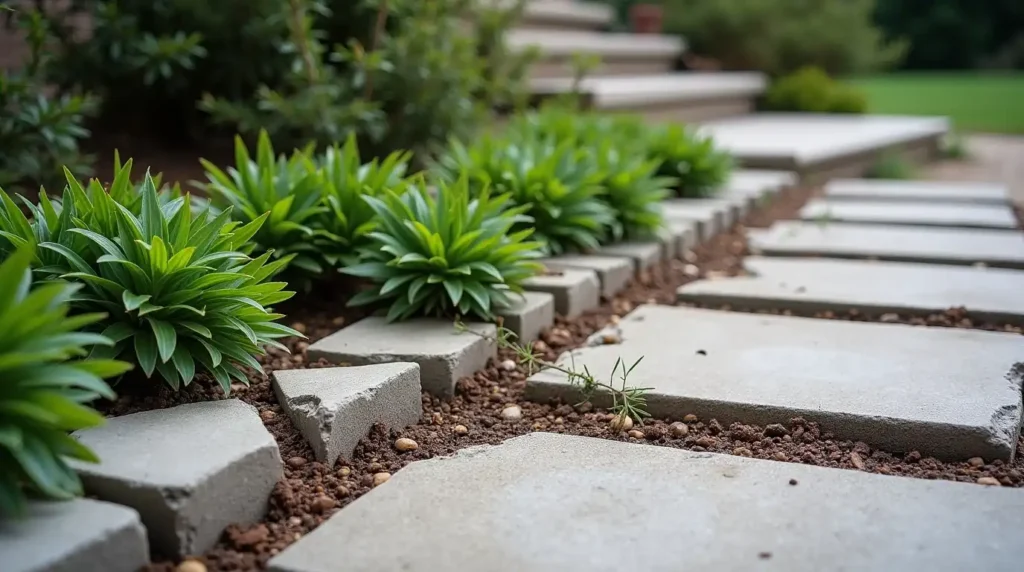
Broken concrete can work as free garden edging, steps, or low walls. Many people call reused concrete “urbanite.”
Choose clean pieces without exposed metal. Avoid pieces with sharp edges in areas where children or pets play.
Flat sections can become stepping stones. Thick pieces can form a low garden border.
Place the smoother side where people can see it. Turn rough broken edges into the bed or soil.
Small creeping plants can soften the hard look. Let them grow between the cracks instead of covering the whole area.
Do not build a tall wall with loose concrete. A high wall needs a safe base and may need expert help.
Budget tip: Check local community groups for free leftover concrete.
Use One Large Rock as a Focal Point
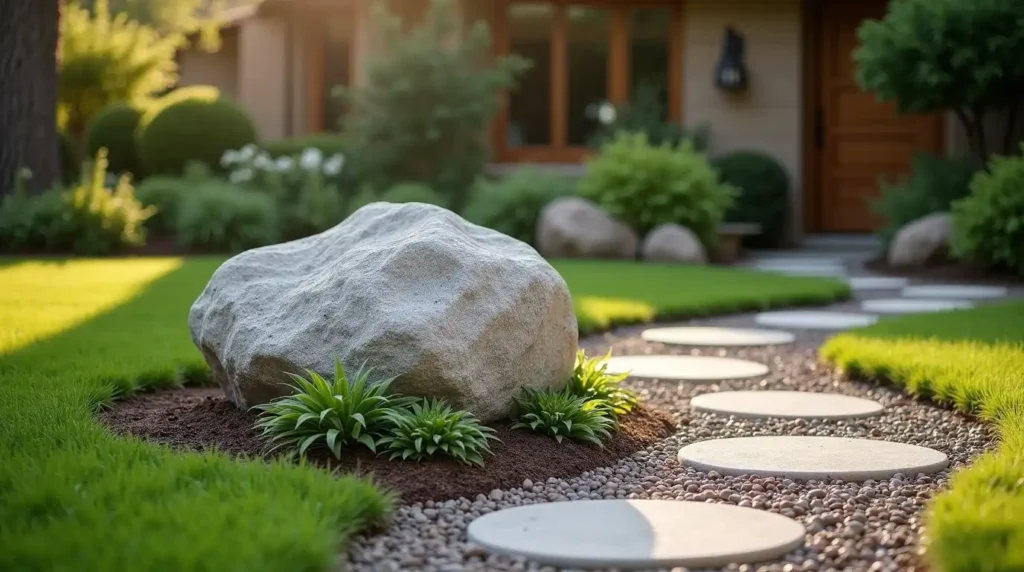
Buying many decorative rocks can quickly raise the cost. One larger rock may create a stronger result.
Place it near a garden entrance, path curve, porch, or visible corner. Avoid dropping it in the middle of an open lawn without a clear reason.
Bury part of the rock in the soil. This helps it look like it belongs there.
Add low-cost gravel and a few plants around the base. Keep the design simple.
Ask local excavation companies, builders, or farmers whether they have extra stones. Moving a heavy rock may still cost money, so plan for safe transport.
Best for: Small front yards that need one clear feature.
Build a Low Raised Rock Bed
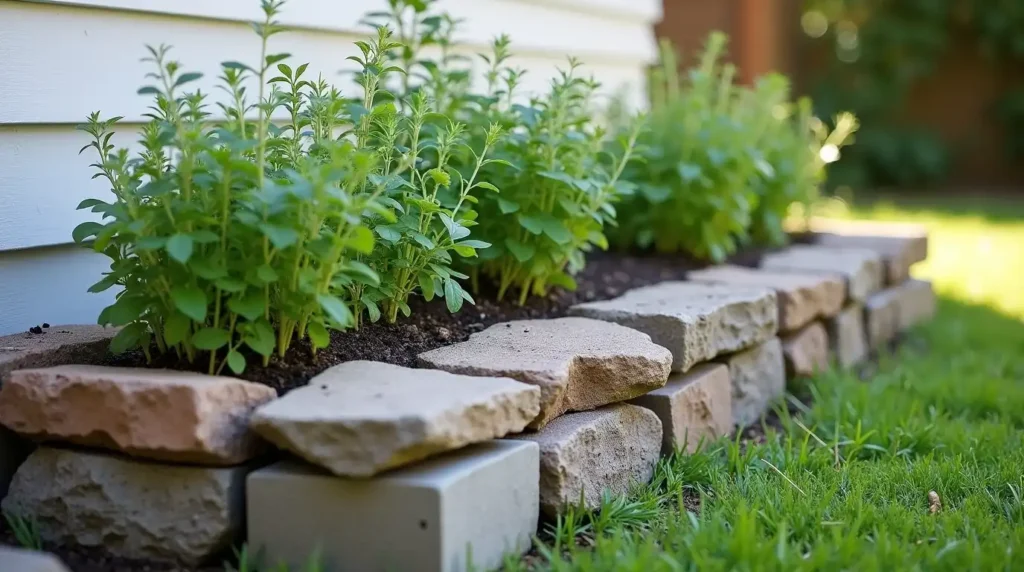
A low raised bed adds height without needing a large amount of stone. It can also improve a small planting space with poor soil.
Use flat rocks, old bricks, or reused concrete blocks. Keep the wall low and stable.
Fill the center with good soil. Add herbs, flowers, or compact plants.
A small herb bed near the kitchen door can be useful and easy to care for.
Do not build a high retaining wall without checking local rules. Tall walls may need drainage, a stronger base, or professional design.
Budget tip: Use reused blocks for the hidden sides and better-looking stones on the front.
Build a Shallow Dry Creek Bed
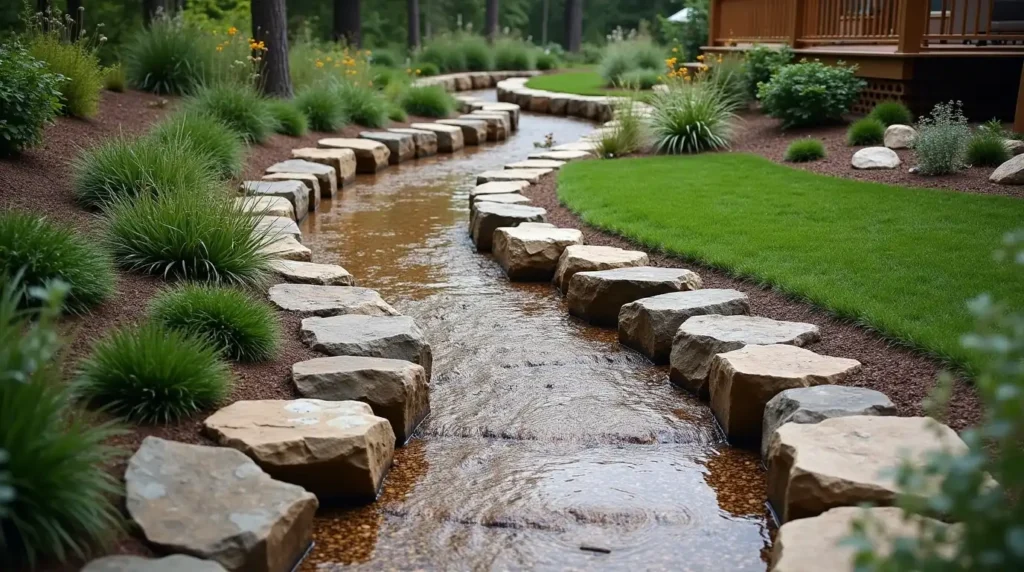
A dry creek bed can turn a wet low spot into a useful yard feature. It can guide small amounts of rainwater while adding shape to the garden.
First, watch where water flows during rain. Do not guess.
Create a shallow curved channel that follows the natural slope. Place larger rocks along the sides. Use smaller gravel through the middle.
The creek should move water away from the house. It should never send water onto a neighbor’s property without permission.
Add a few water-tolerant plants along the edges. This can make the creek look more natural.
A dry creek bed may help with light runoff. It will not fix a major drainage or foundation problem.
Safety note: Call a drainage professional when water collects beside your foundation.
Add a Gravel Splash Area Below a Downspout
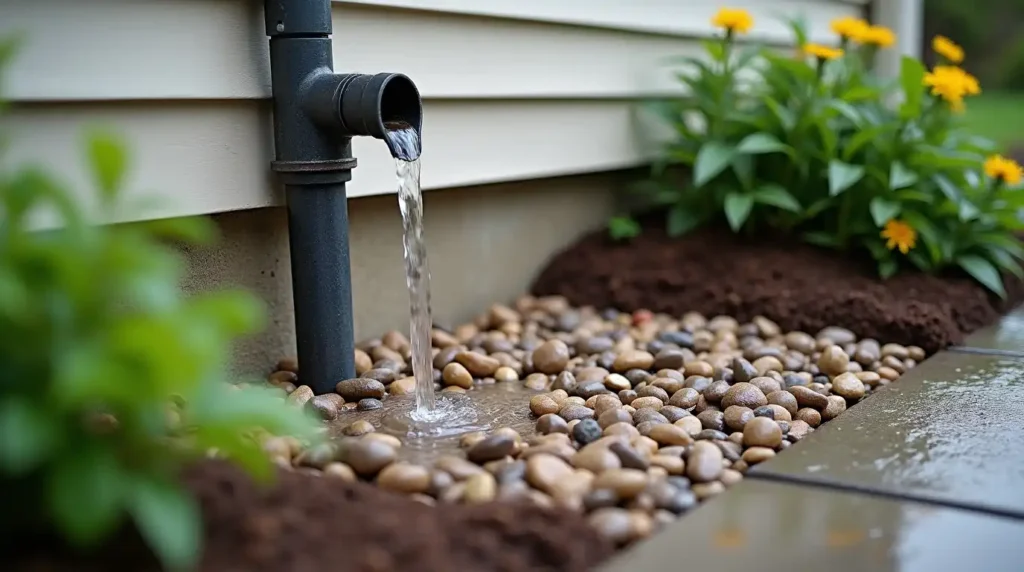
Water from a downspout can dig a hole in the soil. It can also splash mud onto walls, paths, and plants.
A small gravel basin can reduce this damage.
Dig a shallow area under the end of the downspout. Add a firm base and fill it with medium or large stones.
Small pea gravel may wash away during heavy rain. Heavier stones often stay in place better.
Make sure the downspout carries water away from your home. A rock basin should not trap water next to the foundation.
This project is small, useful, and cheap. It can also look better than a plastic splash block.
Fix a Muddy Side Yard With Compacted Gravel
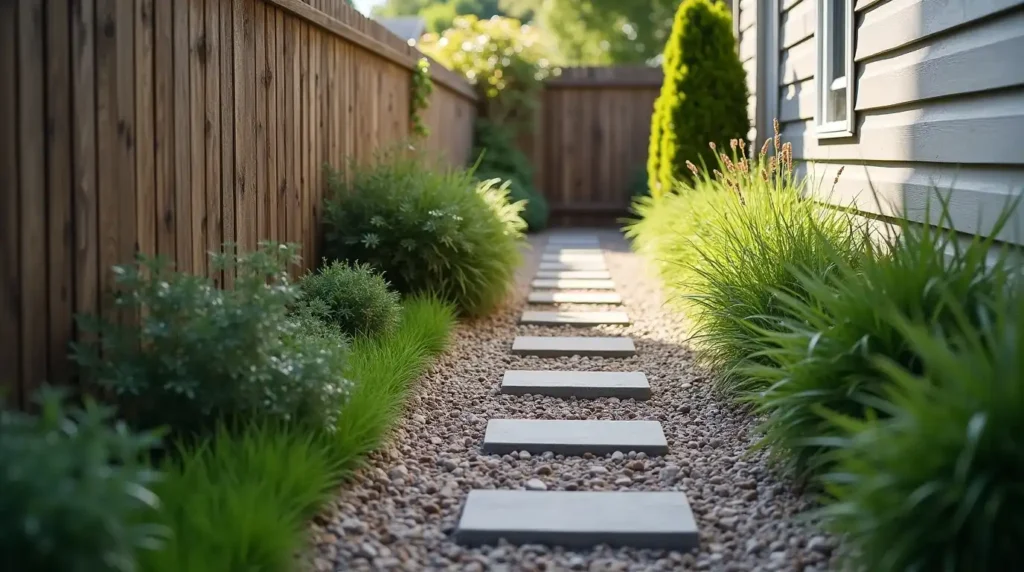
A narrow side yard often stays muddy because it receives little sun. People and pets may also wear down the grass.
Gravel can create a cleaner walking area.
Remove soft soil, roots, and plant matter. Add a strong base material and compact it.
Use angular gravel on top. The pieces lock together and move less than round stones.
Keep the path sloped away from the house. Water should not sit beside the wall.
Add stepping stones when you want a smoother walking surface.
Best for: Spaces between a house and fence, shed paths, and bin storage areas.
Create a Rock-Lined Drainage Swale
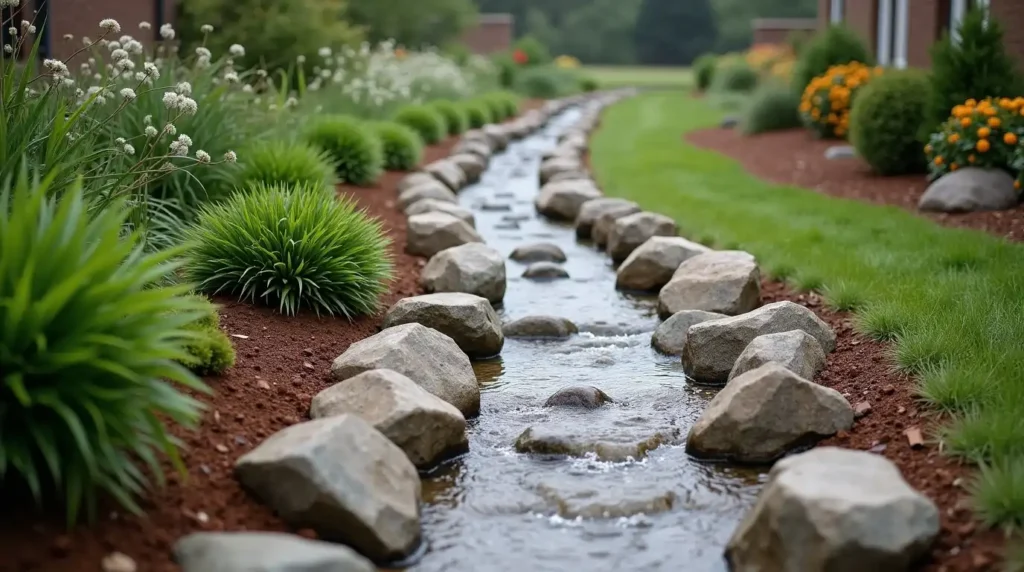
A swale is a shallow channel that moves or holds rainwater. It is wider and softer than a deep trench.
You can line a small swale with rocks to reduce soil erosion. Follow the natural slope of the yard.
Use larger stones where water enters the channel. Add smaller stones in areas with slower flow.
Water-tolerant plants can help hold the soil. Choose plants that suit your climate and light level.
Keep the channel clear of leaves and soil. A blocked swale will stop working.
Check local drainage rules before changing where water flows.
Turn a Flat Rock Into an Address Marker
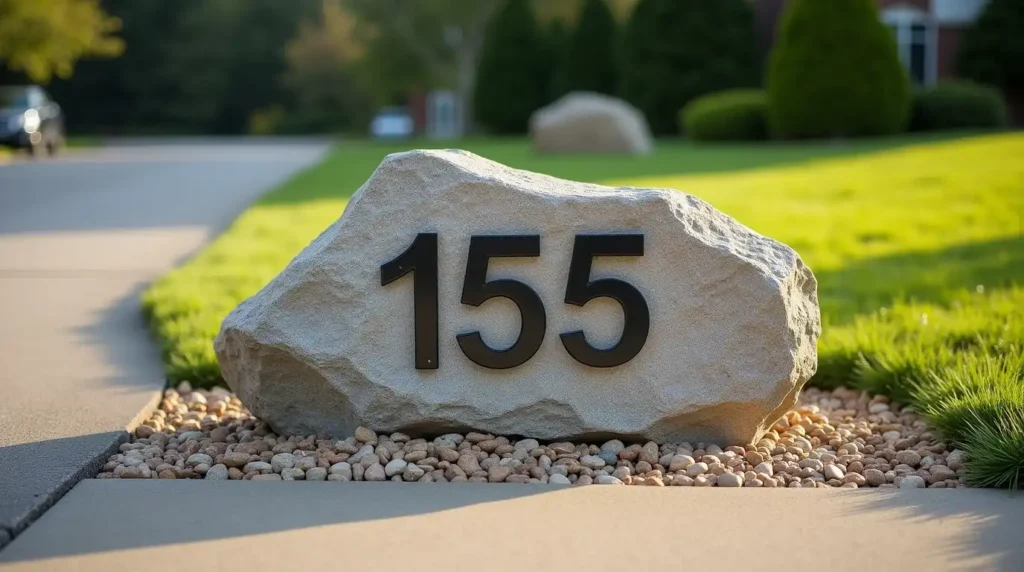
A large flat stone can become a simple house number sign.
Clean the surface before adding the numbers. Use outdoor paint, metal numbers, or weather-safe vinyl.
Choose numbers that people can read from the street. Strong contrast will make them easier to see.
Place the rock near the driveway entrance or front path. Keep it away from areas where cars may hit it.
Use a weather-resistant sealer when you paint the numbers.
This project adds a personal detail without using much material.
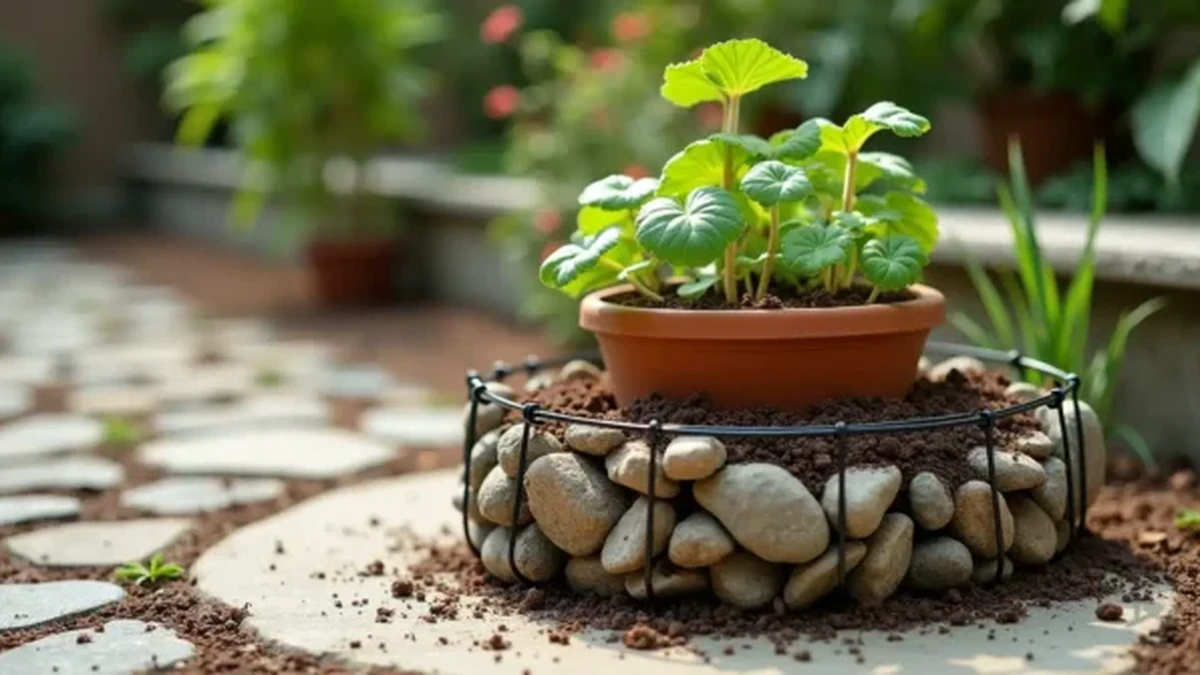
Make a Small Wire-and-Stone Planter
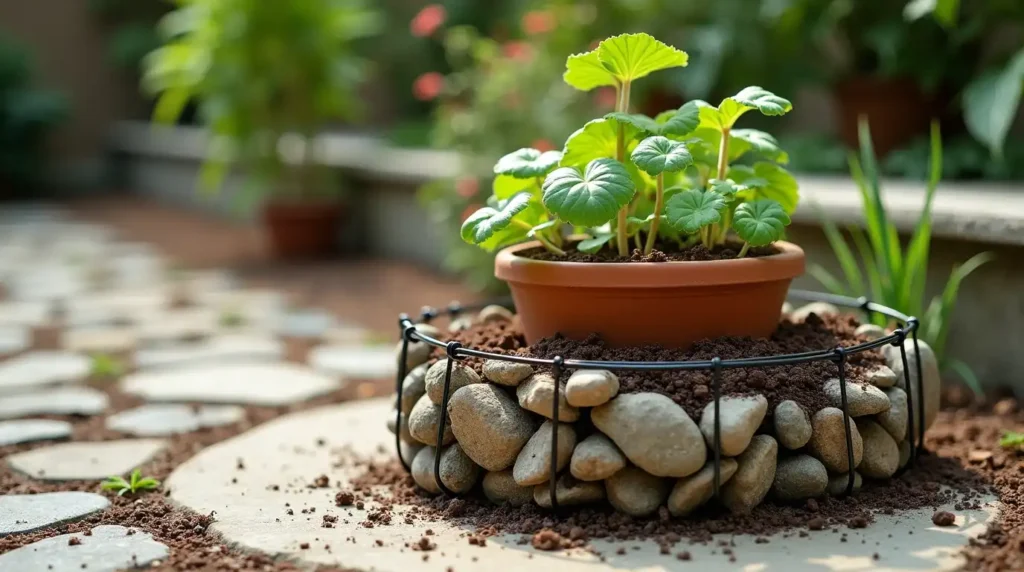
A wire-and-stone planter can add height and texture to a patio or garden bed.
Use a strong wire basket or small gabion-style frame. Check that it sits flat and does not wobble.
Place stones around the outside edge. Add a pot or liner inside the center.
This method uses fewer rocks than filling the whole frame. It also protects the plant soil from falling through the wire.
Bend or cover all sharp wire ends. Keep the planter low when children or pets use the area.
Budget tip: Use mixed leftover stones because the wire frame helps them look connected.
Build a Small Gravel Sitting Area
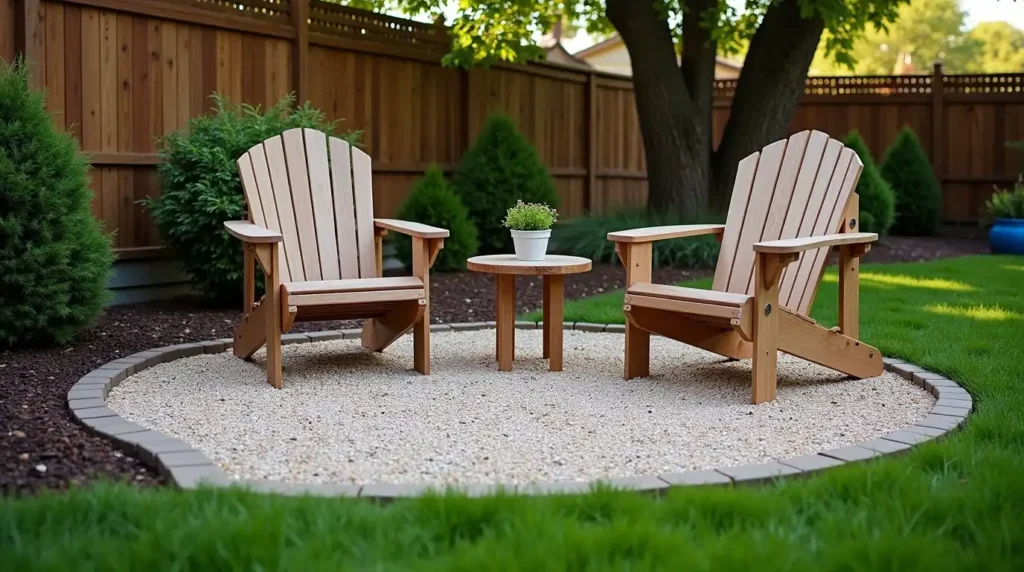
A gravel sitting area can give an empty yard corner a clear purpose. It costs less than many paved patios.
A 6-by-6-foot space may be large enough for two chairs and a small table.
Choose a flat area. Remove grass and loose soil. Add a compacted base before spreading the gravel.
Install edging around the space. This keeps the stones out of nearby grass and beds.
Use furniture you already own. Add one planter, a solar lantern, or three larger edge stones.
Keep the design simple. Too many small decorations can make the area feel crowded.
Best for: Quiet backyard corners and small rental-friendly upgrades.
How to Keep Rock Landscaping Costs Under Control
The price of the stone is only part of the project cost. Delivery, edging, tools, base material, and soil removal can add up.
Compare bagged rock with bulk delivery. Bags may work well for a tiny bed. Bulk stone often makes more sense for paths and larger areas.
Ask for the full delivered price. A cheap material may cost more after delivery fees.
Buy local stone when possible. Local options often cost less to transport.
You can also share a delivery with a neighbor. This works well when both homes need the same gravel.
Check community marketplaces, salvage yards, and local building groups. People often give away leftover rocks, pavers, and concrete.
Collect stones only where it is legal. Rocks in parks, rivers, beaches, and public land may be protected.
Use premium decorative rock only in visible areas. Basic gravel can fill hidden sections or create a lower layer.
Complete the yard in phases. Start with the area that causes the biggest problem.
A muddy path may need attention before a decorative garden bed.
10 Mistakes That Make Cheap Rock Landscaping Cost More
Cheap materials will not save money when the installation fails.
Avoid these common mistakes:
- Buying rock without measuring the area. You may pay for material you do not need.
- Forgetting the delivery fee. Always compare the total cost.
- Skipping the base layer. Loose soil can cause paths and sitting areas to sink.
- Leaving out edging. Small stones may spread into grass, beds, or pavement.
- Using round stones on a slope. Smooth rocks can move after rain.
- Piling rocks against tree trunks. This can hold moisture where it does not belong.
- Blocking water flow. Rocks should not cover drains or trap water beside the house.
- Mixing too many colors. A small yard may look busy and uneven.
- Using white rock below messy trees. Leaves, mud, and stains may be easy to see.
- Expecting fabric to stop every weed. Soil and seeds can collect on top of the rocks.
Before buying anything, measure the area, check the slope, choose the stone size, and plan where water will go.