15 Garden Path Ideas for Every Style and Budget
A garden path should make your yard easier to use. But the wrong surface can create more problems than it solves.
Loose stones may spread across the lawn. Brick can become slippery in deep shade. Poor drainage can leave puddles in the middle of your walkway.
Whether you need a simple gravel walkway or a solid stone path, these garden path ideas will help you choose a suitable option.
You will find ideas for small gardens, front yards, cottage gardens, modern spaces, and damp areas. You will also learn which materials need more care and which ones are easier to install.
Some garden walkway ideas look great in photos but may not work for your daily needs. Your path must fit the people who use it, your local weather, and your budget.
Use this guide to plan a garden path design that looks good and works well. Several options also suit beginners who want to create DIY garden paths without taking on a large building project.
15 Garden Path Ideas for Any Yard and Budget
No single path material works in every garden.
Some choices are cheap and easy to install. Others cost more but create a firmer surface.
Each idea below includes its best use, main benefit, possible drawback, and a simple design tip.
Create an Affordable Pea Gravel Garden Path
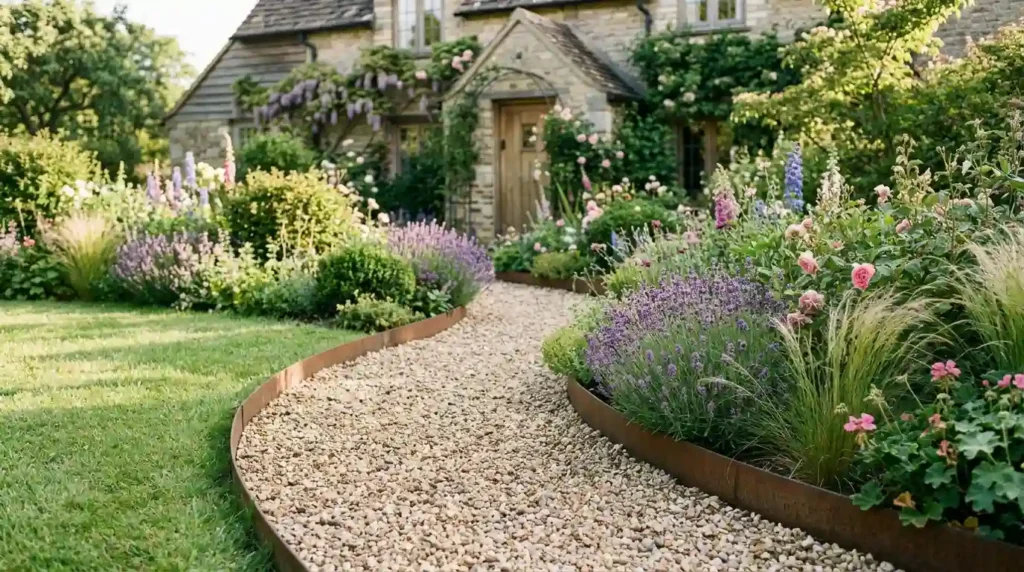
A pea gravel garden path is one of the easiest ways to add a clear route through your yard.
It works well in cottage gardens and informal planting areas. The small stones also make it easy to create soft curves.
Add strong edging along both sides. Metal, brick, stone, or heavy plastic edging can stop the gravel from spreading into your lawn and flower beds.
Do not place gravel straight onto soft soil. A prepared and compacted base can reduce sinking and movement.
Choose gravel by feel as well as color. Very round stones may roll underfoot, while more angular gravel often feels firmer.
Best for: Cottage gardens and curved routes
Budget: Low to medium
DIY level: Beginner-friendly
Watch out for: Loose gravel near doors, slopes, and lawns
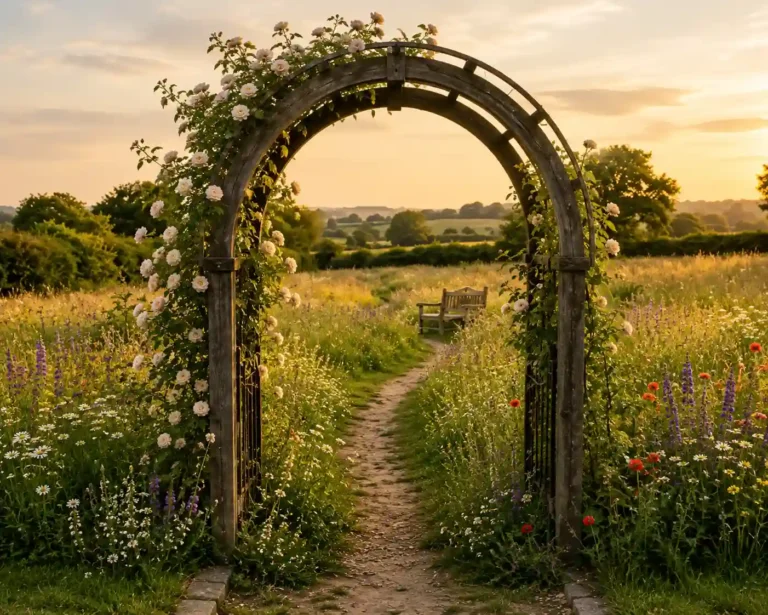
A curved garden path made with pale gravel can look lovely beside lavender, small shrubs, and ornamental grasses.
Use Stepping Stones for a Simple Garden Walkway
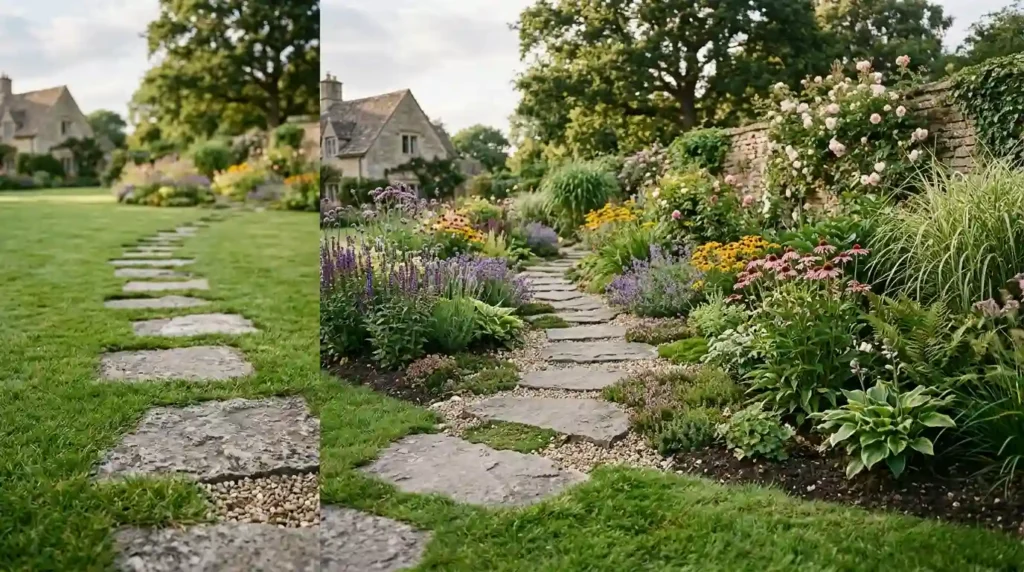
Stepping stones can connect two parts of your yard without covering a large area.
They work well across lawns, flower beds, and gravel gardens. They are also useful when you want plants to remain the main feature.
Choose large, flat stones that give each foot enough space. Small or uneven stones may feel less safe.
Place the stones on the ground before digging. Walk across them several times and move each stone until the spacing feels natural.
Once you are happy with the layout, set the tops level with the ground. This helps reduce trips and makes lawn care easier.
Best for: Lawns, flower beds, and short routes
Budget: Low to medium
DIY level: Easy
Watch out for: Awkward gaps and raised edges
Grass, gravel, or low plants can fill the spaces between the stones.
Add Character With a Brick Garden Path
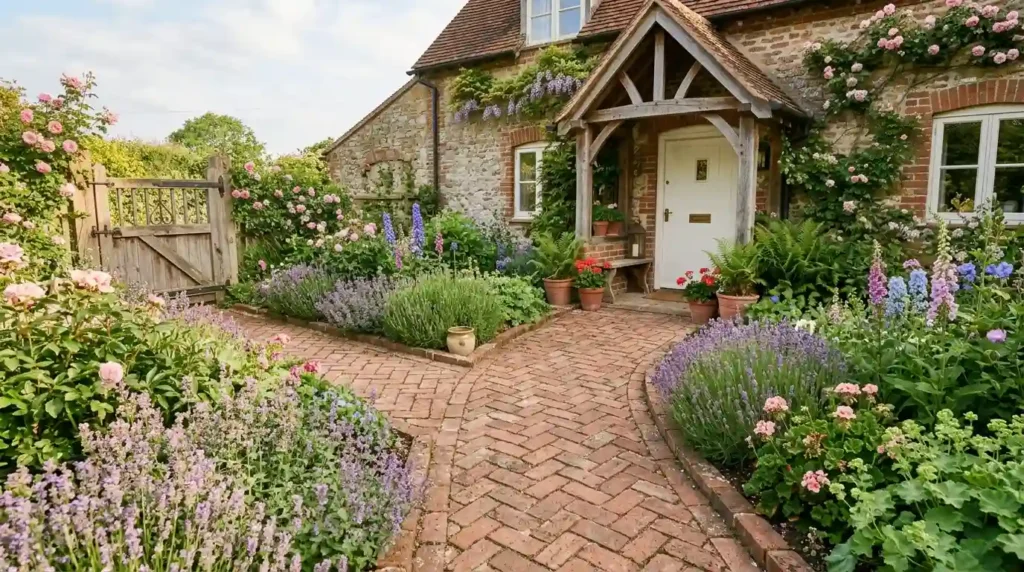
Brick can make a new path feel like it has been part of the garden for years.
It suits cottage, farmhouse, colonial, and traditional homes. You can use a simple running pattern or create more detail with basketweave or herringbone designs.
A herringbone brick path can lead the eye from a gate to the front porch. It also creates a strong pattern without using several colors.
Use bricks made for outdoor paving when possible. Old building bricks may crack or wear faster when placed on the ground.
A firm base and solid edging help stop the bricks from shifting.
Best for: Traditional gardens and front entrances
Budget: Medium
DIY level: Moderate
Watch out for: Slippery brick in damp shade
Reclaimed brick can add charm, but check each piece for cracks and sharp edges before use.
Build a Natural Flagstone Path
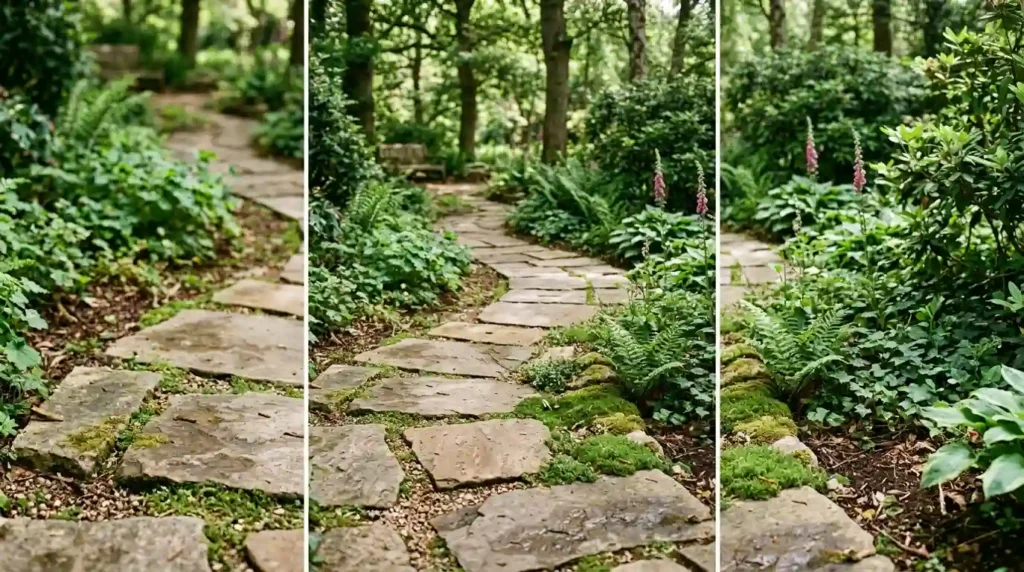
Flagstone has an uneven shape that blends well with plants.
It is a good choice for cottage, woodland, and rustic gardens. Sandstone, slate, and other natural stones offer many soft colors.
You can place the stones close together for a firm path. Wider gaps create a more relaxed look and leave space for gravel or low plants.
Choose thick, stable pieces for busy routes. Thin stones may crack if the base is weak.
Take time to level each piece. A beautiful stone can still become a trip risk if one edge sits too high.
Best for: Natural and informal gardens
Budget: Medium to high
DIY level: Moderate
Watch out for: Uneven joints and unstable stones
Tight joints create a cleaner look. Wider planted joints make the path feel softer.
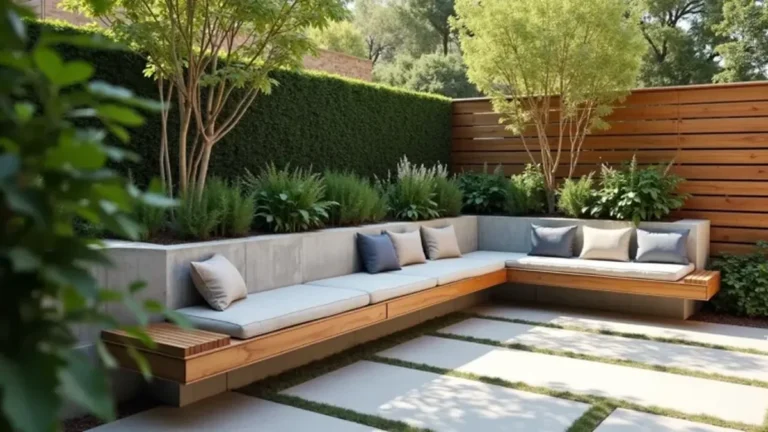
Use Large Concrete Pavers for a Modern Look
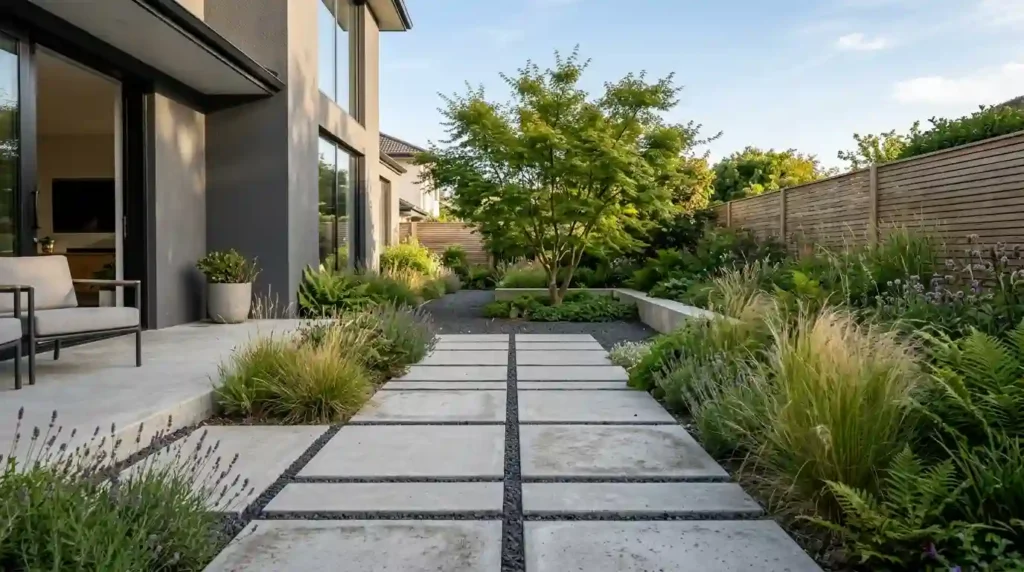
Large concrete pavers create a clean and simple walkway.
They work well in modern gardens because they reduce visual clutter. Square and long rectangular slabs are both good options.
Place the slabs in a straight line for a formal look. You can also leave even gaps filled with gravel or low ground-cover plants.
The direction of the slabs can change how your garden feels. Long pavers placed lengthwise may make a short yard appear longer.
Pale concrete can stand out against dark gravel. It also looks good beside neat grasses and low green shrubs.
Best for: Modern yards and small gardens
Budget: Medium
DIY level: Moderate
Watch out for: Raised corners and poor leveling
Large pavers are heavy. You may need help moving and setting them safely.
Make a Soft Mulch Path Through Planting Beds
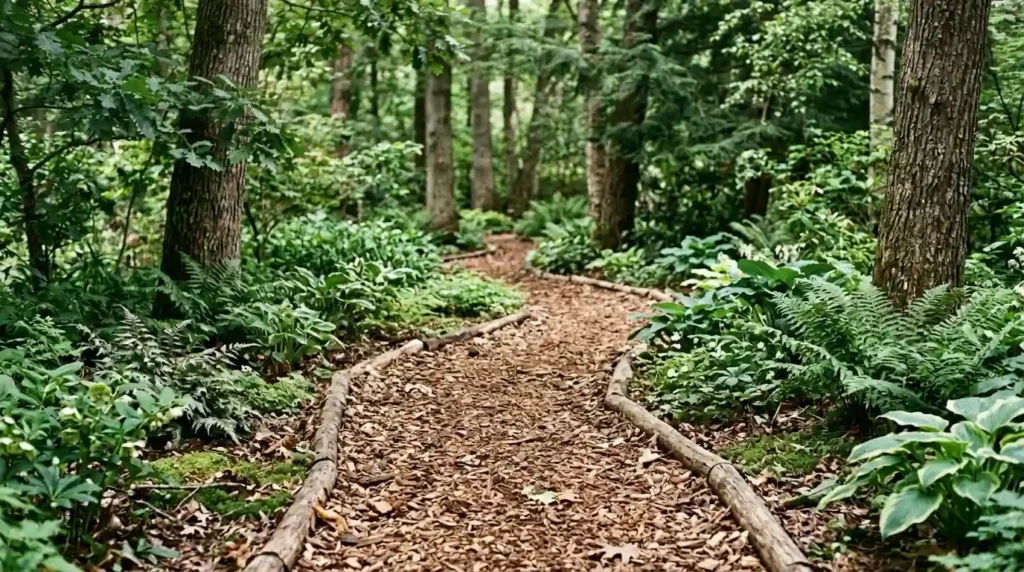
A mulch garden path is cheap, soft, and easy to shape.
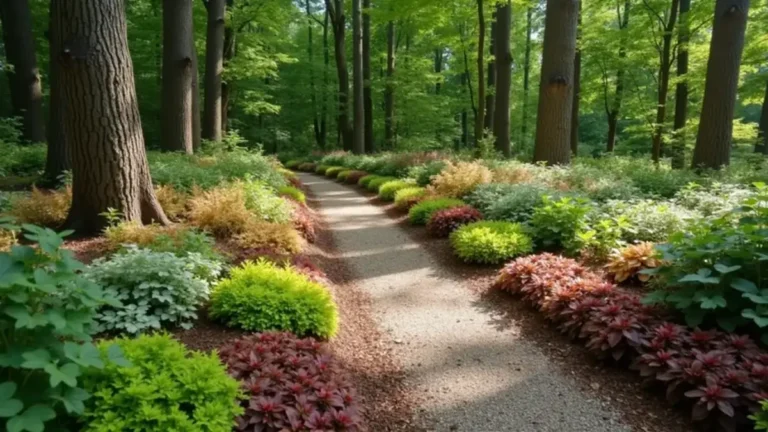
It works well in vegetable gardens, woodland areas, and wide planting beds. Wood chips can also reduce mud around raised garden beds.
Remove weeds before adding the mulch. Strong edging will help keep it away from nearby grass.
Mulch breaks down over time. You will need to add a fresh layer when the path becomes thin or muddy.
Keep wood chips away from walls, doors, and untreated timber. Damp mulch can hold moisture against nearby materials.
Best for: Woodland and vegetable gardens
Budget: Low
DIY level: Easy
Watch out for: Rotting material and regular topping up
A shaded mulch path can look natural beneath mature trees, ferns, and shade-loving plants.
Install a Wooden Boardwalk Over Damp Ground
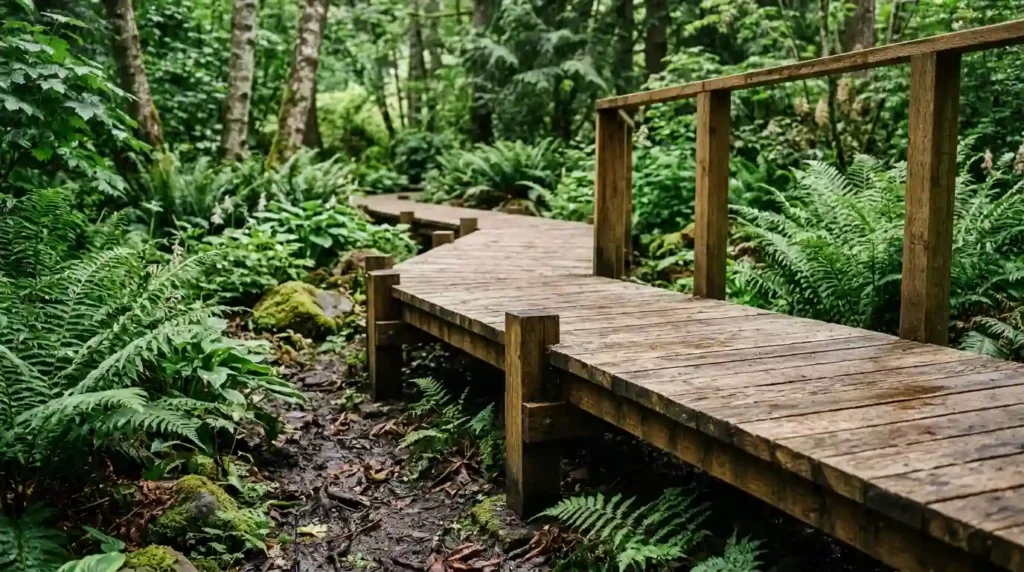
A raised wooden path can solve problems in wet or uneven parts of your garden.
It keeps feet above soft soil and can protect plants growing in a rain garden. It also creates a strong feature in woodland and coastal-style spaces.
Use wood or outdoor boards made for local weather. The supports must feel firm and stable.
Grooved or textured boards may offer better grip. However, dirt and algae can still make wood slippery.
Inspect the path often. Replace loose screws, damaged boards, and rotting sections before they become unsafe.
Best for: Damp soil and uneven ground
Budget: High
DIY level: Difficult
Watch out for: Rot, algae, and loose boards
Wood may look warm and natural, but it needs more care than stone or concrete.
Add Old-Style Charm With Cobblestones
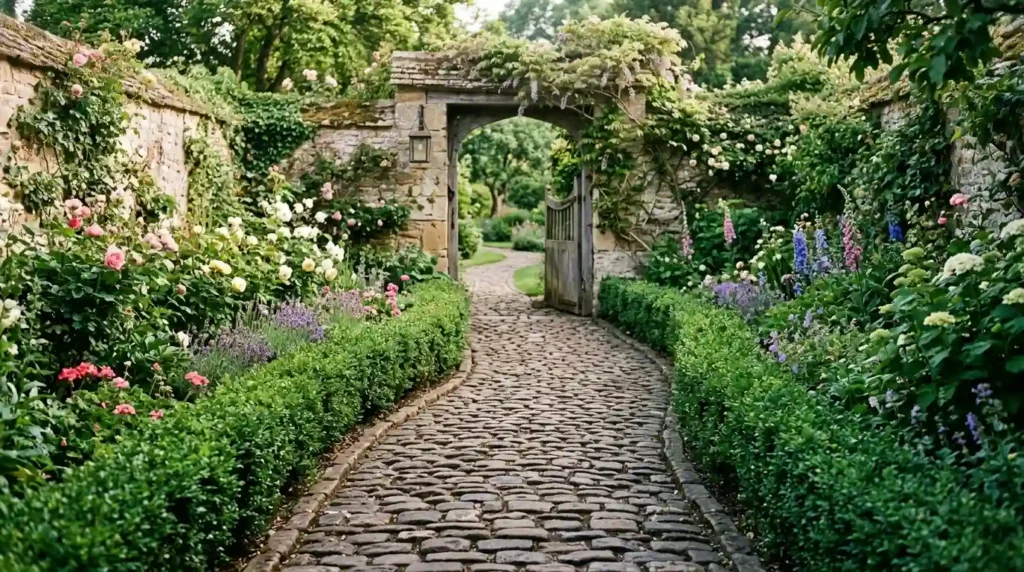
Cobblestones can give a path an aged European look.
They suit courtyards, brick homes, clipped hedges, and formal gardens. Their varied shapes add texture and strong visual interest.
A full cobblestone path can be hard to walk across. Rounded stones may also cause trouble for wheels, walkers, and garden equipment.
One smart option is to use cobblestones as edging. You can also add a short cobbled strip near a gate or seating area.
This gives you the look without covering a long route.
Best for: Courtyards and traditional homes
Budget: Medium to high
DIY level: Difficult
Watch out for: Uneven footing
Set the stones firmly and keep the joints filled to reduce movement.
Choose Decomposed Granite for a Firm Natural Surface
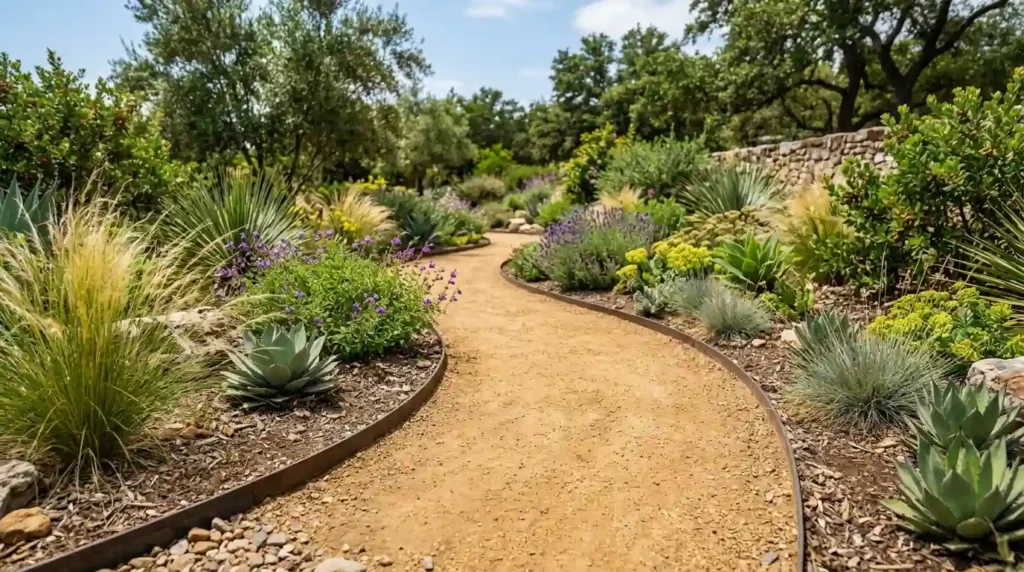
Decomposed granite has a fine texture that can feel firmer than loose gravel.
It works well in dry gardens, modern spaces, and Mediterranean-style yards. Warm gold and brown shades blend nicely with drought-friendly plants.
The final result depends on the product you choose.
Loose decomposed granite behaves like fine gravel. Compacted or stabilized types can create a firmer surface.
Ask your supplier how the product should be installed. Some types need water and strong compaction.
Heavy rain can cause loose material to move. Good edging and drainage are important.
Best for: Dry climates and natural-looking paths
Budget: Low to medium
DIY level: Moderate
Watch out for: Runoff and surface movement
Do not choose it by color alone. Ask how it performs after rain and regular foot traffic.
Create a Decorative Pebble Mosaic Path
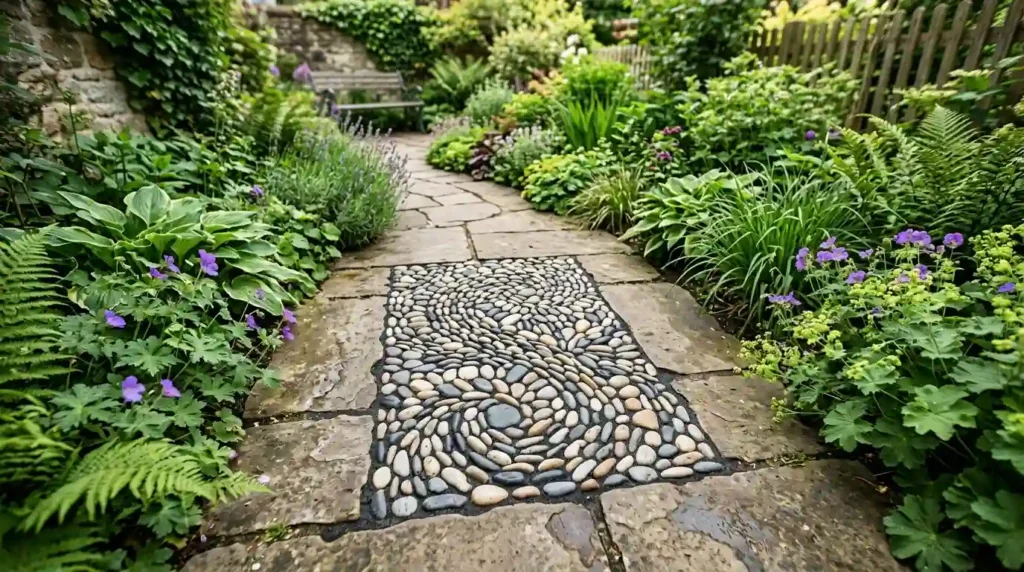
A pebble mosaic can turn a small part of your path into a focal point.
You can form circles, waves, flowers, stars, or simple geometric shapes. The design can repeat a pattern found on your gate, patio, or home.
Pebble mosaics need time and patience. Each stone must be placed firmly in a suitable base.
Smooth pebbles may become slippery when wet. Keep the design level and avoid using it on steep areas.
This style often works better in a small courtyard or entrance than on a long walkway.
Best for: Courtyards and decorative features
Budget: Medium to high
DIY level: Difficult
Watch out for: Slippery stones and uneven patterns
Use a limited color range so the finished design does not feel too busy.
Reuse Brick, Stone, or Pavers for a Budget Path
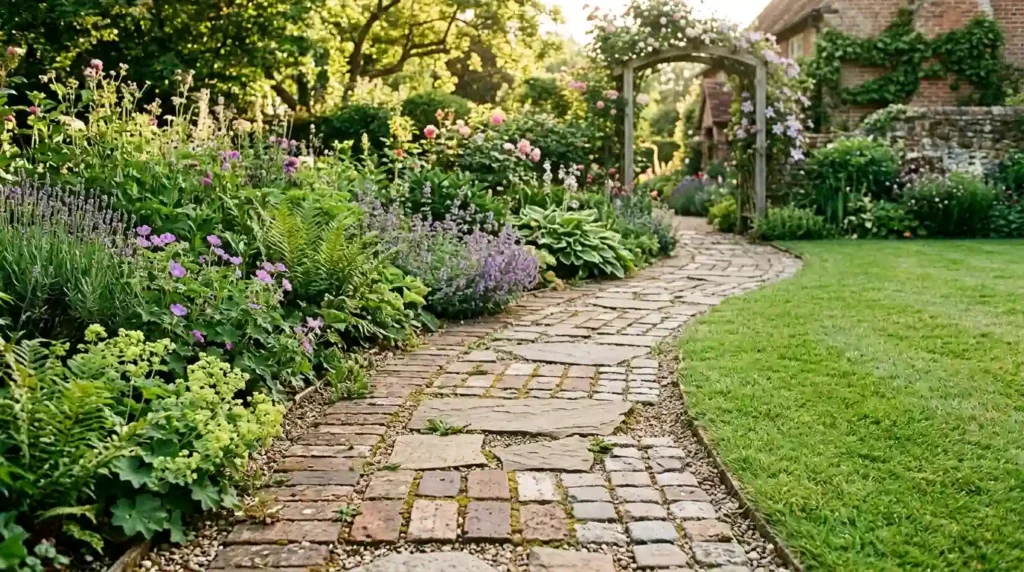
Reclaimed materials can help you save money and reduce waste.
Old bricks, broken pavers, and leftover stone can create a relaxed garden path. Mixed materials also add color and texture.
Sort every piece before you begin.
Make separate groups based on thickness, size, color, and condition. Pieces with a similar thickness are easier to level.
Use a simple pattern to keep the path from looking messy. For example, use bricks along the edges and larger stones in the center.
Best for: Informal and cottage gardens
Budget: Low to medium
DIY level: Moderate
Watch out for: Cracks, sharp edges, and mixed heights
Keep a few extra pieces for future repairs.
Soften Pavers With Grass or Ground-Cover Joints
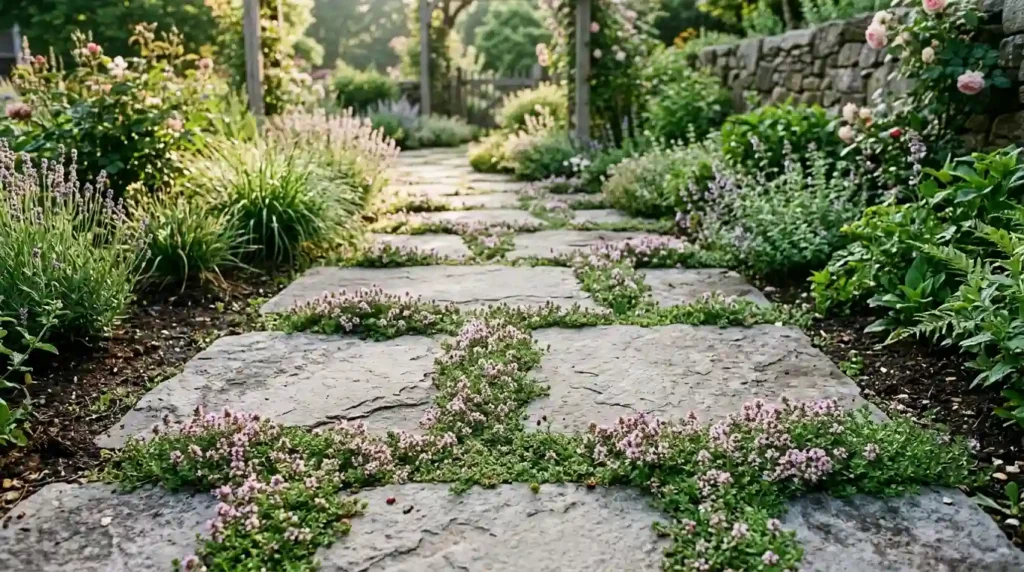
Grass or small plants between pavers can soften a hard surface.
This design works well with square concrete slabs, flagstone, and large stepping stones. It helps the path blend into nearby lawns and planting beds.
Choose plants based on light, water, and foot traffic.
Thyme may work in sunny areas with light use. Shade may require a different plant or a gravel filler.
Remember that a plant beside a path may not survive beneath regular footsteps.
Grass joints need trimming. They may also need more water during hot weather.
Best for: Lightly used paths and patios
Budget: Medium
DIY level: Moderate
Watch out for: Plants dying in busy areas
Keep the surface of the soil below the top of the pavers to reduce mud.
Design a Curved Cottage Garden Path
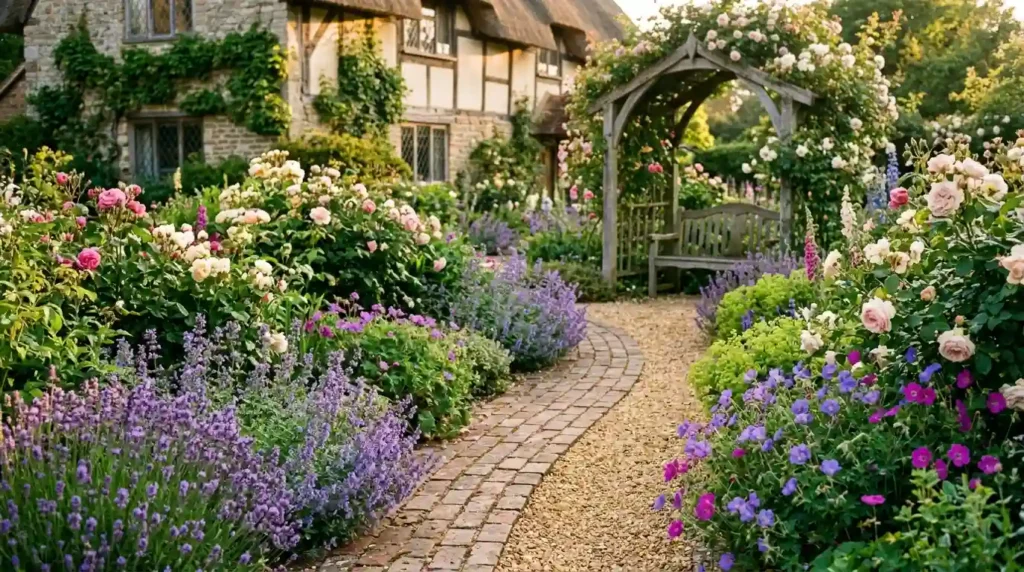
A curved path can make a garden feel relaxed and inviting.
It can guide people around a flower bed, tree, pond, or small seating area. The route can also hide part of the garden and reveal it slowly.
Use a garden hose to test the shape before digging.
Avoid adding curves for no reason. Each bend should lead around a real feature or change the view.
Leave enough space beside the path for mature plants. Small shrubs can grow wider than expected and block the walking area.
Best for: Cottage gardens and deep flower beds
Budget: Depends on the surface
DIY level: Depends on the material
Watch out for: Tight or random curves
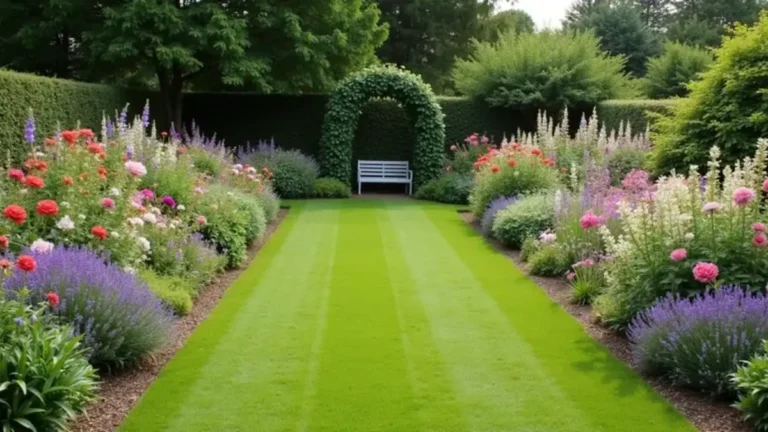
Gravel and brick both work well for a curved cottage garden walkway.
Use a Straight Path to Make a Small Garden Feel Longer
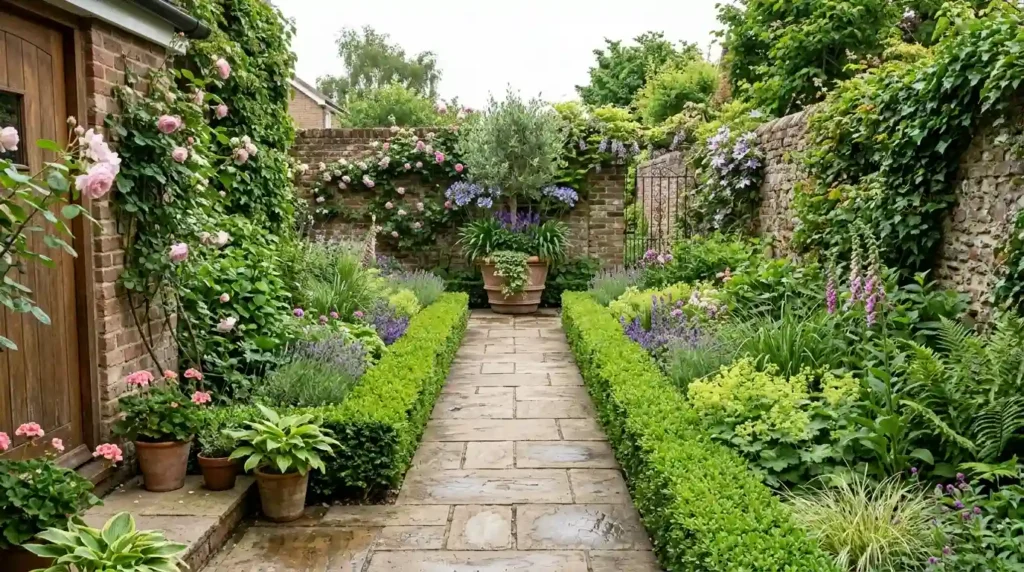
A straight path creates a clear line through your yard.
It suits modern and formal garden styles. It can also make a small space appear longer.
Give the path a clear destination. A bench, urn, tree, sculpture, or water bowl can create a reason to walk to the end.
Repeat the same plants along both sides. This creates order and strengthens the long view.
Keep the width practical. A narrow path may look longer, but it should still feel safe and comfortable.
Best for: Small, modern, and formal gardens
Budget: Depends on the material
DIY level: Varies
Watch out for: A path that ends without a purpose
Straight lines show every mistake, so measure the route with stakes and string.
Create a Wide, Well-Lit Accessible Garden Path
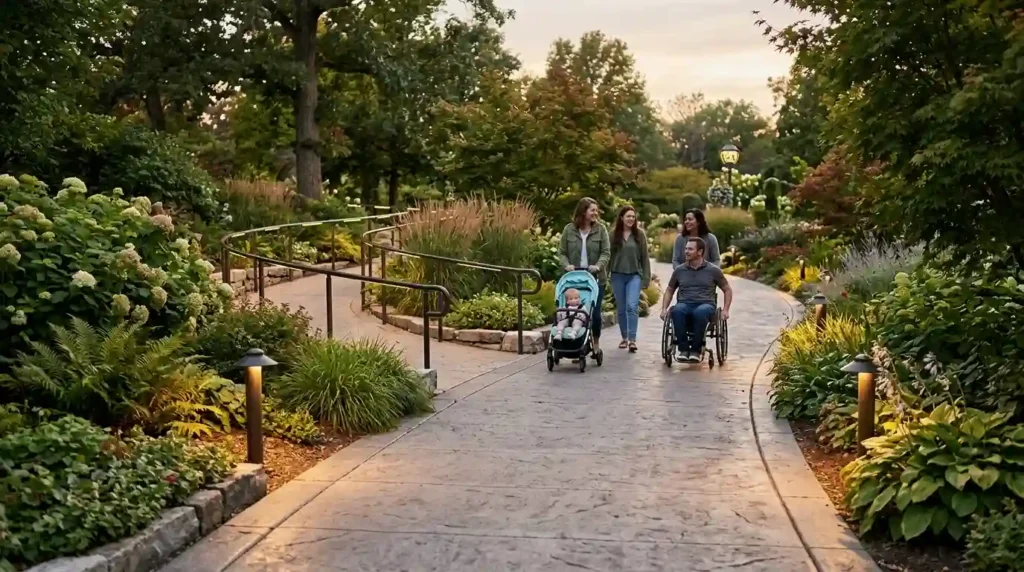
A safe path should feel stable in dry and wet weather.
Choose a firm surface with level joints. Avoid loose gravel, sudden steps, deep gaps, and raised edges when wheels or walking aids will use the route.
Make the path wide enough for the people who need it. Check current local rules when you are planning public access or wheelchair use.
Add even lighting near entrances, corners, and changes in level. Low lights should guide people without shining into their eyes.
Cut back plants before they lean over the walkway.
Best for: Main routes and homes with varied mobility needs
Budget: Medium to high
DIY level: Moderate to difficult
Watch out for: Glare, steep slopes, and uneven joints
Large gardens may also need a bench or resting point along the route.
How to Choose a Garden Path That Works for Your Yard
Before choosing a material, decide what your path needs to do every day.
A path to the front door must handle regular foot traffic. It should feel firm and safe in wet weather.
A path through a flower bed has a different job. It may only need to guide people without covering too much soil.
Start by asking where the path will begin and end. It may connect your patio to a shed, your driveway to a side gate, or your lawn to a seating area.
Next, think about who will use it.
Will children run along it? Will you push a lawn mower or wheelbarrow over it? Does someone in your home use a walker or wheelchair?
These questions will help you select better garden pathway materials.
Think About Width
A narrow path may work between flower beds. However, it can feel cramped if two people need to walk side by side.
A path around 3 feet wide often gives one person enough room to walk. A wider path may be better near an entrance or busy seating area.
Check local rules when accessibility is important. Public spaces and some home projects may need to meet set width and slope rules.
Check Sun, Shade, and Drainage
Watch the area after heavy rain.
Does water sit on the soil? Does it flow toward the house? Is the ground soft beneath nearby trees?
Damp shade can make some stone and brick surfaces slippery. Loose gravel may wash away on a steep slope.
Drainage should be part of your plan from the start. It is harder to fix after the path has been installed.
Match the Path to Your Home
Straight concrete slabs often suit modern homes. Brick works well with traditional houses and cottage gardens.
Wood chips can look natural beneath trees. Flagstone can blend with informal flower beds.
The goal is not to match every color. Choose a material that feels connected to the house, patio, walls, or garden borders.
Be Honest About Maintenance
Every path needs some care.
Gravel may need raking and topping up. Mulch breaks down and must be replaced. Brick joints can collect weeds.
Concrete pavers often need less regular care, but they take more work to install.
Once you know the path’s purpose, traffic level, drainage needs, and care needs, you can compare the options below.
Compare Garden Path Costs and Maintenance
The price of the top material is only one part of the total garden path cost.
You may also need to pay for delivery, digging, base material, edging, waste removal, and labor. These costs can turn a cheap material into a larger project.
The table below gives a simple comparison. Exact prices will depend on your location and the condition of your yard.
| Path Type | Budget | DIY Difficulty | Care Needed | Best Use |
| Mulch | Low | Easy | High | Woodland and vegetable gardens |
| Pea gravel | Low to medium | Easy | Medium | Curved and informal paths |
| Stepping stones | Low to medium | Easy | Medium | Lawns and flower beds |
| Brick | Medium | Moderate | Medium | Traditional gardens |
| Flagstone | Medium to high | Moderate | Medium | Natural garden designs |
| Concrete pavers | Medium | Moderate | Low to medium | Modern and busy paths |
| Boardwalk | High | Difficult | Medium to high | Damp and uneven ground |
| Pebble mosaic | Medium to high | Difficult | Medium | Small decorative areas |
Inexpensive garden paths are not always the cheapest over several years.
Mulch has a low starting price, but it needs regular topping up. Gravel may need raking and fresh material.
A solid paver path may cost more at first. However, it can need less regular work when it has a strong base.
And here’s why that matters. You are choosing a long-term part of your garden, not a short-term decoration.
Compare the starting price with the time and money needed for future care.
How to Plan and Build a Garden Path in 6 Steps
DIY garden paths can be simple or complex. The level of work depends on the material, soil, slope, and size of the path.
A mulch path may take a few basic tools. A paved walkway may need deep digging, a strong base, and cutting equipment.
Use these steps as a general starting point.
1. Choose a Clear Destination
A successful path starts with a clear destination.
Decide what the path needs to connect. It may run from:
- A gate to the front door
- A patio to a shed
- A driveway to a side entrance
- A lawn to a seating area
- A house to a vegetable garden
Avoid creating a path that stops in the middle of the yard without a reason.
Watch how people already move through the space. The shortest and easiest route is often the one they will use.
2. Mark the Route Before You Dig
Use a garden hose to test curved routes.
Use stakes and string for straight paths. Marking paint can also help when it is safe and allowed.
Walk the route several times.
Carry a basket, push a wheelbarrow, or walk beside another person. This can show whether the path is wide enough.
Leave the markings in place for a few days. You may notice a better route after using the garden.
3. Measure the Full Path
Measure the total length and average width.
Multiply these numbers to estimate the surface area. Your supplier may use square feet or square metres.
You will also need to calculate:
- The length of the edging
- The depth of the material
- The amount of base material
- Extra pieces for cuts and future repairs
Do not order the exact amount with no extra material. Cutting, breakage, and uneven ground can increase what you need.
4. Check Water Flow and Buried Services
Watch how water moves across the site after rain.
Your path should not push water toward the house. It should also avoid creating a new puddle beside the lawn.
Check for buried water pipes, cables, drains, and other services before digging. Use the correct local utility-checking service.
Look at nearby tree roots as well. Digging through large roots can harm the tree and make the path unstable.
5. Prepare the Right Base
Learning how to build a garden path starts with the base.
The exact depth and material will depend on your soil and chosen surface. Follow local advice and the maker’s guide.
A basic process may include:
- Removing grass and loose soil
- Digging to the needed depth
- Compacting the ground
- Adding and compacting base material
- Installing strong edging
- Laying the final surface
A mulch path may need less base work. A gravel path needs firm edges and good compaction.
Brick, flagstone, and pavers need more careful preparation. Skipping the garden path base can lead to sinking and movement.
6. Test the Finished Surface
Walk across the path before calling the job complete.
Check for:
- Loose stones
- Raised corners
- Deep joints
- Unstable edges
- Water collecting on the surface
- Movement underfoot
- Difficult steps at doors and patios
Fix small problems early. They often become harder to repair after the path settles.
Test the path again after the first heavy rain.
8 Garden Path Mistakes That Create More Work
A path can look perfect on installation day and still become hard to use a few months later.
Most failures begin with a rushed plan or weak base.
1. Ignoring Drainage
Water can wash away gravel, soften the base, and create slippery surfaces.
Plan where the water will go before you start digging.
2. Making the Path Too Narrow
A decorative path can be narrow. A main path may need room for two people, tools, or wheels.
Choose the width based on real use.
3. Skipping the Compacted Base
Pavers and stones may sink when laid on loose soil.
A compacted base takes more time, but it gives the surface support.
4. Using Weak Edging
Gravel, mulch, and some pavers need firm edges.
Weak edging can bend, move, or allow the path material to spread.
5. Guessing the Stepping Stone Gaps
Stones placed too far apart can make people stretch or jump.
Walk the route naturally and mark where each foot lands.
6. Adding Random Curves
A curved path should move around a feature or reveal a view.
Too many tight bends make the path feel awkward.
7. Forgetting Plant Growth
Small plants do not stay small forever.
Leave enough room so mature branches and leaves do not block the safe garden walkway.
8. Choosing Looks Over Safety
Smooth stones may look attractive but become slippery in rain.
Loose materials may also be hard for some people to cross.
Think about safety before color and pattern.
Good preparation is usually cheaper than lifting and rebuilding a failed path.