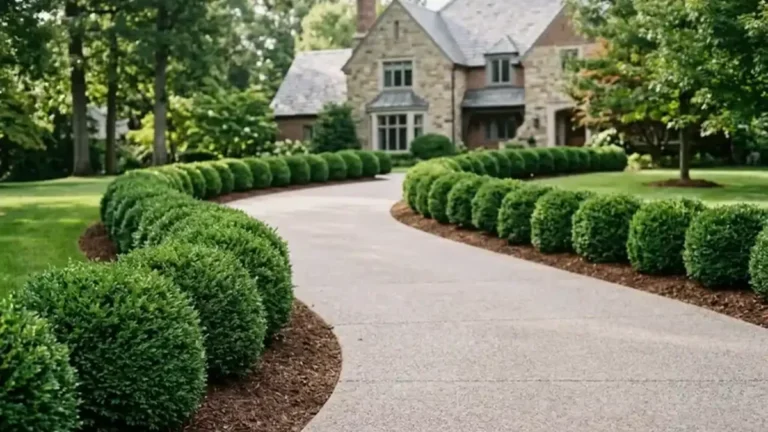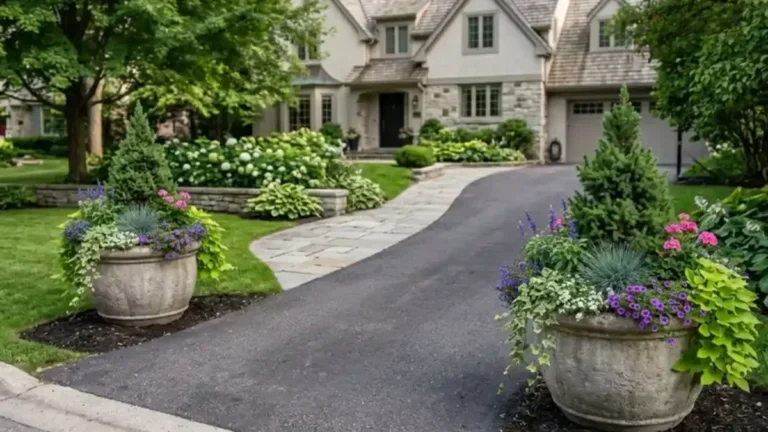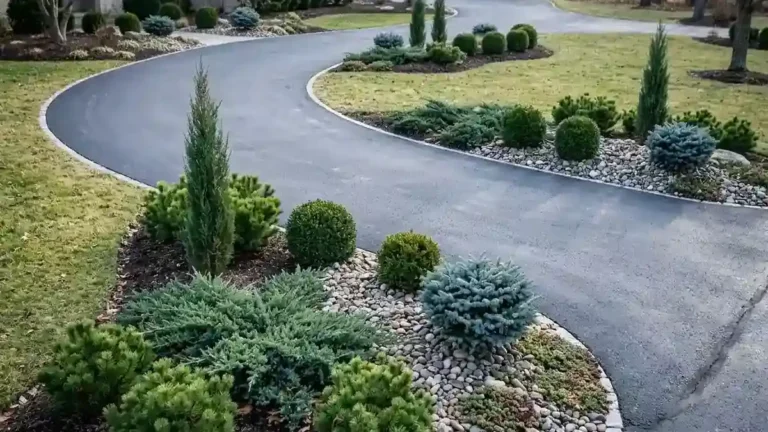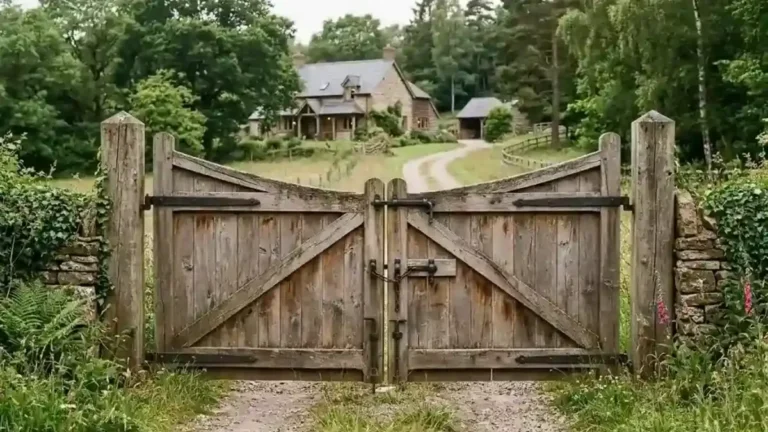
17 Driveway Landscaping on a Budget Ideas
A plain or overgrown driveway can make your whole front yard look unfinished. The good news is that you do not need a large budget to fix it.
Many driveway makeovers online use custom stonework, large trees, built-in lights, and professional labor. Those projects can look great, but they are not realistic for every homeowner.
Driveway landscaping on a budget starts with small changes. Cleaning the surface, cutting neat lawn edges, adding mulch, and reusing old bricks can have a big effect. You can complete one task this weekend and save the larger projects for later.
Before you buy anything, look at the space closely. Check where water flows, how much sun the area gets, and how much room you need for vehicles. Keep plants low near the street so drivers can see clearly.
You should also contact your local utility-marking service before digging. Check local rules if you live in an area managed by a homeowners association.
These 17 cheap driveway landscaping ideas will help you create a cleaner and more welcoming entrance without wasting money.
Start Driveway Landscaping on a Budget With a Simple Plan
Buying plants and stones without a plan can waste money fast. You may end up with materials that do not fit, plants that grow too large, or a border that blocks part of the driveway.
Start by walking from the street to your garage or parking area. Take photos from several angles. Then list the three problems you notice first.
Your list may include:
- Weeds growing through cracks
- Grass hanging over the driveway
- Empty strips of soil
- Poor drainage
- Trash bins in clear view
- A dark driveway entrance
- Old or uneven borders
Measure every area you want to improve. Write down the length and width before visiting a garden center.
Next, set a firm spending limit. A sample $250 budget might include $40 for tools, $60 for mulch, $70 for plants, and $40 for edging. Keep the last $40 for extra materials.
Prices vary by location, so treat this as an example.
Finish the most visible area first. One neat border near the street may improve your curb appeal more than several unfinished projects.
Clean the Driveway for a Fast and Affordable Refresh
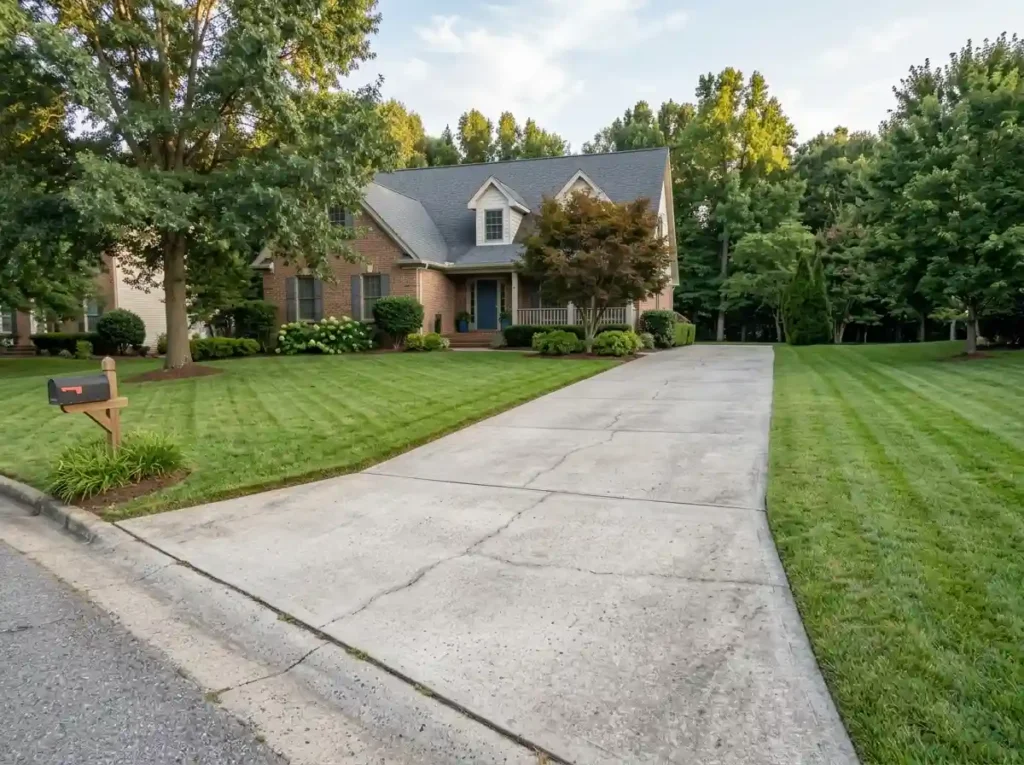
Dirt, weeds, stains, and loose leaves can make a sound driveway look older than it is. Cleaning should come before decorating because it may solve much of the problem for free.
Start by pulling weeds from cracks and borders. Use a hand tool to remove as much of the root as possible. Sweep away soil, dead leaves, grass clippings, and loose gravel.
Trim any grass or plants that hang over the surface. This gives the driveway a wider and cleaner shape.
Wash concrete or pavers with a stiff outdoor brush, water, and a surface-safe cleaner. Test the cleaner on a small hidden area first. Some products can stain concrete or damage nearby plants.
A pressure washer can help with heavy dirt, but it is not always needed. You may be able to borrow one or rent it for a day. Use a safe pressure setting so you do not damage old concrete, mortar, or paver joints.
Once the driveway is clean, look at it again. You may find that you need fewer landscaping materials than you first thought.
Cut Crisp Lawn Edges Along the Driveway
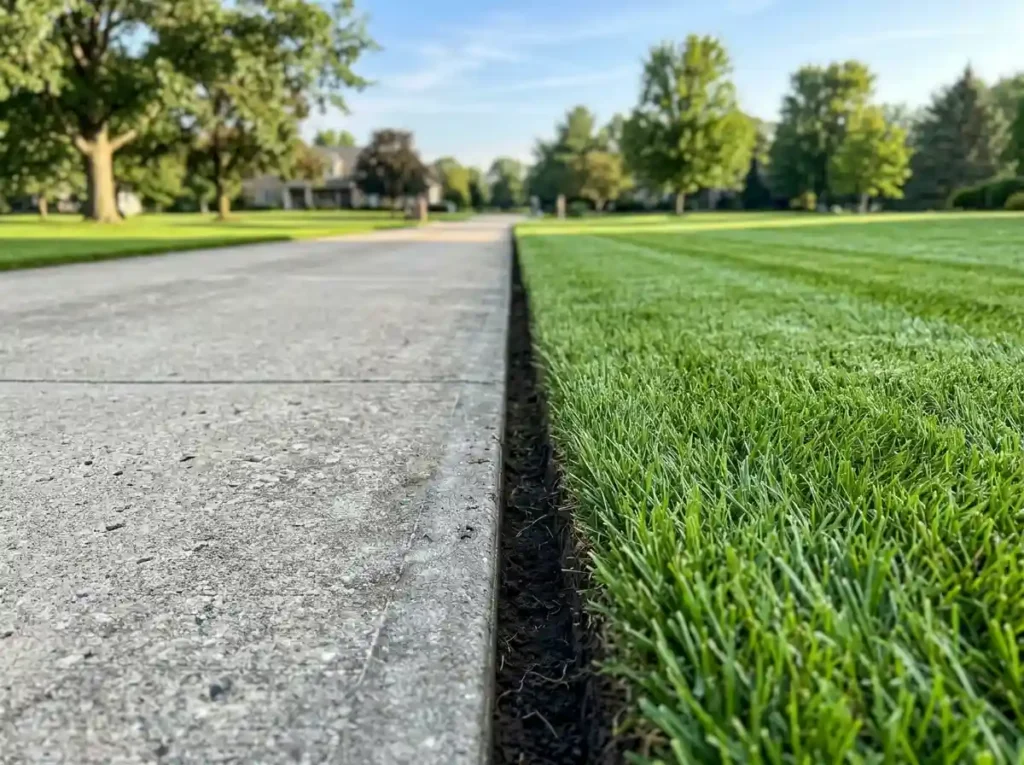
Grass that grows over concrete or asphalt makes a driveway look neglected. A clean edge can make the same space look neat within an hour or two.
You can use a flat spade, half-moon edger, or manual edging tool. Follow the existing driveway line instead of adding extra curves.
Push the tool straight into the soil. Remove the thin strip of grass that covers the driveway edge. Try to keep the cut even from one end to the other.
A gap of about one or two inches can make the line easier to see. It also helps stop grass from spreading onto the surface right away.
Test the idea on a short section first. Clean five or ten feet, then step back and compare it with the uncut area. The difference is often clear.
This is one of the best inexpensive driveway edging ideas because it needs little material. You may already own the tool.
Check the edge every few months. Small touch-ups are easier than cutting through thick growth later.
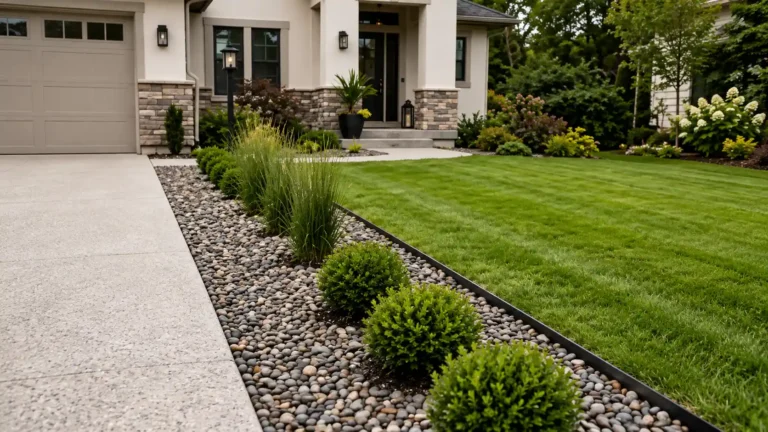
Add an Inexpensive Gravel Border
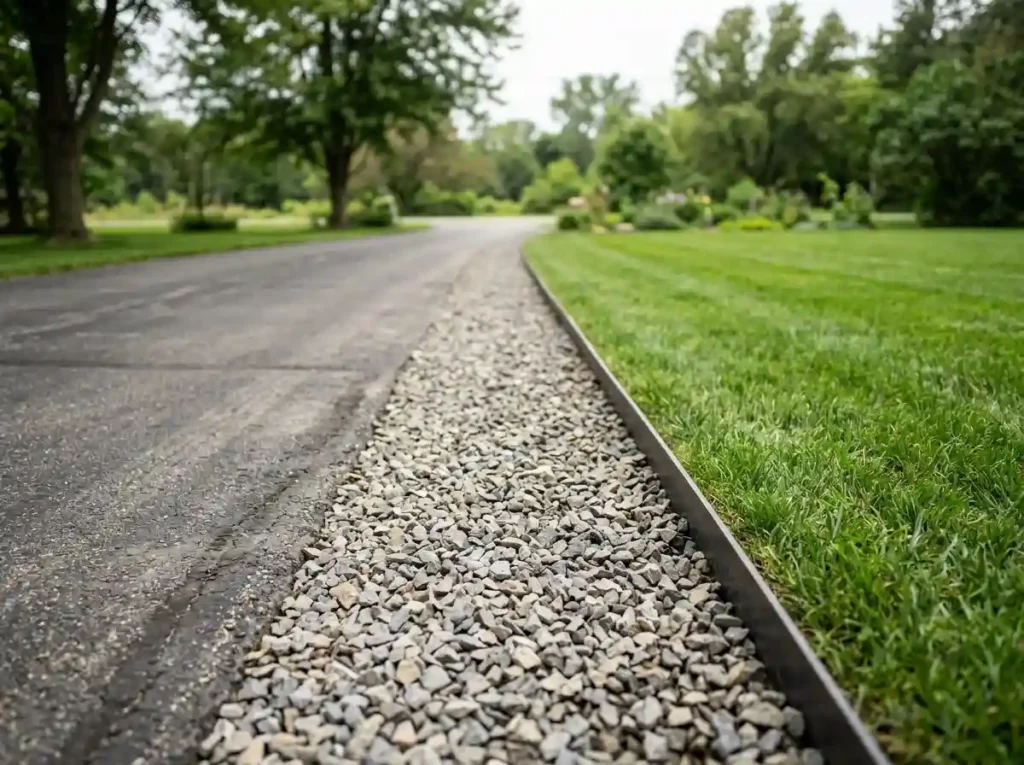
A narrow gravel border can separate the driveway from the lawn and give the area a finished look. It can also cover bare soil where grass does not grow well.
Measure the length and width of the planned strip before ordering gravel. An 18-inch-wide border is often enough to create a clear break without taking up too much yard space.
Choose stone that is easy to find in your area. Local stone often costs less because it does not need to travel far.
Common choices include:
- Pea gravel
- Crushed stone
- Small river rock
- Recycled concrete aggregate
Pea gravel has smooth edges, but it can move easily. Crushed stone stays in place better because the pieces lock together.
Install a firm edge between the gravel and lawn. This keeps stones out of the grass and reduces cleanup.
Avoid loose gravel on a steep slope. Rain and vehicle tires may push it into the street. It can also be a poor choice near snow-clearing equipment.
Use a gravel calculator before ordering. Buying too little may lead to extra delivery charges, while buying too much wastes money.
Build a No-Dig Mulch Bed Beside the Driveway
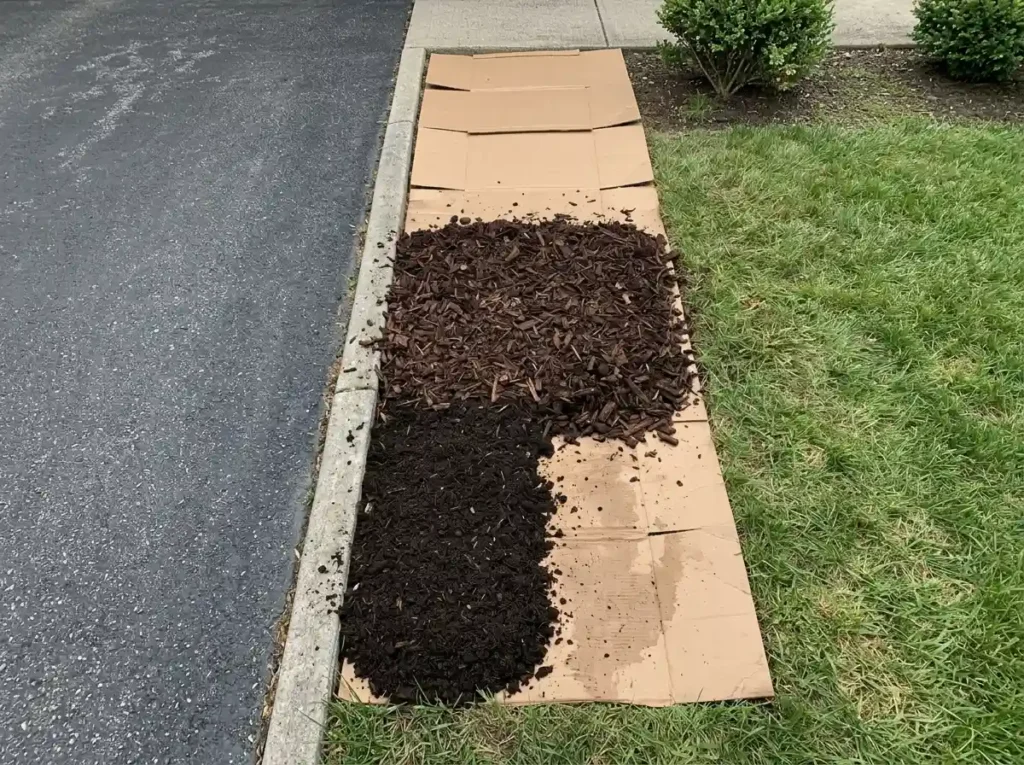
You do not need to remove every piece of grass to create a driveway garden. A no-dig bed lets you cover the grass and build a planting area above it.
Use a garden hose or string to mark a simple shape. Straight strips and wide curves are easier to maintain than many small bends.
Cover the grass with plain cardboard. Overlap the pieces so grass cannot grow through the gaps. Remove tape, shipping labels, staples, and glossy sections.
Wet the cardboard so it stays in place. Add compost if the soil needs help. Then cover the area with a suitable layer of mulch.
Keep mulch away from plant stems, tree trunks, siding, and fence bottoms. Deep piles around plants can trap moisture and cause damage.
A 4-by-12-foot strip can become a useful planting bed without hours of turf removal. You may be able to get clean cardboard from local shops or recent deliveries.
This DIY driveway landscaping method works best when you prepare the bed before the main growing season. Give the materials time to settle before adding many plants.
Reuse Bricks or Pavers for Budget Edging
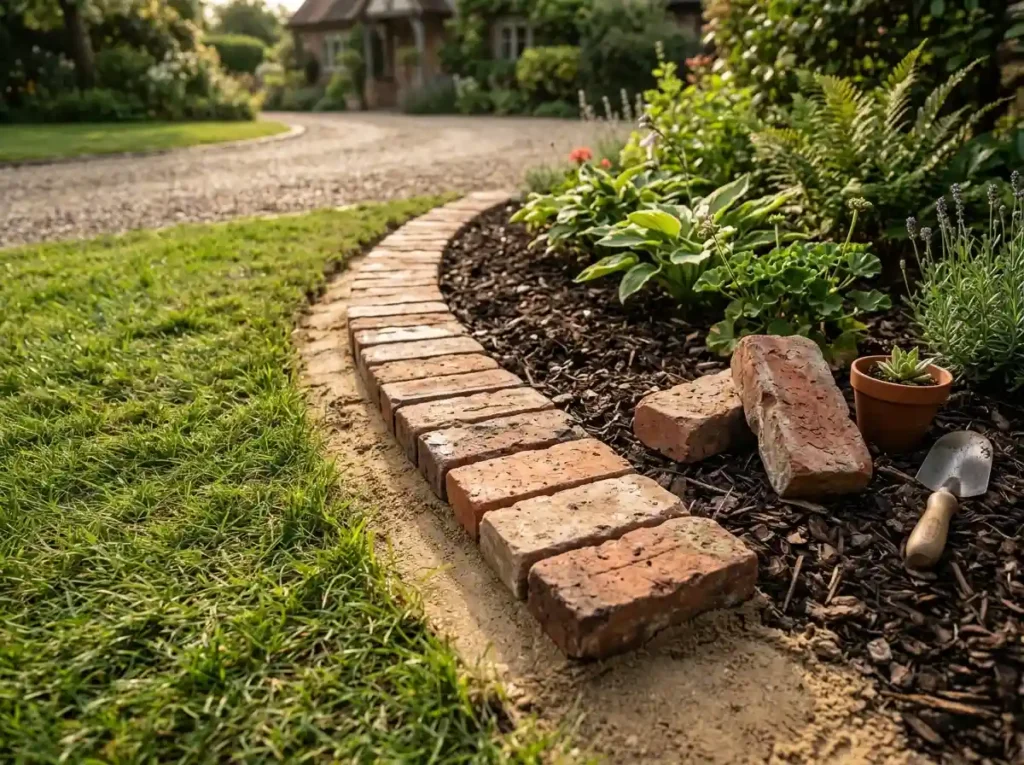
Old bricks and pavers can create an attractive driveway border at little cost. The key is to install them in a simple and repeated pattern.
Check your garage, shed, or backyard for leftover materials. Friends or neighbors may also have extra bricks from past projects.
You can also search:
- Local resale groups
- Community giveaway pages
- Building-material reuse stores
- Yard sales
- Home renovation sites
Sort the pieces by size and condition. Small chips may be fine, but avoid badly cracked bricks that may break under pressure.
Dig a shallow trench and level the base. A thin layer of compacted sand can help keep each piece steady.
You can lay bricks flat for an easy mowing edge. You can also place them lengthwise or use them as a short raised border.
Around 25 to 30 bricks may be enough for a small mailbox bed or driveway entrance.
Save a few extra bricks for repairs. Matching the same color and size later may be difficult.
Plant Low-Cost Ground Covers in Narrow Spaces
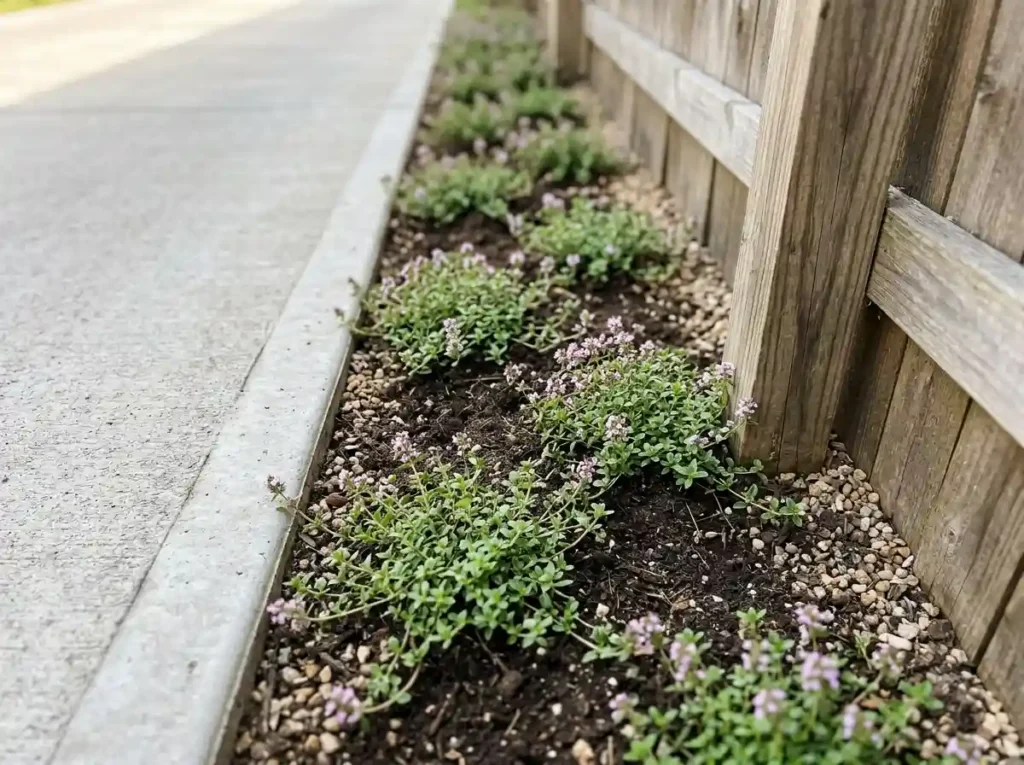
A thin strip between a driveway and fence can be hard to mow. Grass may also struggle because the soil gets hot and dry.
Ground covers can fill these narrow spaces and reduce bare soil. They often spread over time, so you may need fewer plants at the start.
Possible choices include:
- Creeping thyme
- Sedum
- Native violets
- Ajuga
- Low-growing grasses
- Other plants recommended for your area
Do not choose a plant based on appearance alone. Check how much sun the strip gets and whether water stays there after rain.
Driveway pavement can reflect heat. A plant that grows well in a normal flower bed may struggle beside hot concrete.
Check the plant’s mature spread before placing it. A small pot may grow much wider within one or two seasons.
Also confirm that the plant is not invasive in your area. Some fast-growing ground covers can spread into lawns or natural areas.
Using one type of ground cover often looks cleaner than mixing several kinds in a narrow space.
Choose Drought-Tolerant Perennials for Affordable Color
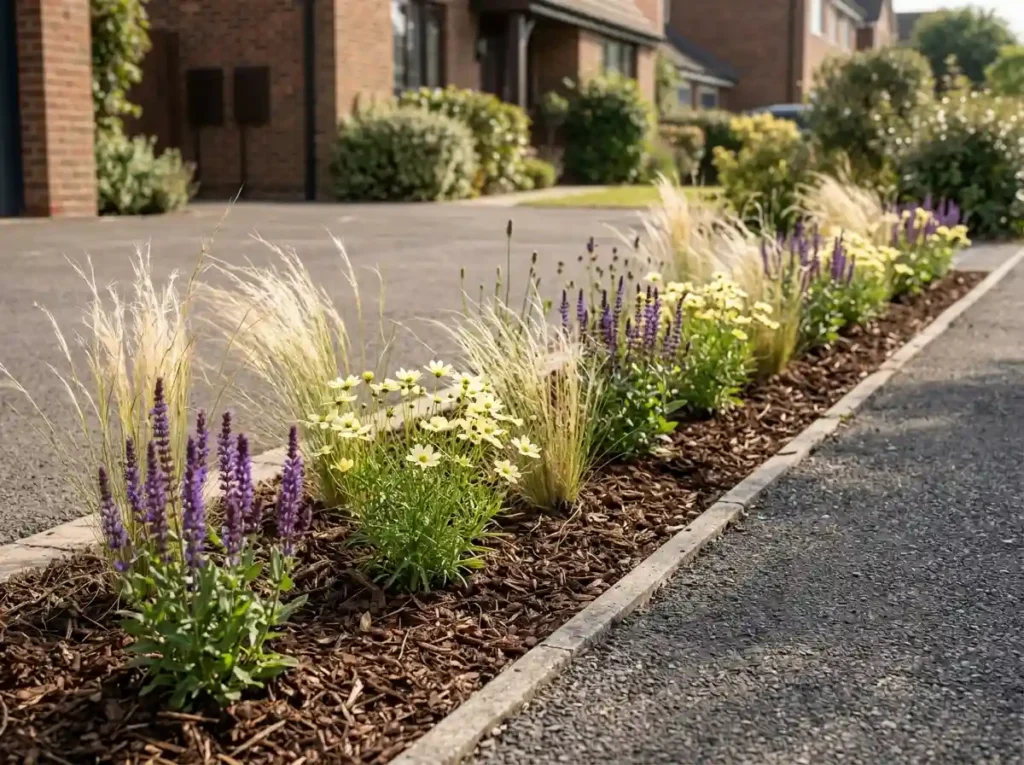
Annual flowers can provide quick color, but replacing them every year costs money. Perennials return for several seasons when they are suited to the site.
Choose plants that can handle your local weather, soil, and sunlight. A plant that needs constant watering is not a good budget choice beside a hot driveway.
Ask a local nursery or extension service about plants that grow well in your region. Native plants can be a strong option because they are often better suited to local conditions.
Use a simple color plan. Two or three flower colors can look more planned than many unrelated colors.
You can also create a three-season display:
- One plant that blooms early
- One summer flowering plant
- One plant with fall color or seed heads
Buy small plants instead of large mature ones. Smaller pots usually cost less and often settle into the soil well.
Repeat plants in groups of three when space allows. Repetition gives the garden a clear pattern and helps low-maintenance driveway landscaping look more polished.
Water new plants well during their first growing season. Drought-tolerant does not mean they can live without water right after planting.
Use Ornamental Grasses to Fill Space for Less
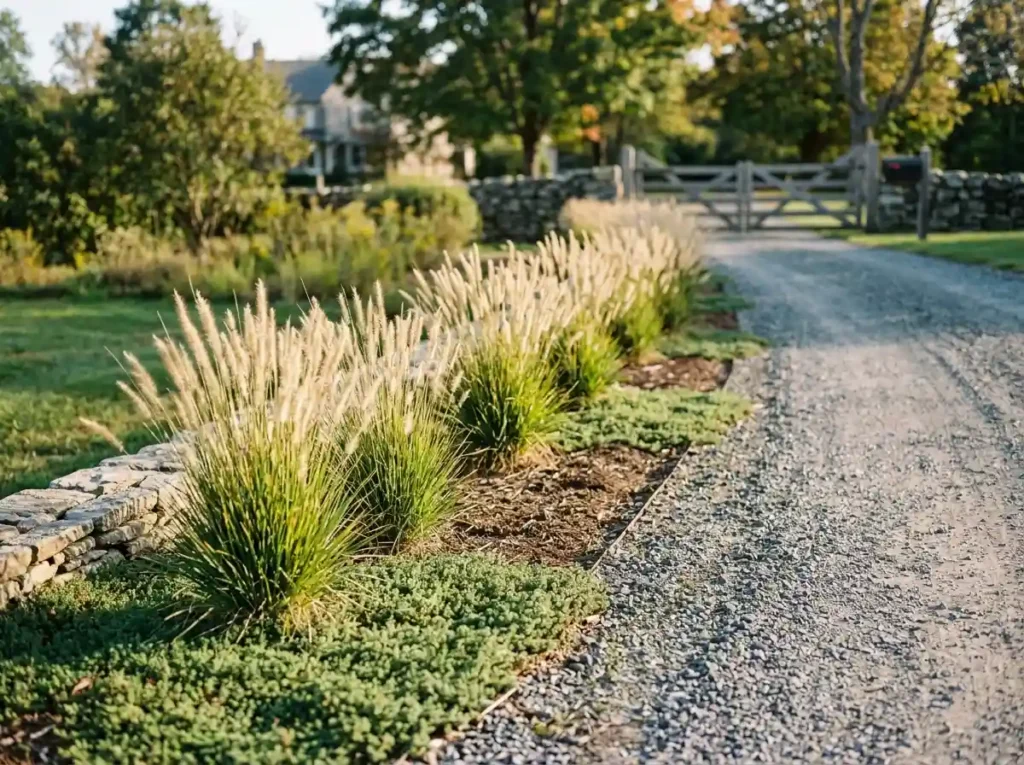
Large borders can become expensive when you try to fill every gap with flowers and shrubs. Ornamental grasses can cover more space with fewer plants.
They add height, texture, and movement. Many types also stay attractive after their flowers have finished.
Choose a compact variety for a small driveway. Large grasses can spread into parking space or block your view near the street.
A row of three matching grasses may look better than a mix of six different plants. Repeating one type creates a clear design and keeps shopping simple.
Check the mature height and width before buying. A one-foot plant in a nursery pot may grow four feet wide later.
You should also check whether the grass is invasive in your area. Some types spread by seeds or underground roots.
Keep tall grasses away from corners, mailboxes, gates, and street exits. Drivers need a clear view of people, cars, and bicycles.
Most ornamental grasses need cutting back once a year, but the right time depends on the variety and your climate.
Divide, Propagate, and Swap Plants to Spend Less
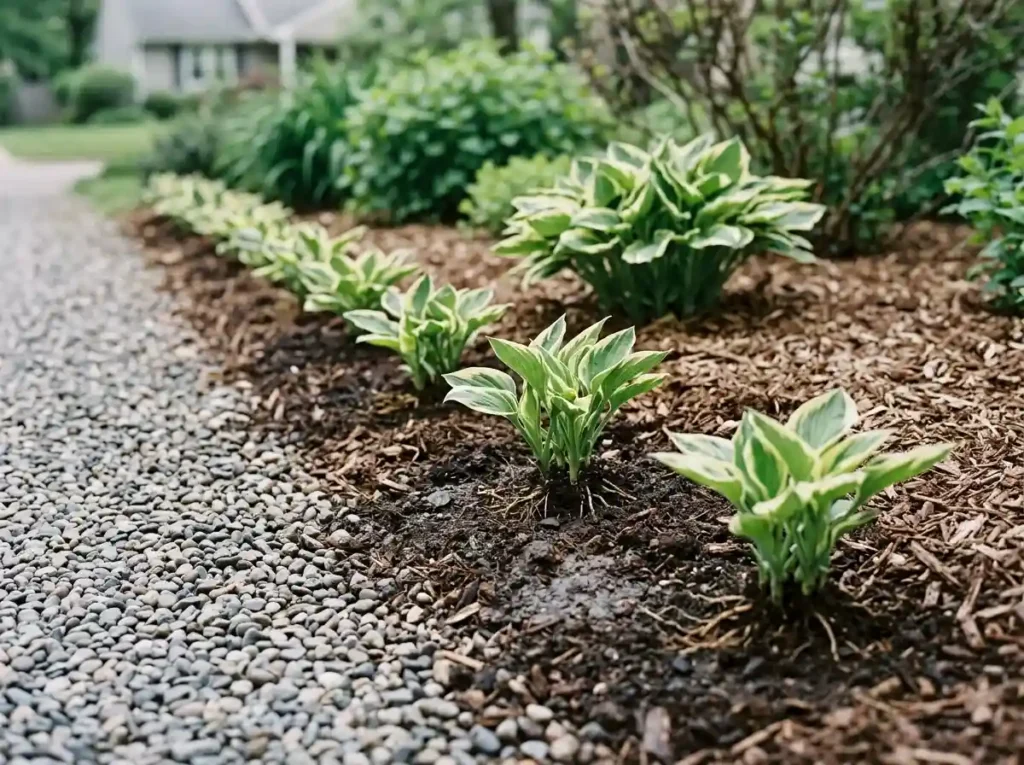
Some of the cheapest plants may already be growing in your yard. Healthy mature perennials can often be divided into several smaller plants.
This works well with plants that form large clumps. Dig around the plant carefully and lift the root section. Split it into smaller pieces, making sure each part has healthy roots and growth.
Plant the new sections along your driveway border. Repeating the same plant can make the area look planned.
You can also find low-cost or free plants through:
- Community plant swaps
- Garden club sales
- Neighborhood groups
- Friends and family
- End-of-season nursery sales
Some plants can grow from cuttings, but the method depends on the plant. Check a trusted gardening source before cutting stems.
Inspect shared plants before bringing them home. Do not accept plants with pests, disease, or unknown spreading habits.
Label each new plant. Include its name, mature size, and basic care needs.
Free plants can save money, but they are not a bargain if they spread into your lawn or need constant care.
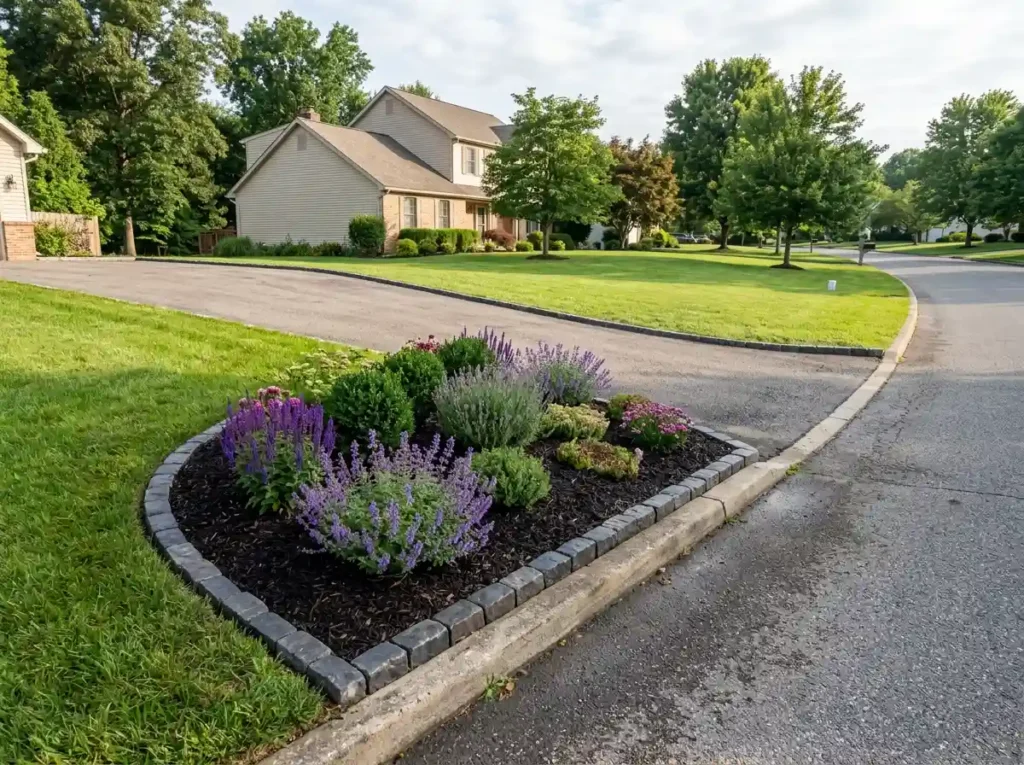
Create a Small Mailbox or Gatepost Garden
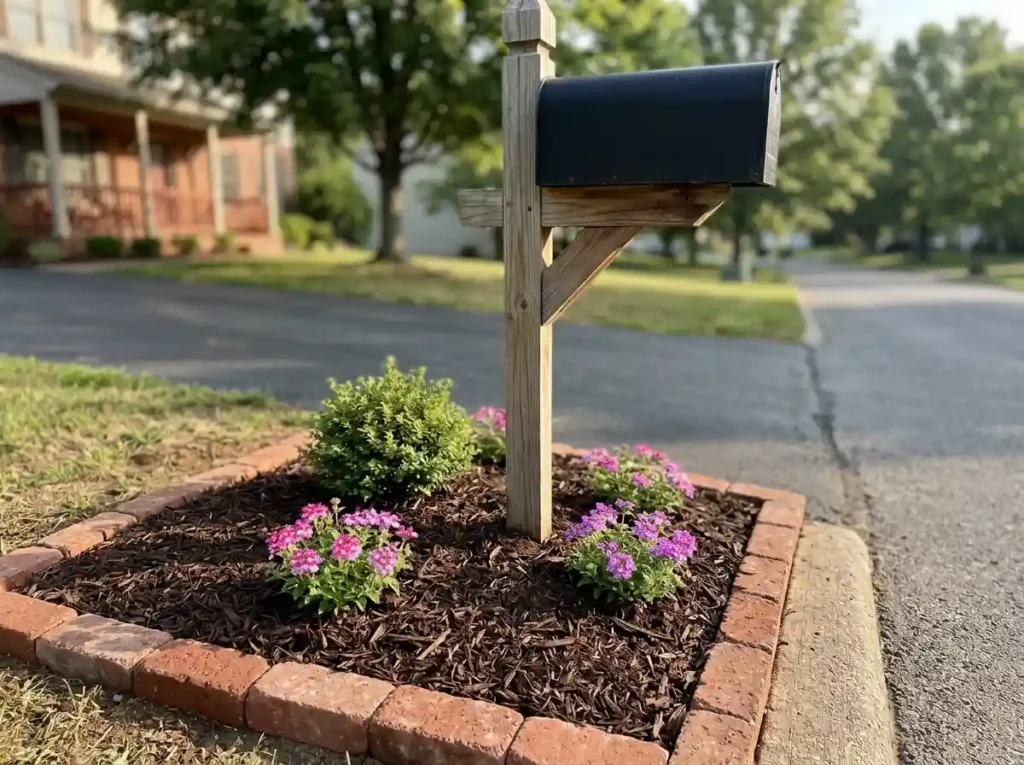
You do not need to landscape the full driveway to make a clear change. Improving one focal area near the entrance can lift the look of the whole yard.
A mailbox, gatepost, house-number sign, or entrance pillar is a good place to start.
Keep the bed small and simple. A 4-by-6-foot area may be enough for:
- One small feature plant
- Three matching flowers
- A layer of mulch
- Reused brick or stone edging
Choose plants that stay low near the road. Tall growth can hide cars, children, or cyclists.
Avoid thorny plants next to a mailbox or walkway. They can make daily use difficult for you and delivery workers.
Leave enough open space to reach the mailbox, gate, or sign. Do not allow mulch or soil to cover the base of a wooden post.
Repeat a color or material from your home. For example, use the same brick color found near the porch.
Check local rules before landscaping around a roadside mailbox. Some areas have clear space and height requirements.
Add One Focal-Point Planter
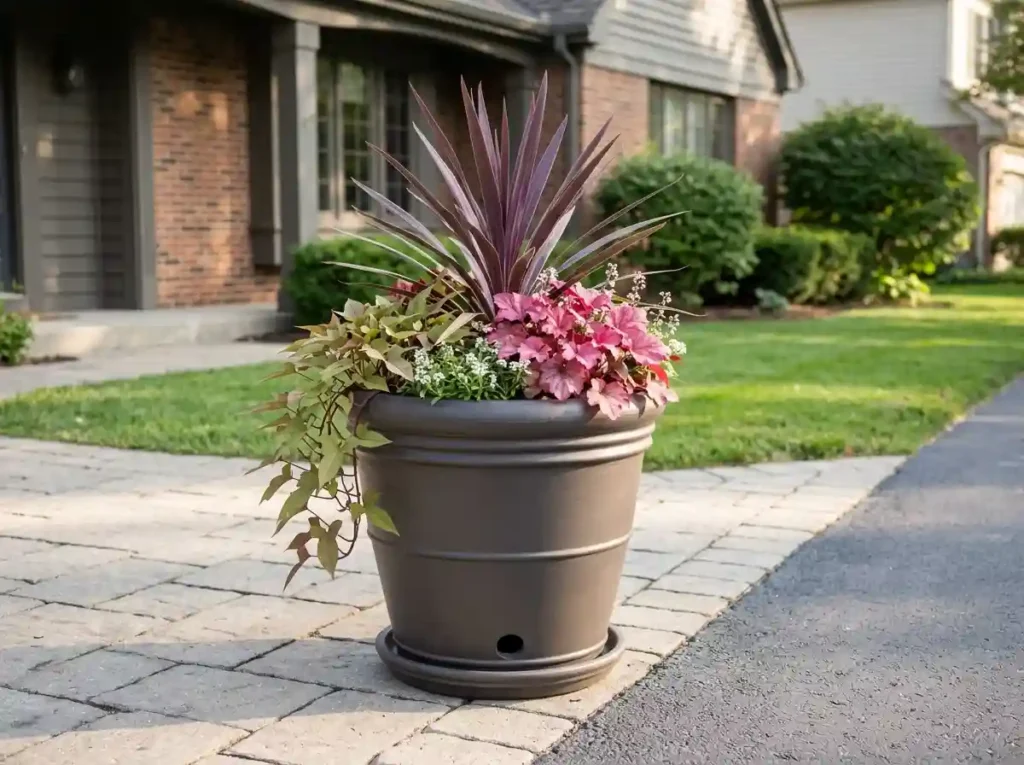
Several small and mismatched pots can make a driveway look cluttered. One larger planter often creates a stronger look and may cost less to maintain.
Start with a pot you already own. Clean it well and use outdoor paint if the finish looks faded.
Place the container near the garage, front walkway, or driveway entrance. Keep it far enough from vehicles, doors, and turning areas.
A simple planter can include:
- One upright plant
- One full plant in the middle
- One trailing plant near the edge
You can also use one hardy plant instead of a mixed display. This may need less water and care.
Choose the container material carefully. Light plastic pots are easy to move, but strong wind can knock them over. Clay pots are heavier, but they may crack in freezing weather.
Make sure the pot has drainage holes. Standing water can damage plant roots.
For an easy driveway makeover, match the planter color with your front door, shutters, or trim.
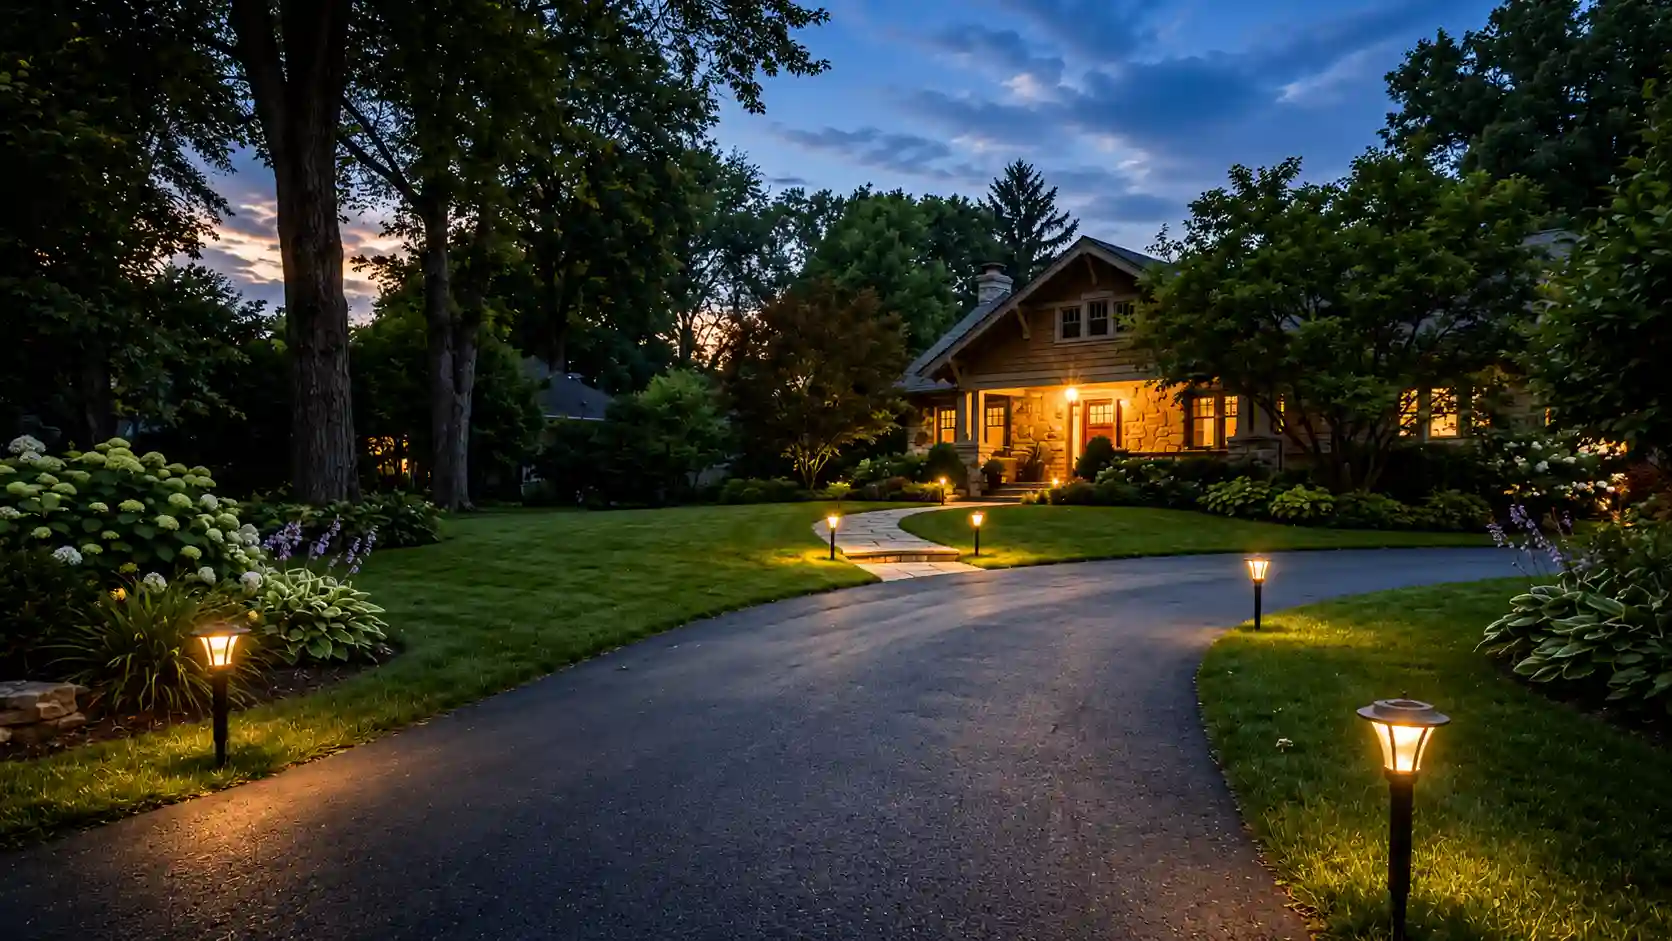
Install Solar Lights for Affordable Nighttime Curb Appeal
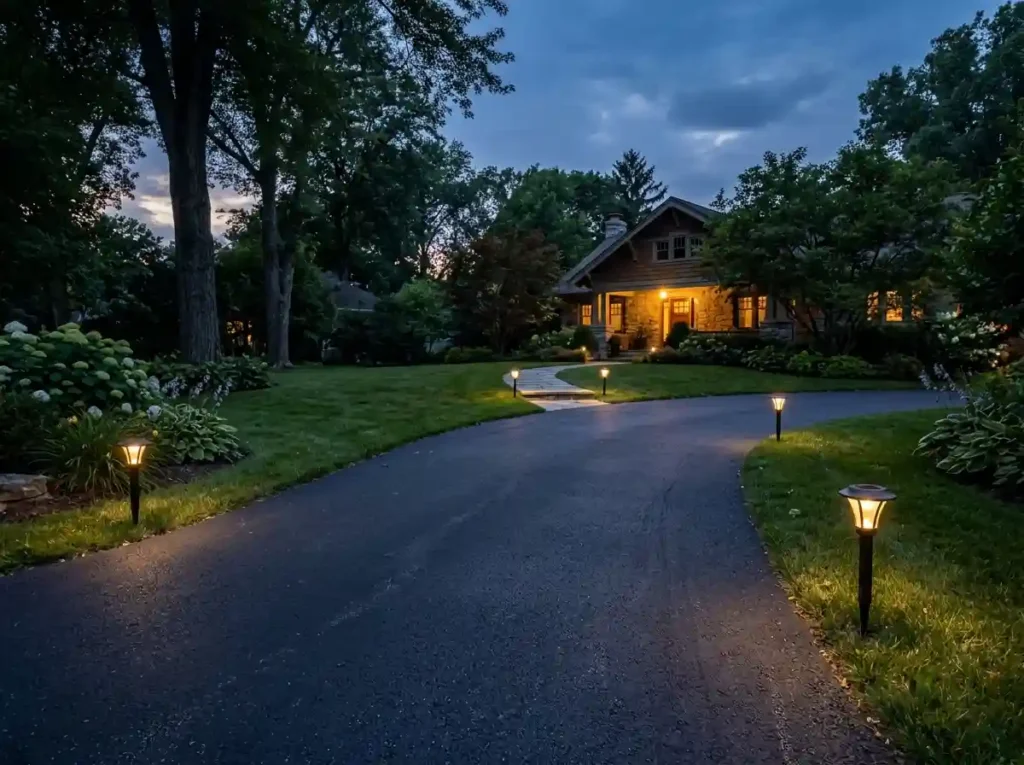
A clean driveway can disappear after dark. A few solar lights can improve visibility and show off your landscaping without electrical work.
Place lights where they serve a clear purpose. Useful locations include:
- The driveway entrance
- A sharp curve
- A walkway crossing
- Steps
- A planting-bed feature
Do not line both sides with dozens of lights. This can make the driveway look like a runway and increase replacement costs.
Choose one light style and one light color. Warm light often feels softer near plants and homes.
Solar lights need direct sun to charge well. A light placed under a tree or roof edge may stay dim at night.
Test the layout before pushing the stakes deep into the soil. Leave the lights in place for several nights and check how they look from the street.
Read the product details for battery type, brightness, and weather resistance. Low-cost solar lights are useful, but they may not last as long as wired lighting.
Use them for gentle guidance, not as the only safety light in a dark parking area.
Screen Trash Bins and Utility Areas
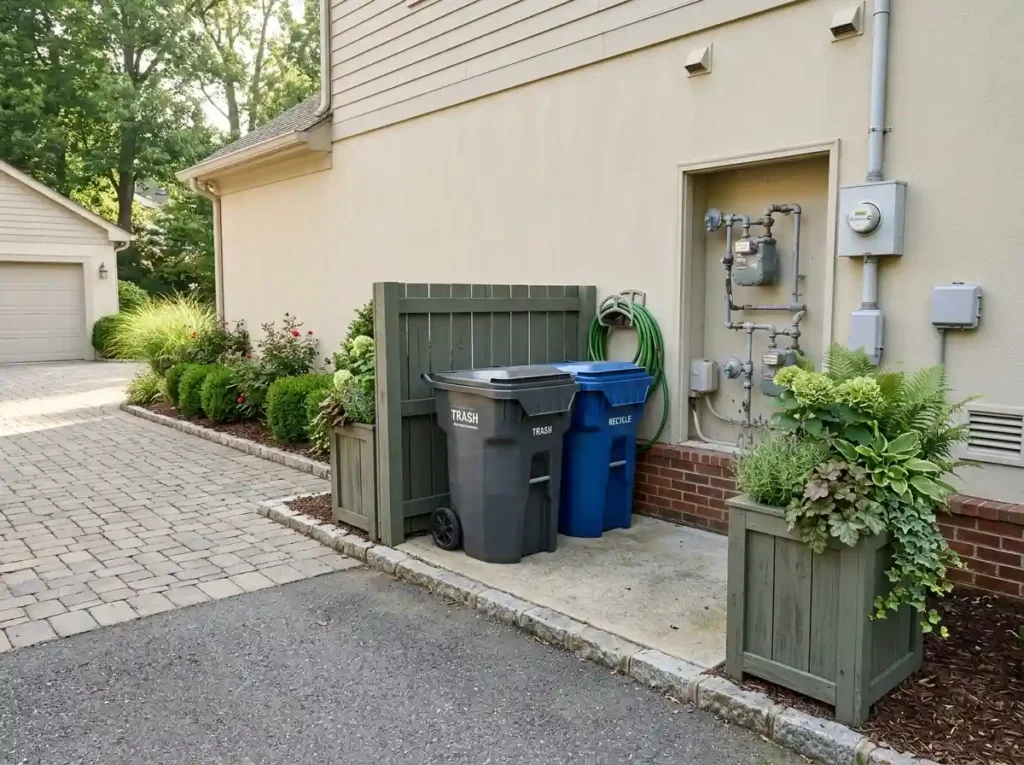
Adding flowers may not improve the view if trash bins, tools, hoses, or utility equipment remain in clear sight.
Start by removing items that do not need to stay beside the driveway. Store tools, empty pots, and unused materials in a shed or garage.
For items that must stay outside, consider:
- A basic lattice panel
- A short wood screen
- Two tall planters
- A narrow fence section
- A suitable climbing plant
A pair of tall containers can work well for renters because they are easy to move.
Leave enough room to roll bins out on collection day. Do not block utility meters, vents, air conditioners, or repair access.
Climbing plants can soften a plain screen, but check their mature size. Strong vines may damage siding, gutters, or weak fencing.
You can save money by using leftover fence boards or a secondhand panel. Paint all pieces the same color so the screen looks like one unit.
Removing visual clutter often improves affordable driveway landscaping more than adding extra decorations.
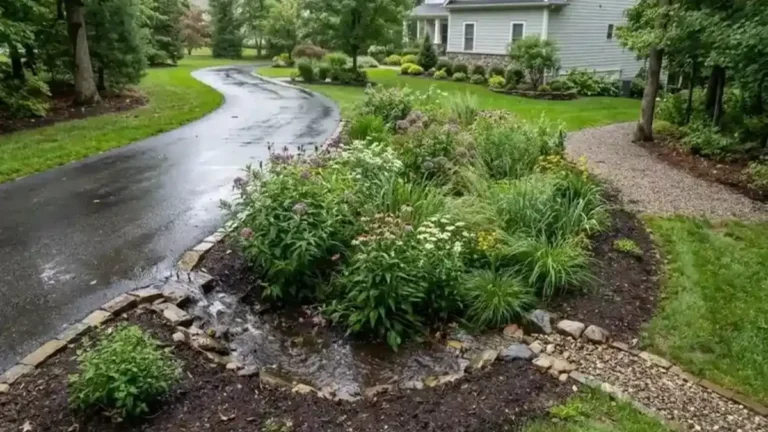
Manage Runoff With a Small Rain Garden
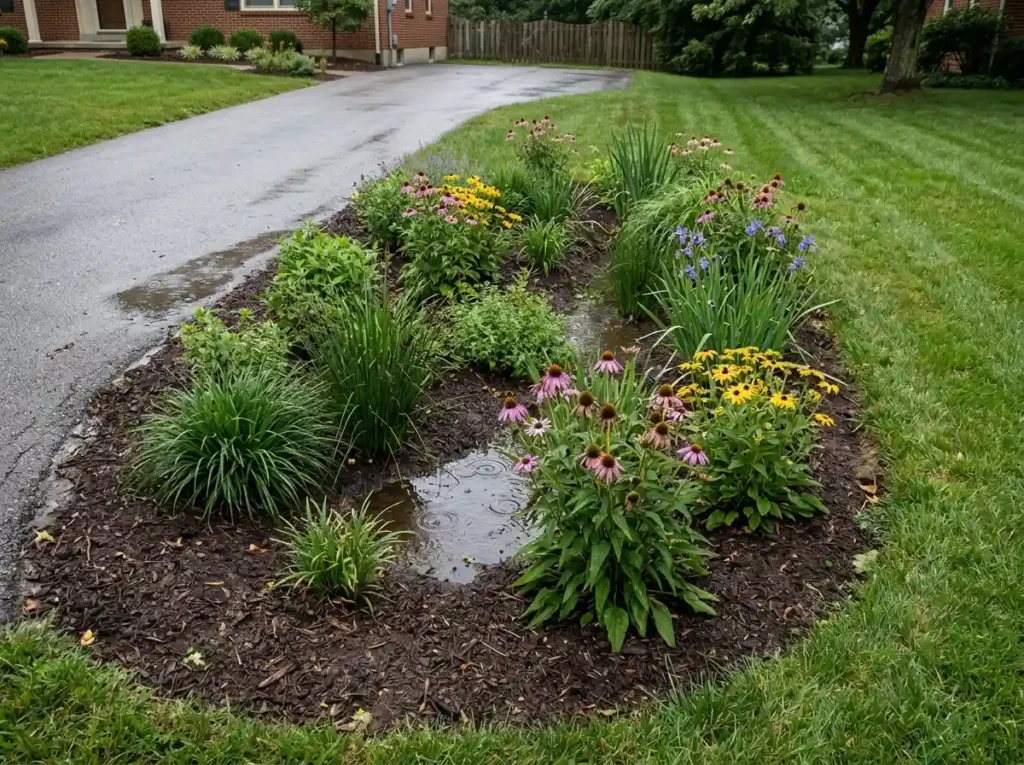
Does water collect beside your driveway after heavy rain? A small rain garden may help in the right location.
A rain garden is a shallow planted area that holds runoff for a short time. The water slowly soaks into the soil instead of rushing across the yard.
Watch the area during rain before you start digging. Note where the water comes from and where it goes.
Choose plants that can handle both wet and dry periods. Local native plants may work well, but the right choices depend on your soil and climate.
Do not place a rain garden where it could send water near your foundation. You should also avoid septic systems, underground lines, and steep slopes.
Check your local stormwater rules and rain garden guides. Some towns offer advice, free plans, or help with costs.
A rain garden is not the right fix for every drainage problem. Call a drainage professional if water is damaging the driveway, entering the home, or causing deep soil movement.
Good driveway drainage landscaping should move water safely without creating a new problem elsewhere.
Use River Rock Only Where Water Flows
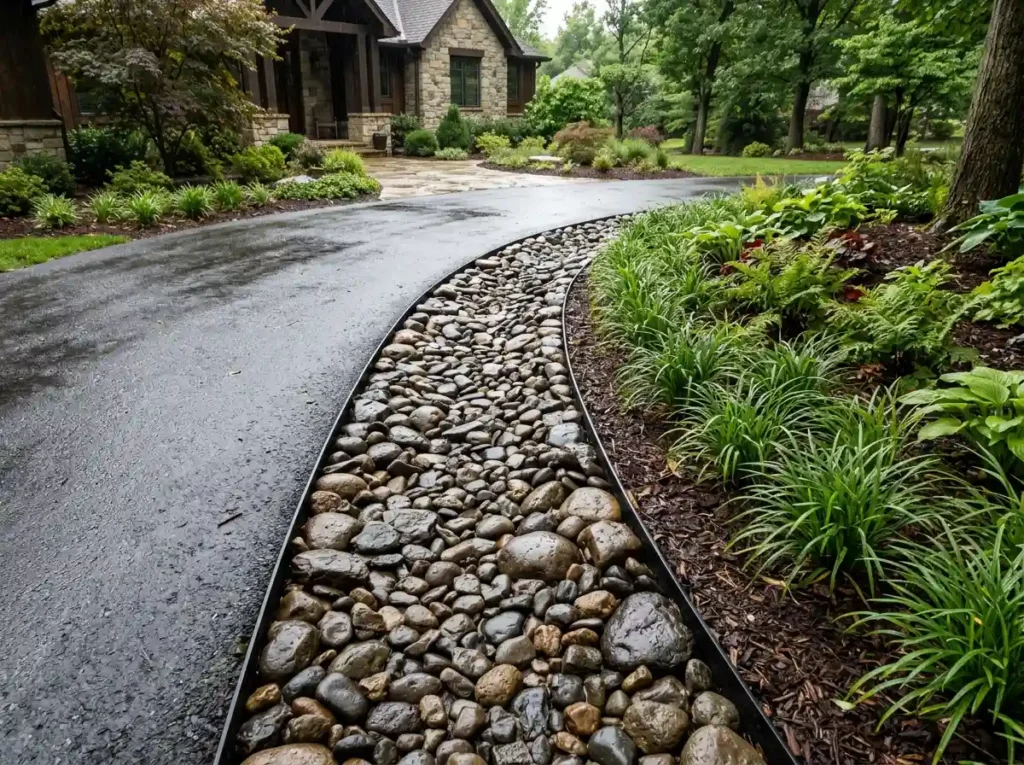
River rock can make a driveway border look clean, but it is not maintenance-free. Weeds can grow between the stones, and dark rock can become hot in full sun.
Use river rock where it has a clear purpose. A narrow drainage strip or dry-creek-style bed can guide water through an area where it already flows.
Follow the natural path of runoff. Do not create a stone channel that sends water at your home or a neighbor’s yard.
Mixing two or three stone sizes can give the area a more natural look. Keep the shape simple and add a firm edge to stop the rock from spreading.
You may need a stable base below the stones. The correct setup depends on the soil, slope, and amount of water.
River rock can be hard to remove later, so do not cover a large area without thinking about long-term use.
It also does not stop all weeds. Wind can carry soil and seeds between the stones over time.
Use this idea for drainage or a small accent instead of covering every planting bed.
Keep the Driveway Fresh With a Low-Cost Routine
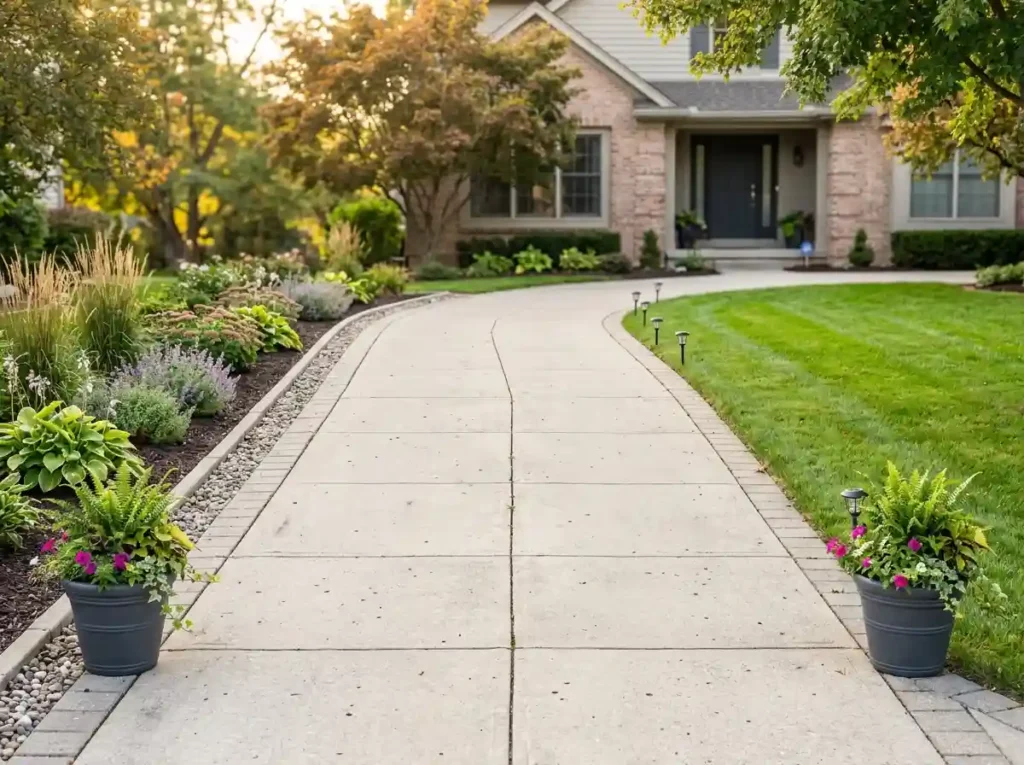
A driveway makeover will not stay neat without basic care. Small jobs done often can prevent larger and more costly repairs.
Set up a simple schedule that fits your week.
Weekly Tasks
- Sweep leaves and soil from the surface.
- Pull small weeds before they spread.
- Check container plants for dry soil.
- Move loose gravel back into place.
Monthly Tasks
- Trim plants that hang over the driveway.
- Check edging for movement or damage.
- Clean solar light panels.
- Look for new cracks or drainage problems.
Seasonal Tasks
- Add mulch where it has become thin.
- Divide suitable plants.
- Clean pots and hard surfaces.
- Cut back plants at the correct time.
- Watch water flow during heavy rain.
Do not replace all the mulch each year if most of it is still in good condition. Add a thin layer only where needed.
Move or divide healthy plants instead of buying new ones. Clean and repaint old planters before replacing them.
Low-maintenance driveway landscaping still needs some work. The goal is to keep that work simple, planned, and affordable.
Build a Better Driveway One Small Project at a Time
You do not need to replace your driveway or hire a full landscaping crew to improve your entrance.
Start with the easiest problem. Pull weeds, clean the surface, and cut a neat lawn edge. Then add one useful feature, such as a mulch bed, gravel strip, planter, or small group of plants.
Measure before buying materials. Choose plants based on their mature size, sunlight needs, and local climate. Keep sightlines clear and make sure water flows away from your home.
Reuse bricks, divide plants, and shop end-of-season sales when you can. Small savings can help you complete more of the project.
Successful driveway landscaping on a budget is less about buying more. It is about choosing a few simple changes that make the entrance look clean, connected, and cared for.